Use & Care Manual and Installation Instructions
Electric Range
Important Safety Instructions - Inside Front Cover
Use and Care
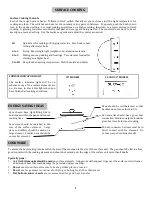
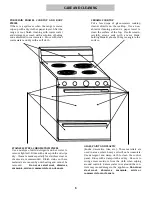
Surface Cooking
1
Ceramic Glass Cooktop
2
Using your oven
3-5
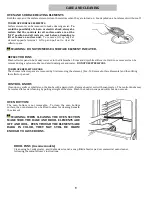
Changing the Light Bulb (some models)
4
Using your Broiler
6
Clock and Time (some models)
6-7
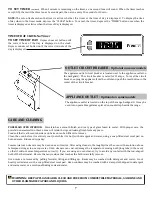
Outlet Circuit Breaker
7
Appliance Outlet (some models)
7
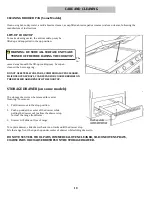
Care and Cleaning
7-10
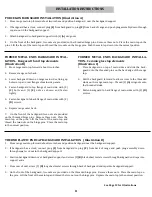
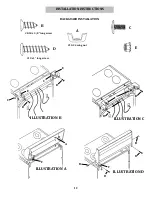
Installation
Backguard Installation
11-12
Maximum and Minimum Clearances
13
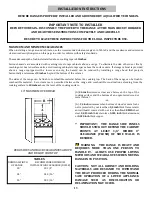
Electrical Installation
14
Anti-Tip Bracket Installation
15
Before You Call for Service
16
Table of Contents
Note To Consumer:
Please retain this manual for future reference.
Note to Installer:
IMPORTANT - Please leave this manual and other literature with the consumer for future use.