PH1000i OM 2010-04-05
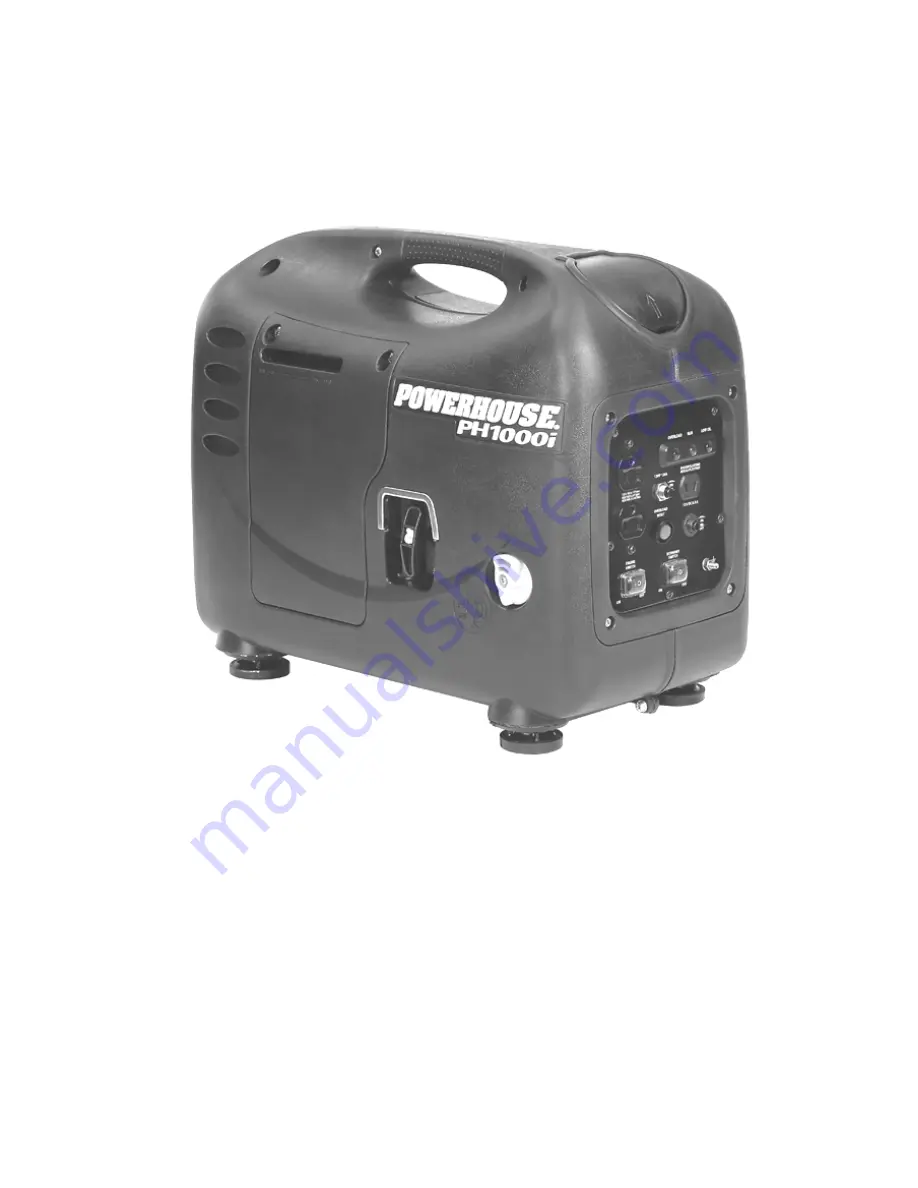
PH1000i Digital Inverter Generator
OPERATING INSTRUCTIONS
PLEASE READ THIS MANUAL CAREFULLY
BEFORE USING
Страница 1: ...PH1000i OM 2010 04 05 PH1000i Digital Inverter Generator OPERATING INSTRUCTIONS PLEASE READ THIS MANUAL CAREFULLY BEFORE USING...
Страница 2: ...les 2 Open the fuel valve 3 Starting the engine Turn the ignition switch to the ON position Pull the starter grip lightly until resistance is felt then pull briskly out 4 The green run light will illu...
Страница 3: ...nsult an authorized Powerhouse dealer Failure to properly follow these precautions can result in property damage serious injury or DEATH Read all labels and the owner s manual before operating this ge...
Страница 4: ...4 7 Low oil alarm system 20 4 9 Stopping the engine 21 5 MAINTENANCE 22 5 1 Emission control system 22 5 2 Maintenance Schedule 24 5 3 Changing oil 25 5 4 Air cleaner service 26 5 5 Spark plug mainten...
Страница 5: ...e generator in an enclosed area Be sure to provide adequate ventilation The muffler becomes very hot during operation and remains hot for several minutes after stopping the engine Be careful not to to...
Страница 6: ...the generator on a level surface If the generator is tilted fuel spillage may result Know how to stop the generator quickly and understand operation of all controls Never permit anyone to operate the...
Страница 7: ...7 PH1000i OM 2010 07 13 2 COMPONENT IDENTIFICATION Maintenance Cover Choke Lever Exhaust Grill Starter Grip Fuel Lever Fuel Cap Cover Spark Plug Access Cover Control Panel...
Страница 8: ...on Green Overload Light Low Oil Alarm Light Run Light 120V 20A Duplex Receptacle 120V 20A Circuit Breaker Engine Switch Economy Switch Grounding Terminal Battery Charge Receptacle 12V 5A Battery Charg...
Страница 9: ...er can be found stamped on the engine block above oil dipstick It is visible when the maintenance panel is removed The bar code label is found in two locations 1 On the bottom of the generator 2 On th...
Страница 10: ...Select the appropriate viscosity for the average temperature in your area Loosen the cover screw and remove the maintenance cover Remove the oil filler cap and wipe the dipstick with a clean rag Check...
Страница 11: ...er source of combustion away from the generator during refueling Do not overfill the fuel tank there should be no fuel above the upper limit mark After refueling make sure the tank cap is closed prope...
Страница 12: ...think contains ethanol replace it by a gasoline that you know has the proper blend 3 3 Check the air cleaner 1 Check the air cleaner element to be sure it is clean and in good condition 2 Loosen the c...
Страница 13: ...he ignition switch to the ON position 3 Move the choke lever to the START position 4 Pull the starter grip until resistance is felt then pull the starter grip briskly toward the arrow as shown below D...
Страница 14: ...ately 3 5 for each 1000 feet 305 m increase in altitude The affect of altitude on the horsepower will be greater than this if no carburetor modification is made Operation of the generator at an altitu...
Страница 15: ...he an external g dby power to electrician an Improper co o back feed in mpany worke n utility power n the building enerator to a ter module m d aulty applianc eavy cable be ground sourc a building s n...
Страница 16: ...ion cable is required make sure you use the proper size and length 16 Gauge Cords Any 16 gauge cord between 0 and 100 feet long will adequately handle tool and appliance loads up to 10 amps 14 Gauge C...
Страница 17: ...e overload light red may shorten the service life of the generator Be sure that all appliances are in good working order before connecting them to the generator If an appliance begins to operate abnor...
Страница 18: ...he overload condition Red light press the Green overload reset button or stop and restart the generator The Green indicator light should be illuminated within 10 seconds Before connecting or reconnect...
Страница 19: ...ry Disconnect the cable first at the battery Before connecting charging cables to a battery that is installed in a vehicle disconnect the vehicle s ground battery cable Reconnect the vehicle s ground...
Страница 20: ...itch Economy switch ON This position is recommended to minimize fuel consumption and noise while in operation Engine speed is kept at idle automatically when the electrical load is disconnected and re...
Страница 21: ...tion will automatically stop the engine with or without a load However continually stopping the generator without disconnecting all loads can cause damage to the generator or appliances Continually st...
Страница 22: ...nous gas The emission of fuel vapors is a source of pollution as well The POWERHOUSE generator engine utilizes a precise air fuel ratio and emission control system to reduce the emissions of carbon mo...
Страница 23: ...ment parts and accessories have the responsibility to guarantee that their replacement products will not adversely affect emission performance Maintenance Maintain the generator according to the maint...
Страница 24: ...77 F 25 C 95 hr 86 F 30 C 85 hr 95 F 35 C 70 hr 104 F 40 C Item Maintenance Procedure Regular Service period 1 Perform at every indicated month or operating hour interval whichever occurs first Each U...
Страница 25: ...il filler cap 3 Install the oil drain pipe 4 Drain dirty oil into a container thoroughly 5 Refill with the recommended oil and check the oil level 6 Reinstall the maintenance cover and tighten the scr...
Страница 26: ...e rapid engine wear may result 1 Loosen the panel screw and remove the side maintenance panel 2 Remove air filter retaining screw Remove the air cover and check the element Clean or replace the elemen...
Страница 27: ...e spark plug must be properly gapped and free of deposits 1 Loosen the cover screw and remove the spark plug maintenance cover 2 Remove the spark plug cap 3 Clean any dirt from around the spark plug b...
Страница 28: ...eading 9 After a new spark plug has been seated by hand it should be tightened 1 2 turn with a wrench to compress its washer If a used plug is being reinstalled it should only require 1 8 to 1 4 turn...
Страница 29: ...it to cool before proceeding The spark arrestor must be serviced every 100 hours to maintain its efficiency 1 Remove the four M6 screws and remove the muffler grill 2 Remove the two M4 screws holding...
Страница 30: ...rature inside the vehicle could cause residual fuel to vaporize resulting in a possible explosion If you must transport the generator in a vehicle drain all fuel from the generator 6 1 Exercising the...
Страница 31: ...asoline from the fuel tank turn the engine switch to the OFF position 4 Attach a hose to the drain fitting on the carburetor and place the other end of the hose into an approved gasoline container 5 T...
Страница 32: ...rk 1 Remove the spark plug cap and clean any dirt from around the spark plug 2 Remove the spark plug and install the spark plug in the plug cap 3 Set the plug side electrode on the cylinder head to gr...
Страница 33: ...to a Powerhouse service center Check the electrical appliance or equipment for any defects Take the generator to an authorized Powerhouse service center Replace the electrical appliance or equipment T...
Страница 34: ...stroke vertical shaft air cooled OHV gasoline engine Displacement 53 cc Compression ratio 7 4 1 Engine speed 5500 RPM with economy switch off Ignition system Electronic Spark plug A7RTC Starting syst...
Страница 35: ...Plug Gap 0 024 0 028 in 0 6 0 7 mm Valve Clearance Intake 0 0039 0 0008 in 0 10 0 02mm Valve Clearance Exhaust 0 0059 0 0008 in 0 15 0 02mm Dimensions Overall dimension L W H in mm 18 3 x 9 8 x 15 1 i...
Страница 36: ...Coast Distribution reserves the right to repair or replace any part or unit at its option Coast Distribution may request defective parts to be returned Anything replaced under warranty becomes the pr...
Страница 37: ...stem is warranted for two years If any emissions related part on your engine is defective the part will be repaired or replaced by Coast Distribution System Inc Owner s Warranty Responsibilities As th...
Страница 38: ...or including the choke system and replaceable high altitude main jets Engine speed control system Economy Throttle Intake manifold Engine control module Evaporative Control System Fuel tank Fuel cap F...
Страница 39: ...ap indicator and hoses are specially designed and constructed to not allow fuel vapors to permeate and be released to the atmosphere 2 A carbon activated canister collects gasoline vapors from the fue...
Страница 40: ...NG AN OUTPUT VOLTAGE SELECTOR SWITCH REFER TO THE CAR OWNER S MANUAL IN ORDER TO DETERMINE THE VOLTAGE OF THE BATTERY AND TO MAKE SURE THE OUTPUT VOLTAGE IS SET AT THE CORRECT VOLTAGE IF AN OUTPUT VOL...
Страница 41: ...Y MAY CAUSE A BATTERY EXPLOSION TO REDUCE RISK OF A SPARK NEAR BATTERY i CHECK POLARITY OF BATTERY POSTS A POSITIVE POS P BATTERY POST USUALLY HAS A LARGER DIAMETER THAN A NEGATIVE NEG N POST ii ATTAC...