
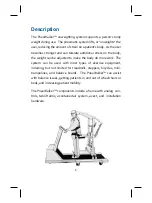


Key Benefits
Eliminate fear of falling
Safety for patient and clinician
Freedom for therapists
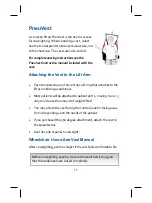
Assists in getting out of bed, lifting from a
wheelchair and increasing mobility
Moves through doorways
Use over
‐
ground or over a treadmill
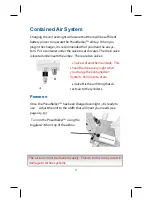
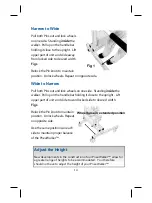
Analog Control
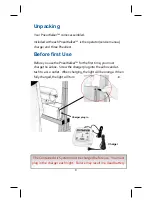
Assembly Manual
Pneumex, Inc. 800.447.5792 [email protected]
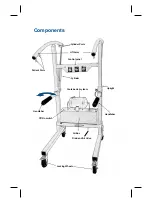
Genuine Pneumex Equipment
PneuWalker™


