Plus U2-1200 Скачать руководство пользователя страница 1

ACCESS

ENTER

CANC

EL

SELECT

+

-

PO

WE

R

PO

WE

R

ST

AT

US

AU

TO

SO

UR

CE

ME

NU

RGB

DVI

ON

OFF

FR

EE

ZE

MU

TE

ECO

DVI

RG

B

VIDE

O

S-V

IDEO

QUICK

ZOOM

VOL

KSTN

CANCEL

MENU

ASP

ECT

AUTO

PO

WE

R

ENTER

TIMER

IMPORTANT

* DLP™ (Digital Light Processing) and DMD (Digital Micromirror Device) are registered trademarks of Texas Instru-

ments Incorporated (U.S.A.).

* DMD is an ultra-precise part developed by Texas Instruments (U.S.A.) which takes the place of liquid crystal (in the

projector).

* VGA and XGA are trademarks or registered trademarks of International Business Machines Corporation (U.S.A.).
* S-VGA is a registered trademark of Video Electronics Standards Association.
* Microsoft, Windows, and PowerPoint are registered trademarks of Microsoft Corporation (U.S.A. and other countries).
* Macintosh is a trademark of Apple Computer Inc. (U.S.A.).
* TMDS is a trademark of Silicon Image, Inc.

Note that even in the absence of explanatory notes, serious attention is paid to the trademarks of the various companies
and to the product trademarks.
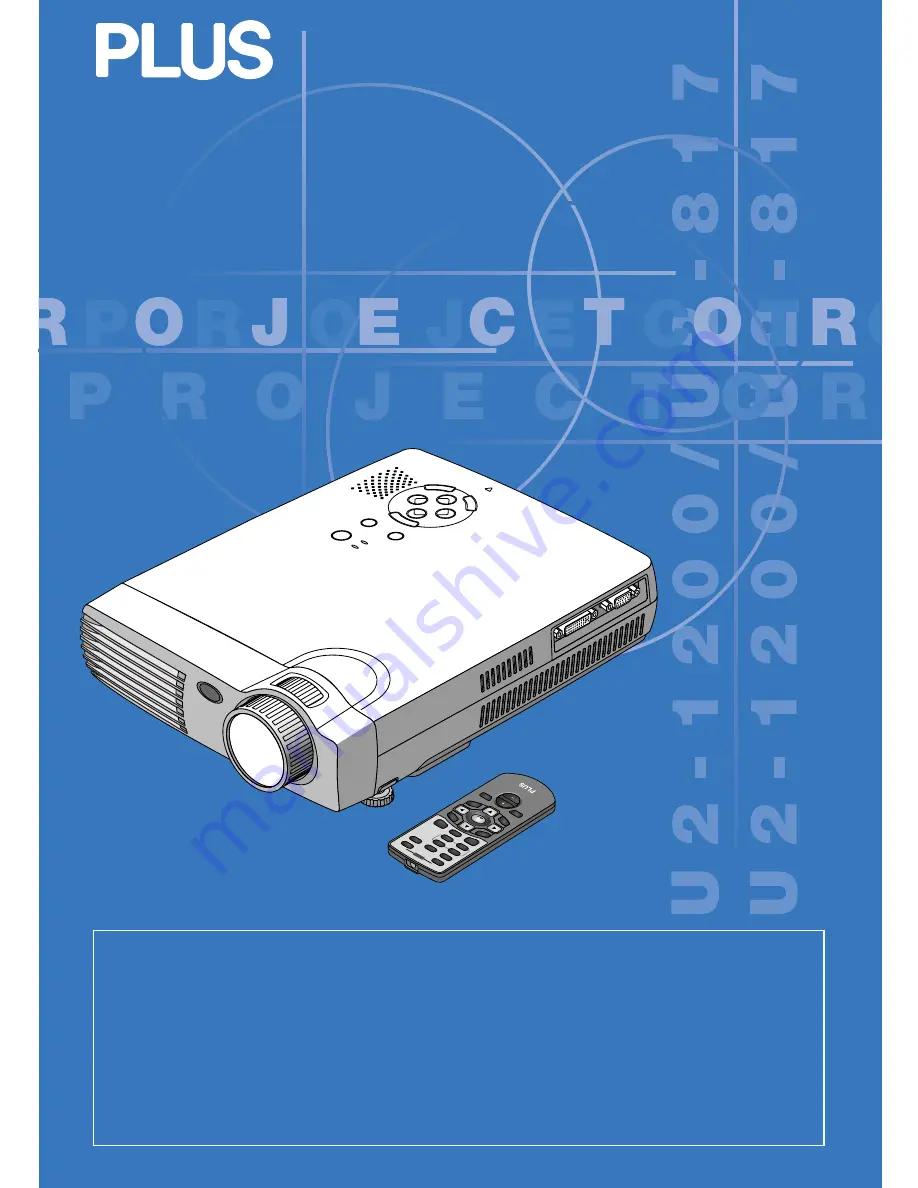
DATA PROJECTOR

U2-1200/U2-817

User’s Manual

Содержание U2-1200

Страница 1: ...xas Instruments U S A which takes the place of liquid crystal in the projector VGA and XGA are trademarks or registered trademarks of International Business Machines Corporation U S A S VGA is a regis...

Страница 2: ...NE BY QUALIFIED PLUS SERVICE PERSONNEL WARNING This is a class A product In a domestic environment this product may cause radio interference in which case the user may be required to take adequate mea...

Страница 3: ...thinner Use a blower or lens paper to clean the lens and be careful not to scratch or mar the lens Clean the ventilation slots and speaker grills on the unit periodically using a vacuum cleaner If ac...

Страница 4: ...unhindered logo creation have also been added High contrast ration of 1500 1 Use of a new generation of DMD devices has given birth to an amazing 1500 1 high contrast ratio By widening the difference...

Страница 5: ...EO Connectors E 19 Connections with Component Signals E 20 When the Video Equipment Has a YCbCr Connector or YPbPr Connector E 20 Connections with the AUDIO Jack E 21 Connections with the RGB OUT Conn...

Страница 6: ...go Background E 50 Logo Scaling E 50 Logo Position E 51 Capture Mode E 51 Invalidata Logo E 51 Start Logo Capture E 52 Preview E 52 Language E 53 On Screen E 53 Background E 53 Startup Screen E 54 Inf...

Страница 7: ...ctions No 772709000 S Video cable Mini DIN 4 pin plug 2 m 6 6 feet 1 This cable is used in the connection of video equipment that has an S video connector Connections are described on Page E 19 No 771...

Страница 8: ...oring or moving the pro jector User s Manual CD ROM edition 1 User s Manual Simplified Edition 1 HOWTO PUTTHE PROJECTOR INTOTHE CARRYING CASE Attach the lens cap to the projector before putting the pr...

Страница 9: ...ont adjuster button E 27 There is also one on the right side Ventilation slots Remote control sensor E 12 Zoom ring E 26 Focus ring E 27 Lens Lens cap To protect the lens attach the lens cap when the...

Страница 10: ...ar operations E 24 34 35 ENTER button POWER button E 23 SOURCE button E 28 MENU button SELECT buttons CANCEL button Built in Security Slot This security slot supports the MicroSaver Security System ma...

Страница 11: ...tain the medical care of a doctor Remove the batteries from the remote control when it is not going to be used for a long period Some operations such as menu operations are available only through the...

Страница 12: ...ce only with the same or equivalent type CR2025 recommended by the manufacturer Dispose of used batteries according to your local regulations Remote Control Range Point the infrared transmitter of the...

Страница 13: ...4 When selecting the language of menu displays etc Only when the power is first switched on following purchase See When Menu Language Select Is Displayed Upon Switching On the Power on Page E 24 5 Sw...

Страница 14: ...tion WIDE Center of lens Projection Distance TELE Screen size Diagonal Width Height There is a tolerance of 5 due to design values This table uses the lens apex and lens center as references and requi...

Страница 15: ...6 40 60 80 100 120 150 200 250 300 0 43 0 32 0 53 0 40 0 81 0 61 1 21 0 91 1 62 1 21 2 03 1 52 2 43 1 82 3 04 2 28 4 06 3 04 5 08 3 81 6 09 4 57 1 20 1 24 1 49 1 93 2 32 2 91 3 50 3 90 4 69 4 88 5 87...

Страница 16: ...se check with Table of Supported Frequency on Page E 66 The setting method for the personal computer will differ depending on the specific model Please read the personal computer instruction manual or...

Страница 17: ...tor please make the connection via the supplied DVI mini D Sub 15 pin conversion cable The projector has been set to Auto at the factory however if it does not project please change the input setting...

Страница 18: ...from the notebook computer please try the operation described below For an IBM PC AT compatible computer press the Fn key plus any one of the F1 to F12 keys See the table below Manufacturer Model Key...

Страница 19: ...enu sequence of Setup Input For mat Video See Input Format on Page E 49 Video Equipment with S VIDEO Connectors Make the connection to the S VIDEO connector of the projector using the supplied S video...

Страница 20: ...ut Format RGB See Input Format on Page E 49 This projector automatically distinguishes the YCbCr input signal and the YPbPr input signal and projects it When projecting the YCbCr signal or YPbPr signa...

Страница 21: ...ke connection via the supplied audio conversion cable The built in speaker of the projector provides monaural audio To enjoy convincing audio reproduction please connect the audio output of the video...

Страница 22: ...ou the same screen can be projected with the projector This allows personal computer control even from a position at which the projector image cannot be viewed RGB OUT AUDIO VIDEO S VIDEO RGB connecto...

Страница 23: ...switched on after purchase Menu Language Select will be displayed See Page E 24 for information about language selection When the power is switched on the POWER indicator changes to flashing green th...

Страница 24: ...se to focus it See Page E 27 Menu Language Select W hlen Sie bitte die Men Sprache aus Deutsch S il vous pla t choisir la langue de menu Fran ais Per favore di scegliere la lingua di menu Italiano Esc...

Страница 25: ...n other than the POWER button One more press of the POWER POWER OFF button will switch off the power Flashes amber Approximately 120 seconds Lit amber Standby mode The POWER indicator changes to flash...

Страница 26: ...horizontally Align the center of the screen and the center of the projector lens 2 If the image is shifted vertically move the image up or down with the adjuster See Making Adjustments with the Adjus...

Страница 27: ...located at the left and right and 2 raise the projector to align the image with the screen then release your fingers Turn the left and right front adjusters for fine adjustment Adjust so that there is...

Страница 28: ...selected source regardless of whether an input sig nal is present Note When you do not operate source selection the projector will assume the input selec tion condition that was previously used See A...

Страница 29: ...rtions extend beyond the boundaries of the screen The top and bottom of the 16 9 image becomes black Wide Projects to fill the full width with the entire image at 16 9 This feature is used to project...

Страница 30: ...k the picture and the sound and the screen will take on the background color that has been set Another press will cause a return to the original conditions ON OFF FREEZE MUTE ECO DVI RGB VIDEO S VIDEO...

Страница 31: ...conds Presentation Timer Off Press the CANCEL button to close the display immediately 2 Press the or the button to set the time The setting contents are off and from 10 to 60 minutes in 10 minute inte...

Страница 32: ...saved See Keystone Save on Page E 47 Screen examples have been drawn in an exaggerated style for the purpose of description General Operation Adjustment of the Volume This function adjusts the volume...

Страница 33: ...ns for a period of about 10 seconds the display will close automatically 1 2 3 No enlargement Approximately 2 times enlargement Movement The image can also be moved in the following circumstances When...

Страница 34: ...cause the adjustment display to change in sequence The adjustment display can be selected with use of either the SELECT or button 2 Press the cursor or button to make the adjustment Pressing the or bu...

Страница 35: ...ime of shipping from the factory see Factory Default on Page E 55 Some items will not return to their initial values The adjustment setting items and contents will differ depending on the input select...

Страница 36: ...Off Input Format Menu Operation Method Menu Screen Names and Functions Menu Name This is the title of the menu There is a change to the title screen when the menu is se lected The selected menu name...

Страница 37: ...is selected 1 Press the MENU button to display the menu Menu Display The menu name that existed when the menu was closed previously will be displayed Note Please check that the cursor of the item nam...

Страница 38: ...spect Auto Off Off On Keystone 0 Items for which the Icon Is Displayed A press of the ENTER button displays the sub menu and the cursor moves to the sub menu Press the SELECT button and align the curs...

Страница 39: ...s displayed Note A press of the QUICK button while the menu is displayed will close the menu and display the quick menu A press of the MENU button while the quick menu is displayed will close the quic...

Страница 40: ...Picture 48 H Position 0 V Position 0 Reset Brightness 0 D V I A n a l o g D V I D i g i t a l Y P b P r Y C b C r V I D E O S V I D E O Menu name Image Color View Brightness E 42 A n a l o g R G B It...

Страница 41: ...e Reperence Page Sub Menu Item Name Auto Power Off E 48 Memu Position Lamp Mode E 48 Input Format RGB E 49 DVI E 49 Video E 49 SVideo E 49 Presentation Timer E 49 Logo Capture Logo Background E 50 E 5...

Страница 42: ...ore green Sharper image Note The adjustment values of the adjustable items are stored according to input source Tint can be adjusted only at the time of NTSC composite S signal input Contrast 0 Color...

Страница 43: ...ture is shifted up or down Select the V Position item name and adjust with the SELECT buttons Reset This function resets i e returns to the standard settings the adjust ment setting value of the Image...

Страница 44: ...or Temp The screen color is affected by the color of the illumination and other extraneous light This function adjusts the white which is the reference color for video equipment and improves the quali...

Страница 45: ...lance White Balance This function automatically adjusts the black level and the white level of the analog RGB input signal to suit the personal computer 1 Select the item name White Balance and press...

Страница 46: ...ull width with the entire image at 16 9 This feature is used to project a squeezed image in a proper aspect ra tio Zoom Projects only the 4 3 portion within 16 9 image to fill the screen Portion that...

Страница 47: ...ng the and buttons Filter Vertical Flip Horizontal Flip Keystone 0 3 Keystone Save Aspect Auto Off Off On Pressing the button will cause the projection screen to be corrected toward the screen depicte...

Страница 48: ...e Auto Power Off and select the setting contents with the SELECT buttons On The power is switched off when there is no signal Off The power is not switch off even when there is no signal Operation whe...

Страница 49: ...name Input Format press the ENTER button and the sub menu will open Select the connector that is to be changed and select the setting contents with the SELECT buttons RGB This is the signal setting f...

Страница 50: ...buttons Auto Power Off Memu Position Lamp Presentation Timer Option Auto Source On Off Nonal Off Input Format Logo Capture Red Green Blue Logo Position Caputure mode In alidata Logo Logo Background Bl...

Страница 51: ...E 57 for information about using logo capture Select item name Logo Capture press the ENTER button and the sub menu will open Select Capture Mode and select the compression ratio with the SELECT butt...

Страница 52: ...ton There is a change to the menu display Starting Capture Press the ENTER button start the capture Red Green Blue Logo Position Caputure mode Invalidata Logo Logo Background Black Real High Quality L...

Страница 53: ...On Screen and select the setting contents with the SELECT buttons On The message is displayed Off The message is not displayed Note Even when set to off messages that are not in a black frame will be...

Страница 54: ...nts with the SELECT buttons Logo Displays the logo Blank Does not display the logo Note When Logo is selected at the startup screen the PLUS logo will be displayed if the logo you created and captured...

Страница 55: ...f all the in put sources to the standard factory default values Select item name Factory Default and press the ENTER button There is a change to the display Press ENTER to Factory Default Set Press th...

Страница 56: ...mode approx 3000 hours Use only in Eco mode approx 4000 hours Lamp life will differ when there has been switching between the modes When Lamp Life Has Been Reached Replace the Lamp Cartridge is displ...

Страница 57: ...background of the created image is white selection of White permits creation of a seamless startup screen 3 Set the Logo Scaling Page E 50 Select Logo Scaling and set the size When a large magnificat...

Страница 58: ...There is a re turn to the menu display This completes the startup logo The next time the projector is started the captured logo will be displayed Note This function is for the logo Full color photogra...

Страница 59: ...is high move the projector to a cool place If the projector s internal temperature is high check the cooling fan s ventilation slots and clean them if they are clogged When the temperature protector i...

Страница 60: ...cal positions properly ad justed Does the input signal have a compatible resolution and frequency Check the computer s resolution If the image is crushed in the horizontal or vertical direction or if...

Страница 61: ...ails or other hard object since this will cause scratches Dirty Lens Clean using the same method you would use to clean a camera lens Use a commercial blower for camera use or cleaning paper for eye g...

Страница 62: ...rtridge is displayed on the screen When this occurs it is time to replace the lamp cartridge Please make the replacement following the procedure below If the projector is used another 100 hours after...

Страница 63: ...ojector upside down 3 Remove the lamp cover 1 Turn the lamp cover s set screw counterclockwise and loosen until the screw turns freely The screw does not come off 2 Open the lamp cover a little then p...

Страница 64: ...utton again See Lamp Timer Reset on Page E 55 Note After reaching the lamp service life if the lamp is used for more than another 100 hours it will not be possible to switch on the power Should this h...

Страница 65: ...5 to 85 kHz Vertical 50 to 120 Hz Output VGA 640 480 S VGA 800 600 XGA 1024 768 Color Reproduction Full color 16 770 000 colors Resolution U2 1200 VGA 640 480 expansion true S VGA 800 600 expansion tr...

Страница 66: ...es of characters or lines may be uneven XGA SVGA XGA SVGA VIDEO NTSC VIDEO PAL SECAM VESA NEC PC 9800 Apple Macintosh HDTV 1080i 720p SDTV 480p 640 350 640 350 720 350 640 400 640 400 720 400 720 400...

Страница 67: ...E 67 RGB DVI ACCESS E N T E R C A N C E L SELECT POWER POWER STATUS AUTO SOURCE MENU Cabinet Dimensions Unit mm inch 230 9 0 58 2 3 295 11 6...

Страница 68: ......

Отзывы: