English
26
To Use:
-
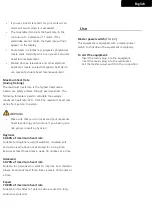
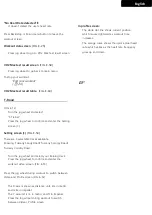
Place the magnet into position on the
console control head. Your treadmill will not
start and operate without this.
-
Fasten the plastic clip onto your clothing
securely to assure good holding power. Note:
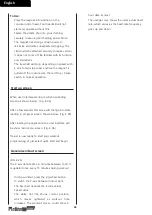
The magnet has strong enough power to
minimize accidental, unexpected stopping. The
clip should be attached securely to make certain
it does not come off. Be familiar with its function
and limitations.
The treadmill will stop, depending on speed, with
a one to two step coast anytime the magnet is
pulled off the console. Use the red Stop / Pause
switch in normal operation.
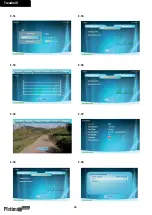
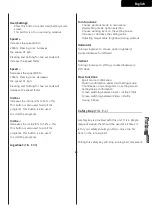
Start up screen
When user interface startup it will show loading
screen as shown below. (Fig. E-04)
After a few seconds this scree will change into Data
reading in progress screen. Shown below. (Fig. E-05)
After loading the application the user interface will
be show main menu screen. (Fig. E-06)
Trainer is now ready to start your workout
programming of just select quick start and begin.
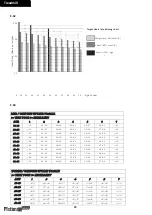
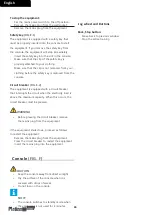
General workout screen
(FIG. E-26)
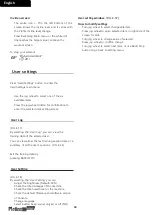
The X axis denote time in minutes between 0~30. It
is updated once every 15 minutes during workout
-
During workout, press the jog wheel button
to switch the Y-axis between Incline/ bpm.
-
The bar chart denotes the incline value/
Speed value.
-
The white dot line shows current position,
which moves rightward as workout time
increases. The workout screen could show 5-
hour data at most.
-
The orange curve shows the user’s actual heart
rate, which varies as the heart rate frequency
goes up and down.
Содержание PRO Treadmill 3.0
Страница 2: ......
Страница 3: ...Treadmill 3 A...
Страница 4: ...Treadmill 4 B 1 1 1 1 1 1 1 1 1 1 1 STEP 3 TOOLS STEP 2 STEP 1 STEP 4 1 User manual 1...
Страница 5: ...Treadmill 5 C STEP 3 STEP 2 STEP 1 STEP 4 TOOLS D 0...
Страница 7: ...Treadmill 7 D 2 117 3 5 x 12L 7pcs Sheet metal screw STEP 3 STEP 2 STEP 1 STEP 4 B C F D G E...
Страница 8: ...Treadmill STEP 4 TOOLS 8 TOOLS...
Страница 9: ...Treadmill 9 D 3A D 3A 4 3 108 108 M8x12L Socket head cap bolt 6pcs STEP 3 STEP 2 STEP 1...
Страница 11: ...Treadmill 11 D 4 73 32 73 73 M5x12L Phillips head screw 4pcs STEP 3 STEP 2 STEP 1...
Страница 12: ......
Страница 13: ...Treadmill 11 E 01 E 02...
Страница 14: ...Treadmill 12 E 3 E 07 E 4 E 08 E 5 E 09 E 6 E 10...
Страница 15: ...Treadmill 13 E 11 E 15 E 12 E 16 E 13 E 17 E 14 E 18...
Страница 16: ...Treadmill 14 E 19 E 23 E 20 E 24 E 21 E 25 E 22 E 26...
Страница 17: ...15 Treadmill E 27 E 31 E 28 E 32 E 29 E 33 E 30 E 34...
Страница 18: ...16 Treadmill E 35 E 39 E 36 E 40 E 37 E 41 E 38 E 42...
Страница 19: ...17 Treadmill E 43 E 47 E 44 E 48 E 45 E 49 E 46 E 50...
Страница 20: ...Treadmill 18 E 51 E 55 E 52 E 56 E 53 E 57 E 54 E 58...
Страница 49: ......
Страница 52: ...Treadmill 36...
Страница 53: ......
Страница 54: ......
Страница 55: ......

