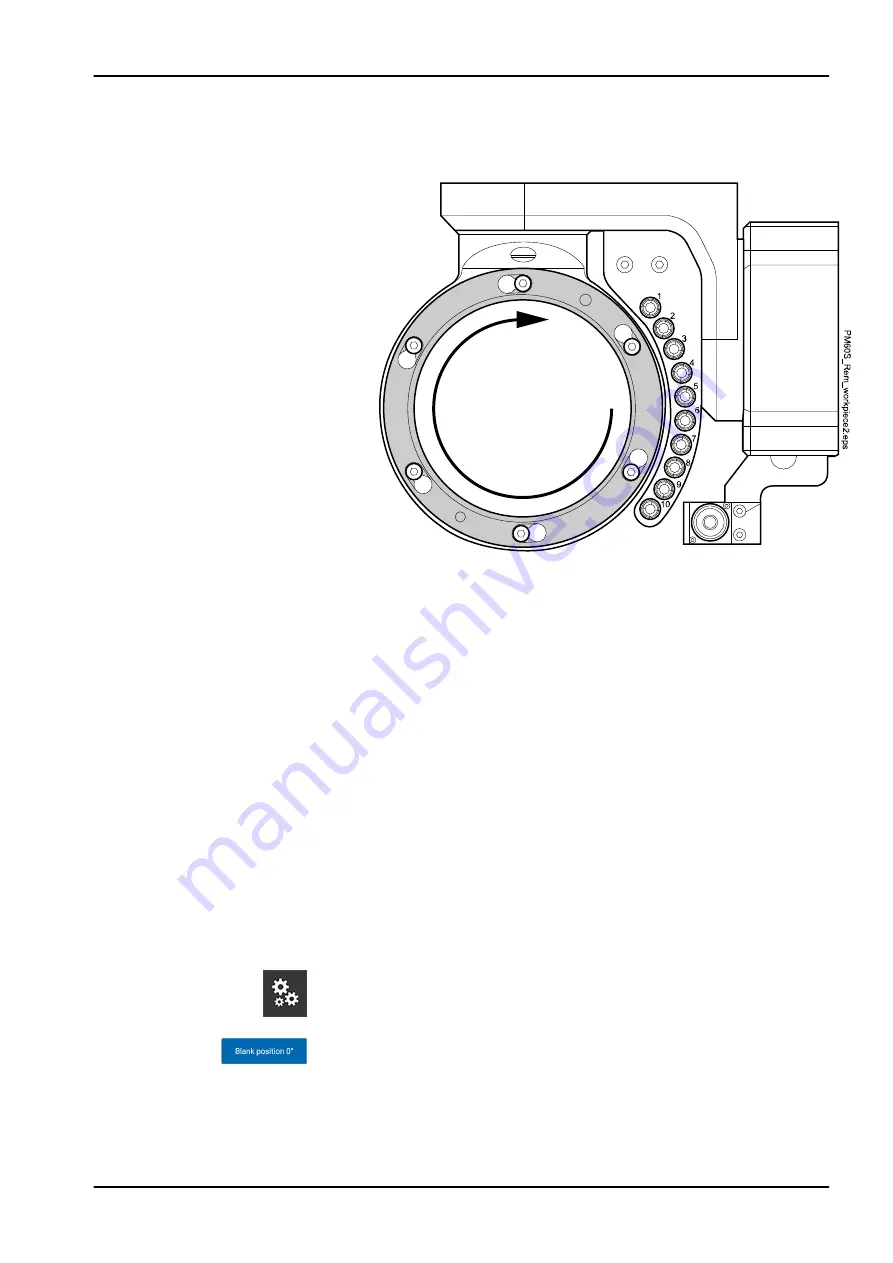
5. Remove the clamping ring by turning it in a clockwise direction to the
right.
6. Remove the workpiece in it, if present.
7. Clean the tool holder using the cleaning brush.
8. Insert the workpiece in the workpiece holder.
9. Make sure the workpiece is correctly aligned and stable.
10. Insert the clamping ring and turn it counterclockwise, until it stops
turning.
11. Tighten evenly the clamping screws of the clamping ring until hand-tight.
The clamping ring may not lift off. It must be flush with the workpiece
holder on all sides, as if forming a single smooth surface.
12. Check the secure seating of the workpiece.
13. Close the protective door.
16.3 Removing workpiece
Steps
1. Press Settings in the
Options menu.
2. Press Blank position 0° to drive the milling unit to the blank change
position.
3. When the cover status display lights up, open the protective door.
16 Operating milling unit
User's manual
Planmeca PlanMill 60 S 69
Содержание PlanMill 60 S
Страница 1: ...Planmeca PlanMill 60 S user s manual EN 30040852...
Страница 100: ...21 2 Dimensions Front view 21 Technical information 94 Planmeca PlanMill 60 S User s manual...
Страница 101: ...Side view 21 Technical information User s manual Planmeca PlanMill 60 S 95...
Страница 112: ......
Страница 113: ......


