17 MARGIN
82 Planmeca Chairside CAD/CAM solution
User’s manual
17.3.2 Move curve
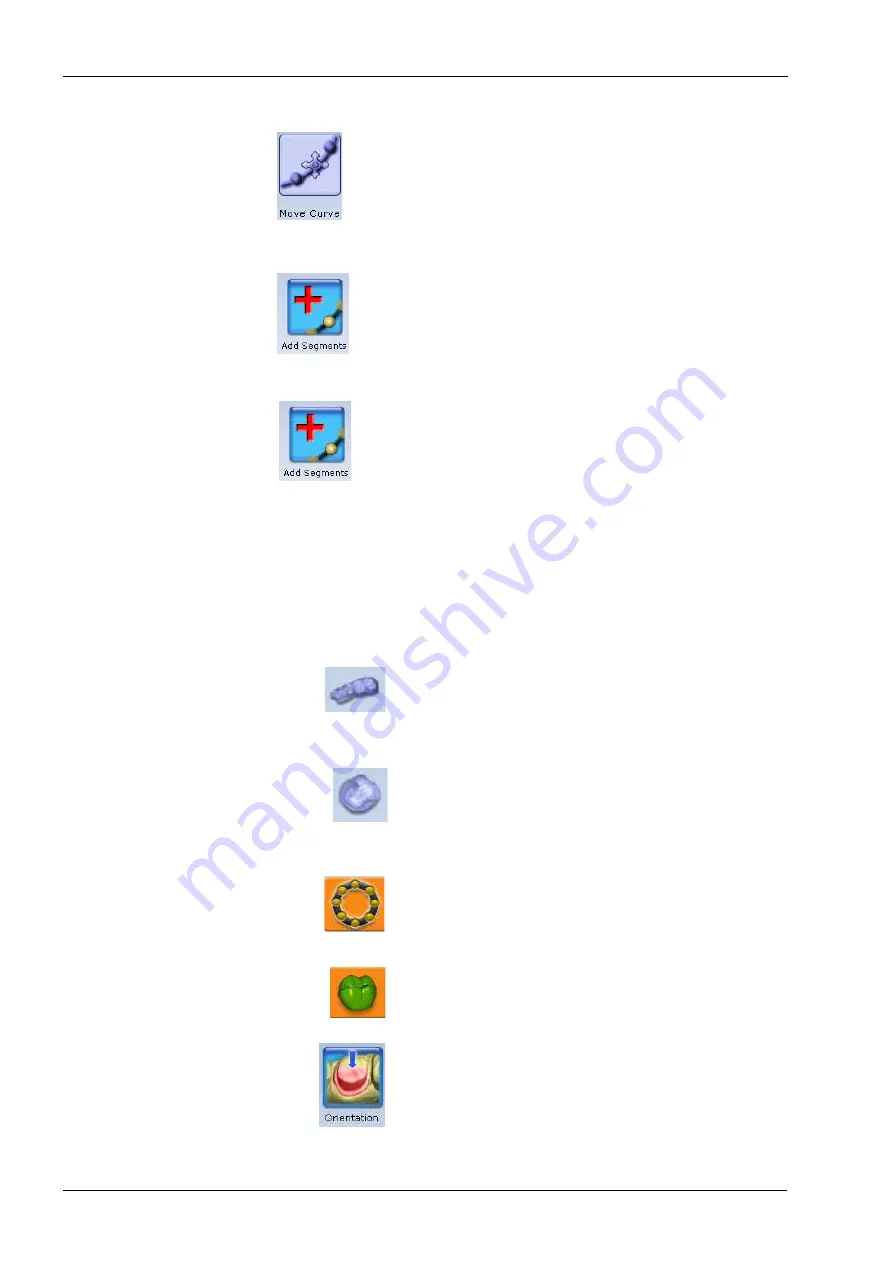
1. Click Move Curve.
2. Click and drag the curve into the desired position.
3. Release the mouse button to view the new occlusal area
line.
17.3.3 Add segments
1. Click Add Segments.
2. Start by clicking on the section of the line that is well
aligned.
3. To add new node points click across the gap in the line.
A black line traces where you click. Use multiple clicks to
create a curve.
4. Click Add Segments.
The system redraws the pre-op area line and removes the
bad section.
5. Repeat as needed.
17.4 Margin aids
View ICE Preparation
NOTE
For intraoral cases only.
Use View ICE Preparation to toggle between ICE view
and stone view.
Show Features
The Show Features tool can be used to highlight high
contour areas in green for finding the margin edge on
supragingival preps, inlays, and onlays.
Toggle margin
Click Toggle Margin to show or hide the margin and to
verify the margin has been correctly drawn.
Preview library
To display a preview of the library tooth on top of the
preparation click Preview Library.
The size of the preview tooth is based on the margin. The
tooth may appear smaller on partial restorations. The
preview tooth is positioned according to the Orientation.
To use the library tooth as a guide for changing the
model’s alignment click Orientation.
Содержание Chairside PlanCAD Easy
Страница 2: ......
Страница 12: ...3 SYMBOLS ON PRODUCT LABELS 6 Planmeca Chairside CAD CAM solution User s manual 3 1 2 Milling unit...
Страница 179: ......


