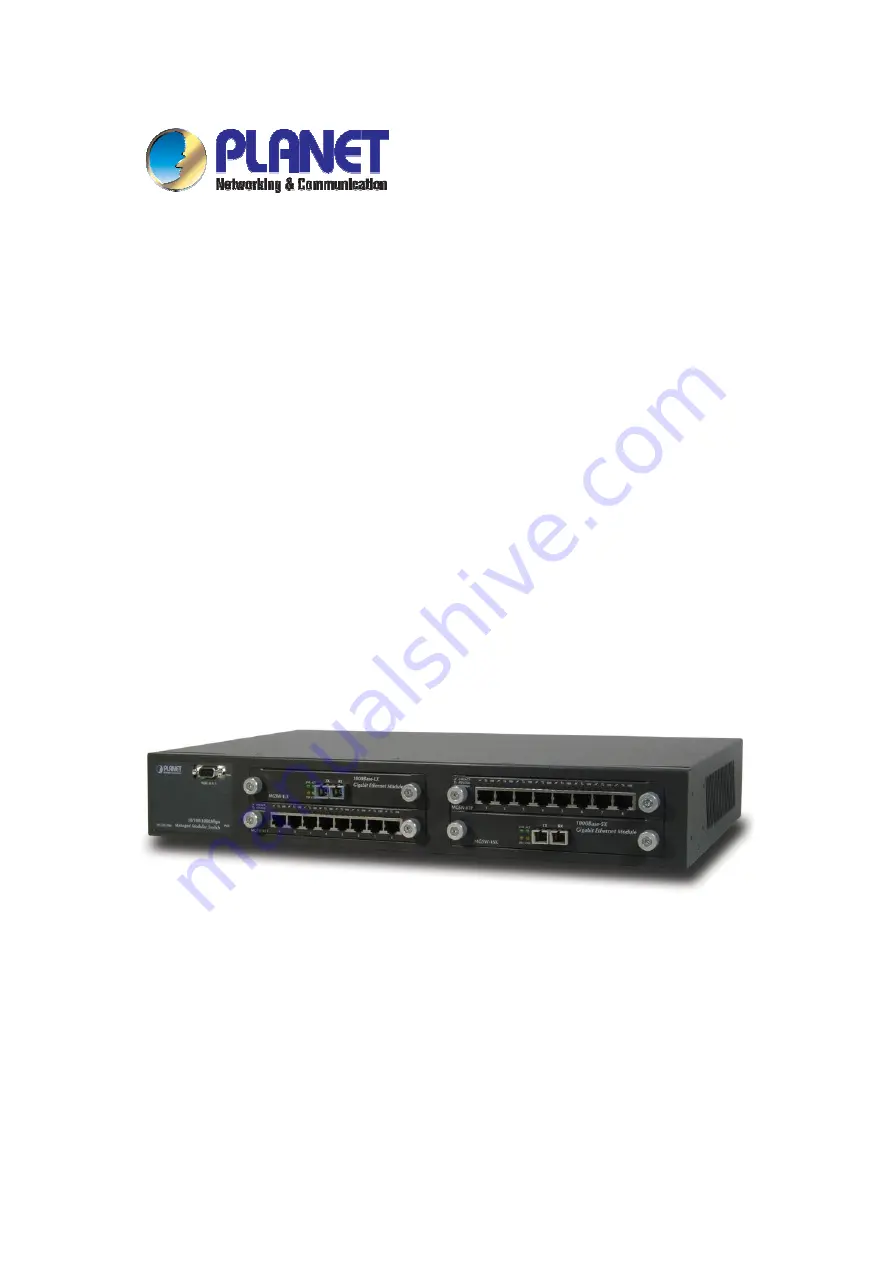
4-slot Managed Modular Switch
MGSW-004
User
’
s Manual
Страница 1: ...4 slot Managed Modular Switch MGSW 004 User s Manual ...
Страница 2: ...t to make improvements to this User s Manual and or to the products described in this User s Manual at any time without notice If you find information in this manual that is incorrect misleading or incomplete we would appreciate your comments and suggestions FCC Warning his equipment has been tested and found to comply with the limits for a Class A digital device pursuant to Part 15 of the FCC Rul...
Страница 3: ... Settings 7 3 3 2 Ports Settings 8 3 3 3 Address Table 9 3 3 4 Spanning Tree Protocol 9 3 3 5 Broadcast Storm Filter 10 3 3 6 IGMP 10 3 3 7 VLAN Mode 2 modes 10 3 3 8 VLAN for CPU 2 VLANs 11 3 3 9 Secure IP for Telnet and HTTP 11 3 3 10 Save Current Settings 12 3 3 11 Factory Default Settings Reboot System 12 3 3 12 Reboot System 12 3 3 13 Quit 13 CHAPTER 4 WEB MANAGEMENT 14 4 1 LOGIN INTO SWITCH ...
Страница 4: ... 1P 20 4 11 PRIORITY 2 TOS TYPE OF SERVICE 20 4 12 IGMP 21 4 13 STATIC ADDRESS 22 4 14 STORM FILTER 22 4 15 PORT MIRROR 23 4 16 IP CONFIG 24 4 17 SNMP 25 4 18 SAVE REBOOT 25 4 19 UPGRADE 26 APPENDIX A TECHNICAL SPECIFICATIONS 27 APPENDIX B 28 ...
Страница 5: ... The optional modules can be 8 port 10 100Base N Way Switch Module 100Base FX Fiber Module ST SC 1000Base LX Gigabit Module 1000Base SX Gigabit Module and 1 x 1000Base T Gigabit In this modular switch each module has its own entry MAC address table to store source address which is 4K for 8 port 10 100 TX and Gigabit module 12K for 4 port fiber MGSW 004 supports up to 9 6Gbp back plane for packet t...
Страница 6: ...or 8 port 10 100 TX and Gigabit module 12K for 2 4 8 port fiber module Ø Packet Buffer 256Kbyts for 8 ports 10 100TX module 4 Mbytes for 100FX Fiber module 128KBytes for Gigabit module Management Feature Ø IEEE 802 1Q Tagging VLAN Up to 4095 VLANs Ø Telnet console and web manageable Ø IEEE 802 1d Spanning Tree Protocol STP Ø Statistic Address Table for manual address addition Ø Port Trunking suppo...
Страница 7: ...ntelligent Switch Module Ø 4 Port 100 Base FX Intelligent Fiber Module Ø Gigabit 1000Base T Intelligent Switch Module Ø Gigabit 1000Base SX LX Intelligent Fiber Module 2 1 Font Panel The font panel of the 4 slot Managed Modular Switch consist LED indicators console port and 4 slot modules The Font Panel of MGSW 004 LED Indicators LED Indicators LED Status Description Green Power On Power Off Power...
Страница 8: ...ust line power in the range 100 240V AC 50 60Hz Power On Connect the power cord to the power socket on the Rear Panel of the Switch The other side of power cord connects to the power outlet Power Notice 1 The device is a power required device it means it will not work till it is powered If your networks should active all the time please consider using UPS Uninterrupted Power Supply for your device...
Страница 9: ...rd you 3 Locate a mounting bracket over the mounting holes on one side of the unit 4 Insert the screws and fully tighten with a suitable screwdriver 5 Repeat the two previous steps for the other side of the unit 6 Insert the unit into the 19 rack and secure with suitable screws not provided 7 Reconnect all cables Module installation The slot on the font panel is purposed for installing optional mo...
Страница 10: ...gure its communication parameters The operating mode of the console port is Ø Baud rate 9600 Ø Data bits 8 Ø Parity none Ø Stop bits 1 Ø Flow control none After finished the setting click OK 3 2 Telnet To access the switch through Telnet 1 Make sure switch is configure with an IP address and switch is reachable from PC 2 Start telnet program from PC and connect to the switch The management interfa...
Страница 11: ...ol Ø Broadcast Storm Filter Ø IGMP Ø VLAN Mode 2 modes Ø VLAN for CPU 2 VLANs Ø Secure IP for Telnet and HTTP Ø Save Current Settings Ø Factory Default Settings Reboot System Ø Reboot System Ø Quit 3 3 1 Device Settings This menu contains system parameters to display and configure the switch to your network Menu items are Ø Version RO display the firmware version of MGSW 004 Ø MAC Address RO displ...
Страница 12: ...2 Ports Settings Ø Select any one port the menu contains ten items for port management will shown up as below Ø Link RO display the link state UP DOWN of per port on MGSW 004 Ø Speed Duplex RO display the Speed Duplex of the device connect to the port Ø Port Enabled allow enable or disable the port of MGSW 004 Ø Speed Duplex allow set Auto negotiation 100Mbps full half duplex 10Mbps full half dupl...
Страница 13: ...e This menu contains four items for MAC address record on each working port Ø All Ø Module Ø Module Port Ø Quit 3 3 4 Spanning Tree Protocol This menu contains three items to enable or disable STP Ø Enable Ø Disable Ø Quit ...
Страница 14: ...e Ø Disable Ø Quit 3 3 6 IGMP This menu contains three items to enable or disable IGMP Ø Enable Ø Disable Ø Quit 3 3 7 VLAN Mode 2 modes This menu contains two items for 2 VLAN mode selections Ø VLAN is valid for all packets Disable Ø VLAN is valid for broadcast and multicast packets not for unicast packets Ø Quit ...
Страница 15: ... items for Secure IP setting Ø Secure IP for Telnet Disabled default value Ø Secure IP for HTTP Disabled default value Ø Secure IP 1 Ø Secure IP 2 Ø Secure IP 3 Ø Secure IP 4 Ø Quit 3 3 9 1 Secure IP for Telnet Disable allow any PC login in MGSW 004by Telnet enable allow the PC of secure IP login in MGSW 004 3 3 9 2 Secure IP for HTTP Disable allow any PC login in MGSW 004 by HTTP enable allow PC ...
Страница 16: ...resses of 4 PCs 3 3 10 Save Current Settings This menu provide save current settings of this Switch 3 3 11 Factory Default Settings Reboot System This menu provide restore to the default settings of this Switch 3 3 12 Reboot System This menu provides reboot the Switch ...
Страница 17: ...13 3 3 13 Quit This menu provide logout the switch ...
Страница 18: ...ole port RS 232 and use this IP address to configure MGSW 004 through the web interface or modify your PC s IP domain to the same with MGSW 004 then use the default IP address to remote configure MGSW 004 through the Web interface 4 1 login into switch Ø Use Internet Explorer Ø Type in IP Address of the MGSW 004 switch then press enter Ø Key in user name and password The default user name is admin...
Страница 19: ... The default Gateway of the managed unit MAC Address The MAC address of the managed unit Console The RS232 Console setting of the managed unit Firmware Version The firmware version of the managed unit 4 3 Modules This page shows the modules that have installed into the MGSW 004 The optional modules can be 8 port 10 100Base N Way Switch Module 100Base FX Fiber Module ST SC 1000Base LX Gigabit Modul...
Страница 20: ...ch port You can compare and evaluate throughput or other port parameters All screen data is updated automatically You can clear 8 counters or packet seize counters of some ports by select the corresponding Clear check boxes then press Clear button To clear all counters of all ports press the Select All button then Clear button ...
Страница 21: ...s Ø Press button to display the first two VLANs Ø Enter the VLAN index in the VLAN edit box then press Go to button You can add edit and remove port members of each VLAN and then finally press Apply button only once to configure the desired VLANs you want Note if you want to set multiple VLANs we suggest that you set Default VLAN ID for each port first in Ports page 4 7 Trunk Port trunking is the ...
Страница 22: ... while preventing undesirable loops in the network For Layer 2 Ethernet network to function properly only one active path must exist between two stations The spanning tree algorithm calculates the best loop free path throughout a switched network STP forces redundant data paths into a standby blocked state If a network segment in the spanning tree fails and a redundant path exists the spanning tre...
Страница 23: ...fore entering the forwarding state Ø Root Path Cost the path cost to the root switch from this switch Ø Root Port the port providing the best path from the switch to the root switch The Spanning Tree Bridge Configuration describes this switch information in the spanning tree Note Priority Max Age Time Hello Time and Forward Delay are unchangeable on this device 4 9 Port Security This function allo...
Страница 24: ... of 802 1p to Internal Priority The received packets with 802 1q tag are assigned priority according to a flexible and programmable mapping of the 802 1p user priority tag 3 bits value from 0 to 7 to the internal priority queue The default is to assign a packet to high priority queue when the 802 1p user priority tag is 4 to 7 and to low priority queue when the 802 1p user priority tag is 0 to 3 P...
Страница 25: ...at to assign a low priority 4 12 IGMP IGMP is used in multicast communication network applications where one or more servers for example video servers generate multicast traffic If you want your switch to support multimedia and IP multicast enable this option default is enabled When this option is enabled this switch only directs the multicast data packets to the ports where needed saving bandwidt...
Страница 26: ...c Address Table Ø Enter the MAC address in the MAC Address field ex 00 00 00 00 00 01 and VLAN ID default is 1 Ø Select the Module and Port you want to associate with this entry with from the Port drop down box Ø Click Add button Ø Press Apply button 4 14 Storm Filter Storm Filter can avoid any flooded data packets This feature prevents the bursts of broadcast traffic Excessive broadcast packets B...
Страница 27: ...the monitored port in Mirror Source Port choice box in the corresponding mirror source module Only one port can be monitored in one module at the same time Ø Choose the corresponding target module port in Mirror Target Module and Mirror Target Port choice box Ø Click the corresponding Enabled check box Ø Press Apply button ...
Страница 28: ...g edit box If you want to change the user name or password for the managed node the following steps is needed Ø Click the Change Password checkbox Ø Enter the user name in Username edit box Ø Enter the same password in Password and Confirm Password edit box Ø Press the Apply button You should reboot system to let your settings take effect if you have changed one of the IP address subnet mask and d...
Страница 29: ...can save current settings by click the Current Settings checkbox then press the Apply button next to the checkbox You should reboot the system so that your current settings will take effect If you want to use the factory default settings click the Factory Default Settings checkbox then press the Apply button next to the checkbox You should reboot the system so that your current settings will take ...
Страница 30: ...P to download the new version firmware from our website Ø Enter password in the Password edit box Ø Enter the file downloaded in the File Path edit box You can use Browse button to select the file Ø Press the Upgrade button After you have successfully upgraded the new firmware please reboot the system so that the new firmware will take effect ...
Страница 31: ...ber LX 50 125 62 5 125μm Multi mode fiber 8 9 125 single mode fiber RJ 45 category 5e cable 4 pairs Port 8 port Rl45 4 port Fiber optic ST SC 1 port Fiber optic SC 1 port STP RJ 45 MAC Address 4K 12K 4K 4K EMI FCC Class A CE Mark Safety UL cUL CE Temperature 0 to 55 Humidity 10 95 Standards IEEE802 3 10BASE T IEEE802 3u 100BASE TX 100BASE FX IEEE802 3x Flow Control IEEE802 3ab Gigabit Ethernet IEE...
Страница 32: ...ble Specification 10 100Mbps 10 100Base TX Contact MDI MDI X 1 1 3 2 2 6 3 3 1 6 6 2 Straight Through Cable Crossover Cable 1000Mbps 1000Base T Contact MDI MDI X 1 BI_DA BI_DB 2 BI_DA BI_DB 3 BI_DB BI_DA 4 BI_DC BI_DD ...
Страница 33: ...29 5 BI_DC BI_DD 6 BI_DB BI_DA 7 BI_DD BI_DC 8 BI_DD BI_DC ...