


20
Note
1. The IPOE-E172 Budget Alert will blink 4 times when
the IPOE-E172 is powered on by Ultra PoE.
2. The IPOE-E172 Budget Alert will blink 2 times when
the IPOE-E172 is powered on by 802.3at PoE+.
3. When the LED turns steady green, it means the IPOE-
E172 is being powered successfully with PoE.
4. If the LED is not lit, please check the remote PSE
or the cable connecting to a PC or a network device
to see if the cable is correct. Or with an 802.3bt/
at device such as the target PD, check whether the
power injection is correct.
5. Never connect any non-standard POE PSE to the IPOE-
E172; it will damage the device permanently.
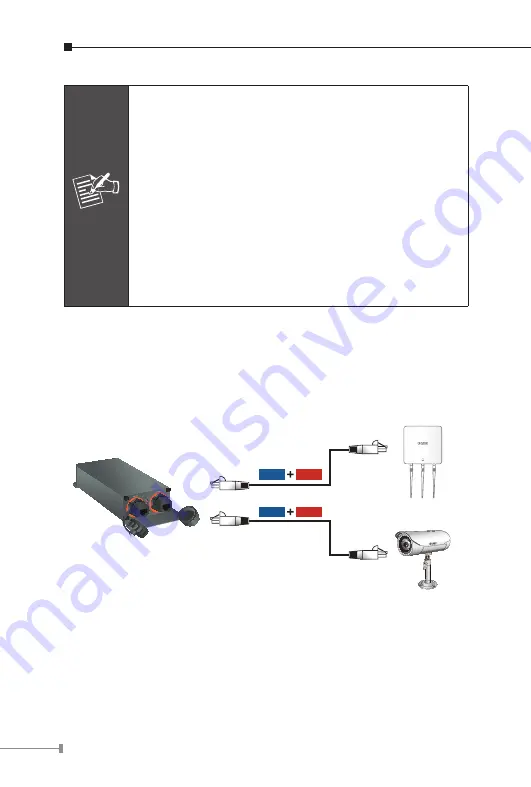
2.6 Connecting IPOE-E172 to Powered Device (PD)
Step 1:
Connect the additional Cat5e/6 cable that will be used to
connect to the remote
PD
to the
“PoE-in-Use”
port of the
IPOE-E172.
PoE Wireless AP
PoE Camera
IPOE-E172
Power
Data
100m
Power
Data
100m
Step 2:
The
“PoE-in-Use”
port is also the power injector which
transmits DC voltage to the Cat5e/6 cable and transfer data
and power simultaneously between the PSE and PD.