2.3.3 Physical Installation
1. Connect an Ethernet cable
Connect the LAN cable on the PT Internet Camera to the network device (hub or switch).
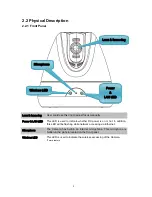
2. Check the LED (Front Panel)
The LED is defined to identify LAN connection type. When LAN port is connected, the LED
will be green.
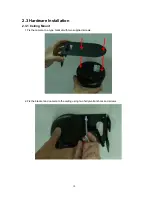
3. Place the PT Internet Camera on the table or fix it onto ceiling or wall
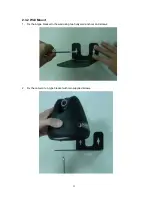
Use screws to fix the PT Internet Camera onto the ceiling or wall. You could also put the PT
Internet Camera in the table directly.
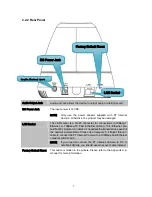
4. Attach the power supply
Plug in power adapter and connect to power source. After power on, PT Internet Camera will
start to operate.
NOTE:
Only use the power adapter supplied with PT Internet Camera. Otherwise, the
product may be damaged
5. Attach Speaker to PT Internet Camera (option)
If user needs not only video stream but also audio stream, then the speaker should be
attached to PT Internet Camera.
12


