5 Mega-Pixel 20M IR Vari-Focal Dome IP Camera
ICA-4500V
19
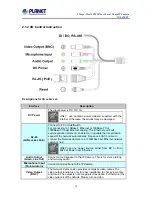
5. Connect the LAN cable to Ethernet’s switch or hub and the DC-Jack to the power
source.
Use the power adapter, 12VDC, included in the package
and connect it to wall outlet for
AC power. And connect the other cables and connectors if necessary.
6. When the camera cabling is completed, close the top cover dome housing and secure
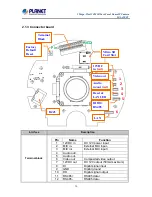
it by two screws. And then adjust PIR sensor to proper position. Once the PIR sensor
is well position, then secure it by another two screws.
7. Adjust the PIR sensor angle for best sensing area
8. Done
2.2.2. Network Installation
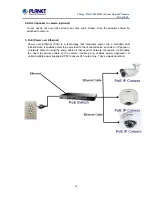
1. Connect an Ethernet cable
Connect the LAN cable on the camera to the network device (hub or switch).
If there is an IEEE802.3af PoE switch in your network, you can connect the camera LAN
cable to this PoE switch to obtain power. The power adapter is unnecessary when
Internet camera is connected to a PoE switch.
2. Attach the power supply
Plug in power adapter and connect to power source. After power on, the camera will start to
operate.
1. Only use the power adapter supplied with Internet camera
;
otherwise, the product
may be damaged.
2. The power adapter is unnecessary when Internet camera is connected to a PoE
switch. Otherwise, the product may be damaged when Internet camera is
connected to a PoE switch and power adapter simultaneously.
3. Attach BNC connector
Connect the video BNC connector to a monitor set if necessary check camera viewing angle
and focus.


