


User’s Manual of GS-5220 LCD Series
77
2.2 Installing the Switch
This section describes how to install your Managed Switch and make connections to the Managed Switch. Please
read the following topics and perform the procedures in the order being presented. To install your Managed
Switch on a desktop or shelf, simply complete the following steps.
2.2.1 Desktop Installation
To install the Managed Switch on desktop or shelf, please follow these steps:
Step 1:
Attach the rubber feet to the recessed areas on the bottom of the Managed Switch.
Step 2:
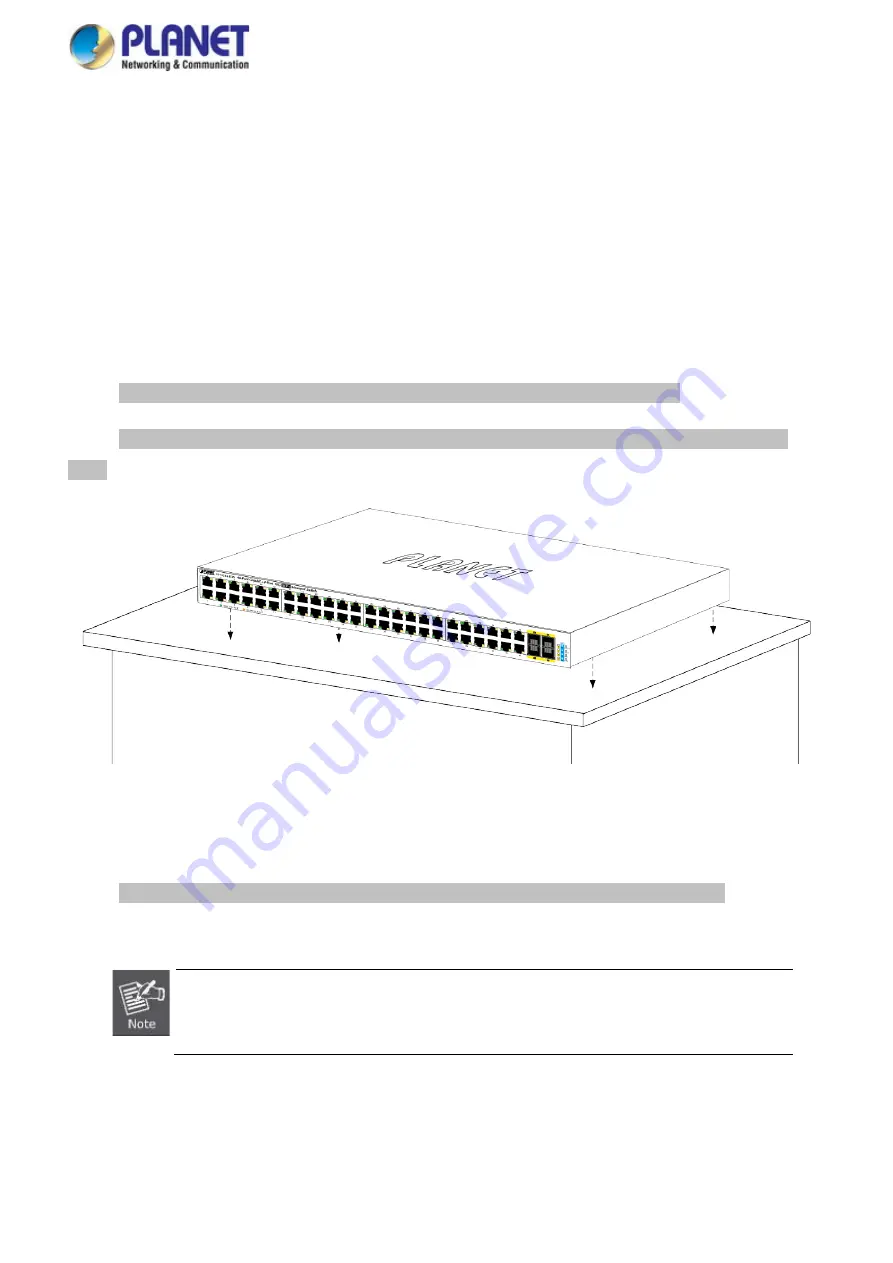
Place the Managed Switch on the desktop or the shelf near an AC power source, as shown in
Figure
2-2-1
.
Figure 2-2-1:
Place the Managed Switch on the Desktop
Step 3:
Keep enough ventilation space between the Managed Switch and the surrounding objects.
When choosing a location, please keep in mind the environmental restrictions discussed in
Chapter 1, Section 4, and specifications.
Содержание GS-5220 Series
Страница 1: ...User s Manual of GS 5220 LCD Series 1 GS 5220 Series L2 Gigabit 10 Gigabit Managed LCD Switch ...
Страница 18: ...User s Manual of GS 5220 LCD Series 18 ...
Страница 253: ...User s Manual of GS 5220 LCD Series 253 Figure 4 8 1 Multicast Service ...
Страница 254: ...User s Manual of GS 5220 LCD Series 254 Figure 4 8 2 Multicast Flooding ...
Страница 413: ...User s Manual of GS 5220 LCD Series 413 Figure 4 11 11 RADIUS Server Configuration Screenshot ...
Страница 487: ...User s Manual of GS 5220 LCD Series 487 Buttons Click to transmit ICMP packets Click to re start diagnostics with PING ...
Страница 506: ...User s Manual of GS 5220 LCD Series 506 The screen in Figure 4 16 6 appears Figure 4 16 6 PoE Schedule Screenshot ...
Страница 510: ...User s Manual of GS 5220 LCD Series 510 Figure 4 16 8 LLDP Configuration Screenshot ...