TECHNOLOGIE FÜR DEN HAUSHALT
TECHNOLOGY FOR DOMESTIC USE
Bedienungsanleitung
Instruction Manual
Mode d'emploi
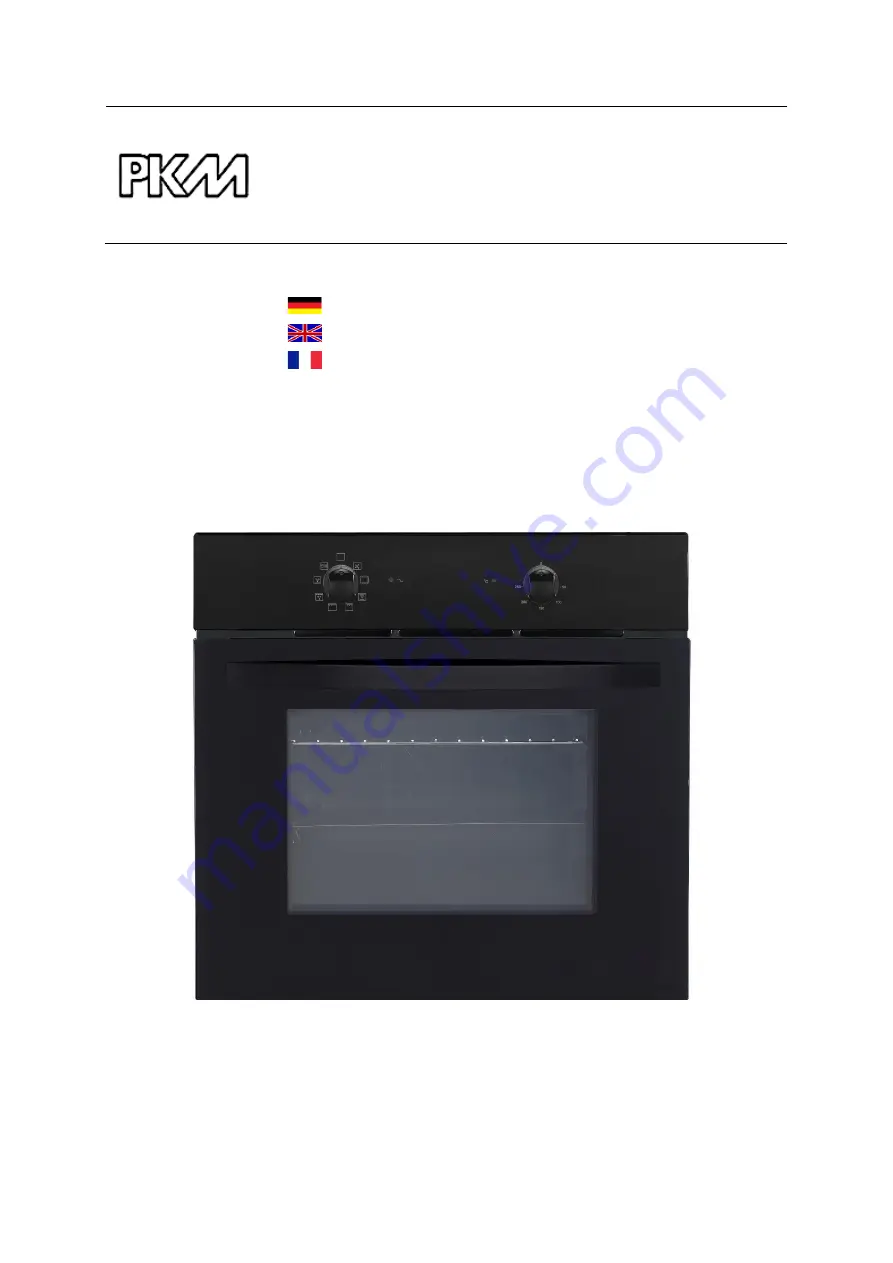
Einbau-Backofen
Built-In Oven
Four encastré
F7-2B
Deutsch
Seite
2
English
Page
19
Français
35
www.pkm-online.de
Страница 1: ...R DEN HAUSHALT TECHNOLOGY FOR DOMESTIC USE Bedienungsanleitung Instruction Manual Mode d emploi Einbau Backofen Built In Oven Four encastr F7 2B Deutsch Seite 2 English Page 19 Fran ais Page 35 www p...
Страница 2: ...e das Ger t weitergeben m ssen Sie diese Bedienungsanleitung ebenfalls mit bergeben Inhalt 1 Sicherheitshinweise 3 2 Installation 7 2 1 Entpacken und Wahl des Standorts 7 2 2 Einbau des Backofens 7 2...
Страница 3: ...im vollen Umfang nutzen k nnen Technische nderungen bzw Druckfehler bleiben vorbehalten 1 Sicherheitshinweise Lesen Sie vor der ersten Benutzung des Ger ts die gesamten Sicherheitshinweise gr ndlich d...
Страница 4: ...n physischen sensorischen oder mentalen F higkeiten oder Mangel an Erfahrung und Wissen benutzt werden wenn sie beaufsichtigt oder bez glich des sicheren Gebrauchs des Ger tes unterwiesen wurden und d...
Страница 5: ...eisten oder Verl ngerungskabel BRANDGEFAHR 6 Nehmen Sie keine Ver nderungen an dem Ger t vor 7 Der K chenraum muss trocken und gut zu bel ften sein Wenn das Ger t aufgebaut wird m ssen alle Kontroll u...
Страница 6: ...hen 3 Stellen oder legen Sie kein Kochgeschirr und keine Backbleche direkt auf den Boden des Ofeninnenraums Decken Sie den Boden des Ofeninnenraums nicht mit Aluminiumfolie ab 4 Halten Sie die Backofe...
Страница 7: ...des Ger ts in dieser Bedienungsanleitung 2 Das Ger t ist m glicherweise f r den Transport mit Transportsicherungen gesch tzt Entfernen Sie diese komplett Benutzen Sie keine aggressiven Reinigungsmitt...
Страница 8: ...ng durchgef hrt werden Der Anschluss muss in bereinstimmung mit den rtlich geltenden gesetzlichen Bestimmungen erfolgen 1 Die ffnung des Umbauschranks muss ber die auf Abbildung 1 genannten Abmessunge...
Страница 9: ...nweis f r die qualifizierten Fachkraft Elektrotechniker in Das Ger t wurde zum Anschluss an eine 230V 50Hz Stromversorgung entwickelt Die Gesamtleistungsaufnahme betr gt 2300W Das Netzanschlusskabel m...
Страница 10: ...en Sie zum Einstellen einer Temperatur den Schalter zum gew nschten Wert 3 Sobald Sie Funktion und Temperatur eingestellt haben nimmt das Ger t seinen Betrieb auf 4 Stellen Sie den Temperaturschalter...
Страница 11: ...um die Temperatur aufrechtzuerhalten Die Temperatur kann zwischen 1800 und 2400 C eingestellt werden Kompletter Grill Alle Grillelemente sind in Betrieb Die Temperatur kann zwischen 1800 und 2400 C e...
Страница 12: ...geeignetes Kochgeschirr Achten Sie darauf dass auch die Griffe hitzeresistent sind Wenn Sie Ihr Fleisch auf einem Gitterrost oder Grillrost zubereiten schieben Sie ein mit etwas Wasser gef lltes Backb...
Страница 13: ...ungsherstellers ob der Reiniger f r Ihr Ger t geeignet ist Alle durch ein Reinigungsmittel an Ihrem Ger t verursachten Sch den werden nicht kostenfrei behoben auch nicht innerhalb des Garantierahmens...
Страница 14: ...t r 1 ffnen Sie die Ofent r ffnen Sie die Scharnierabdeckung der Ofent r bis zur maximalen Position siehe Abbildung A 2 Schlie en Sie die T r bis zum Anschlag greifen Sie rechts und links an der T r u...
Страница 15: ...fernen Sie anschlie end die innere Glasscheibe 3 Nach dem reinigen der Glasscheibe setzen Sie die Glasscheibe wieder ein setzen Sie die Halterungsleiste wieder ein und Schrauben Sie diese wieder fest...
Страница 16: ...hwarze Glasblende Energieeffizienzklasse A Energieverbrauch konventionell 0 74 KW h Energieverbrauch Umluft 0 78 KW h Nutzbares Volumen Backr hre 54 00 l Gr e des Ger ts mittel 35 l Volumen 65 l Funkt...
Страница 17: ...r vorgesehenen Beh ltern 6 Falls es in Ihrem Wohnumfeld keine geeigneten Entsorgungsbeh lter gibt bringen Sie diese Materialien zu einer geeigneten kommunalen Sammelstelle 7 N here Informationen erhal...
Страница 18: ...setzlich angeordnet ist Die G ltigkeit der Garantie endet bei 1 Nichtbeachten der Aufstell und Bedienungsanleitung 2 Reparatur durch nicht fachkundige Personen 3 Sch den verursacht durch den Verk ufer...
Страница 19: ...rmonized regulations The relevant documents can be requested from the final retailer by the competent authorities The figures in this instruction manual may differ in some details from the current des...
Страница 20: ...y made connections must be done by an authorized professional All connections and energy leading components incl wires inside a wall must be checked by a qualified professional All modifications to th...
Страница 21: ...n device 3 All modifications to the electrical mains to enable the installation of the appliance must be performed by a qualified professional 4 In case of an event caused by a technical malfunction d...
Страница 22: ...e the glass 3 Do not put any cookware or baking trays directly on the base inside the oven Do not cover the base inside the oven with aluminium foil 4 Keep the door of the oven always closed if you us...
Страница 23: ...ible damaged 4 Do not install the appliance in a place where it may come in contact with water or rain otherwise the insulation of the electrical system will be damaged 5 Install the appliance on a le...
Страница 24: ...s of the two screws on the sides of the oven frame 3 Fix the oven on the kitchen cabinet with the two screws which fit the holes provided in the oven frame 4 Fix the rubber caps after fitting the oven...
Страница 25: ...o be connected to a 230V 50Hz electricity supply Total power absorbed is 2300W The cable used for connection must have a cross section of 1 5 mm2 The direct connection to the mains supply must have a...
Страница 26: ...s casserole dishes stews pastries and pizza with a crispy base You can set the temperature from 600 to 1200 C Bottom and top heat operating simultaneously provide conventional cooking baking You can s...
Страница 27: ...tional heating method top and bottom heaters The use of such tins can result in under cooking the base of cakes Before you take a cake out of the oven check that it is ready using a wooden stick when...
Страница 28: ...or a soft cloth Never use abrasive or aggressive detergents If you use a special oven detergent check that the detergent is suitable for your appliance instructions on the packaging of the detergent A...
Страница 29: ...sing an approx 450 angle between the guide and side panel 4 3 Removing of the oven door 1 Fully open the door 2 Fold up the right and left side of locking rod Picture A 3 Close the door until reach to...
Страница 30: ...h your hand in hinges Please call the after sales Reinstalling of the oven door 1 Unscrew and unfasten the bracket latch that is in the corner at the top of the door 2 Next take out the glass from the...
Страница 31: ...or damaged Tighten or replace the illuminant 5 Technical data Supplier s name PKM Model F7 2B Energy efficiency index IEE cavity 95 2 Number of cavities 1 Heat source per cavity Electricity Type Buil...
Страница 32: ...fore you dispose of an old appliance render it inoperative Unplug the appliance and cut off the entire power cord Dispose of the power cord and the plug immediately Remove the door completely so child...
Страница 33: ...n 24 months after the delivery to the first ultimate vendee The guarantee claim has to be verified by the vendee by submitting a proof of purchase including the date of purchase and or the date of del...
Страница 34: ...s including but with not being limited to fires or explosions The guarantee claims neither extend the guarantee period nor initiate a new guarantee period The geographical scope of the guarantee is li...
Страница 35: ...vre les instructions Contenu non compris Le fabricant se r serve le droit d apporter toute modification qui n a pas d influence sur les fonctions de l appareil Veuillez liminer l emballage conform men...
Страница 36: ...ions apport es au r seau lectrique permettant l installation de l appareil doivent tre effectu es par un professionnel qualifi L appareil est destin uniquement usage priv L appareil est destin cuisson...
Страница 37: ...ettre l installation de l appareil doivent tre effectu es par un professionnel qualifi 4 Dans le cas d un v nement provoqu par un dysfonctionnement technique d branchez l appareil du secteur Signalez...
Страница 38: ...0 Surveillez toujours les enfants s ils sont pr s de l appareil MISE EN GARDE 1 L appareil devient chaud pendant le fonctionnement Ne touchez pas les composants chauds l int rieur du four 2 N utilisez...
Страница 39: ...ets lourds sur la porte ouverte du four Ne vous appuyez pas sur la porte ouverte du four sous peine d endommager les charni res 2 Installation 2 1 D ballage et installation 1 D ballez l appareil avec...
Страница 40: ...a connexion doit tre effectu e conform ment aux r glementations locales et juridiques actuelles 1 Pr voyez une ouverture r pondant aux dimensions sur le dessin 1 Installez l appareil dans l ouverture...
Страница 41: ...instructions pour l installateur professionnel qualifi L appareil est con u pour tre connect une alimentation en lectricit de 230V 50Hz La puissance totale absorb e est de 2300W Le c ble utilis pour...
Страница 42: ...temp rature la position 0 lorsque l appareil n est pas utilis Le positionnement correct des plateaux est obligatoire pour la s curit du fonctionnement de l appareil Sinon les aliments chauds ou les u...
Страница 43: ...inf rieur avec conomie d nergie MISE EN GARDE Suivez strictement les consignes de s curit suivantes 1 Gardez la porte du four toujours ferm e si vous utilisez l une des fonctions du four 2 Ne mettez...
Страница 44: ...pport Retournez la viande au moins une fois Ne versez jamais d eau froide sur la viande 3 4 Les conomies d nergie N ouvrez pas la porte du four souvent inutilement teignez le four en temps utile et ut...
Страница 45: ...N utilisez jamais un nettoyeur vapeur La porte du four Nettoyez la porte tr s soigneusement N utilisez pas de d tergents abrasifs sinon vous pouvez endommagez ou cassez le verre Utilisez le produit de...
Страница 46: ...verrouillage Photo A 3 Fermez la porte jusqu ce qu elle atteigne la marched arr t tenez les c t s gauche et droit de la porte puis refermez la porte vers le haut et vers le bas et tirez la porte R in...
Страница 47: ...vitre du second m canisme de blocage et retirez la Apr sle nettoyage ins rez et bloquez le panneau de verre puis vissez le m canisme de blocage Comme indiqu sur la photo C 4 4 Instructions de d pannag...
Страница 48: ...A Consommation d nergie conventionnelle 0 74 KW h Consommation d nergie avec ventilateur 0 78 KW h Volume utilis 54 00 l Taille de l appareil Moyenne 35 l volume 65 l Fonctions Chauffage par le haut...
Страница 49: ...pareil et coupez compl tement le cordon d alimentation Jetez imm diatement le cordon et la fiche d alimentation Retirez compl tement la porte afin que les enfants n entrent pas dans l appareil car cel...
Страница 50: ...CHNOLOGY FOR DOMESTIC USE Sie finden alle Informationen zum Kundendienst auf der Einlage in dieser Bedienungsanleitung Aftersales service information on the leaflet inside this instruction manual Veui...
Страница 51: ...51 nderungen vorbehalten Subject to alterations Sous r serve de modification Stand Updated Mis jour 02 12 2021 12 02 2021 02 12 2021 PKM GmbH Co KG Neuer Wall 2 47441 Moers...