TECHNOLOGIE FÜR DEN HAUSHALT
TECHNOLOGY FOR DOMESTIC USE
Bedienungsanleitung
Instruction Manual
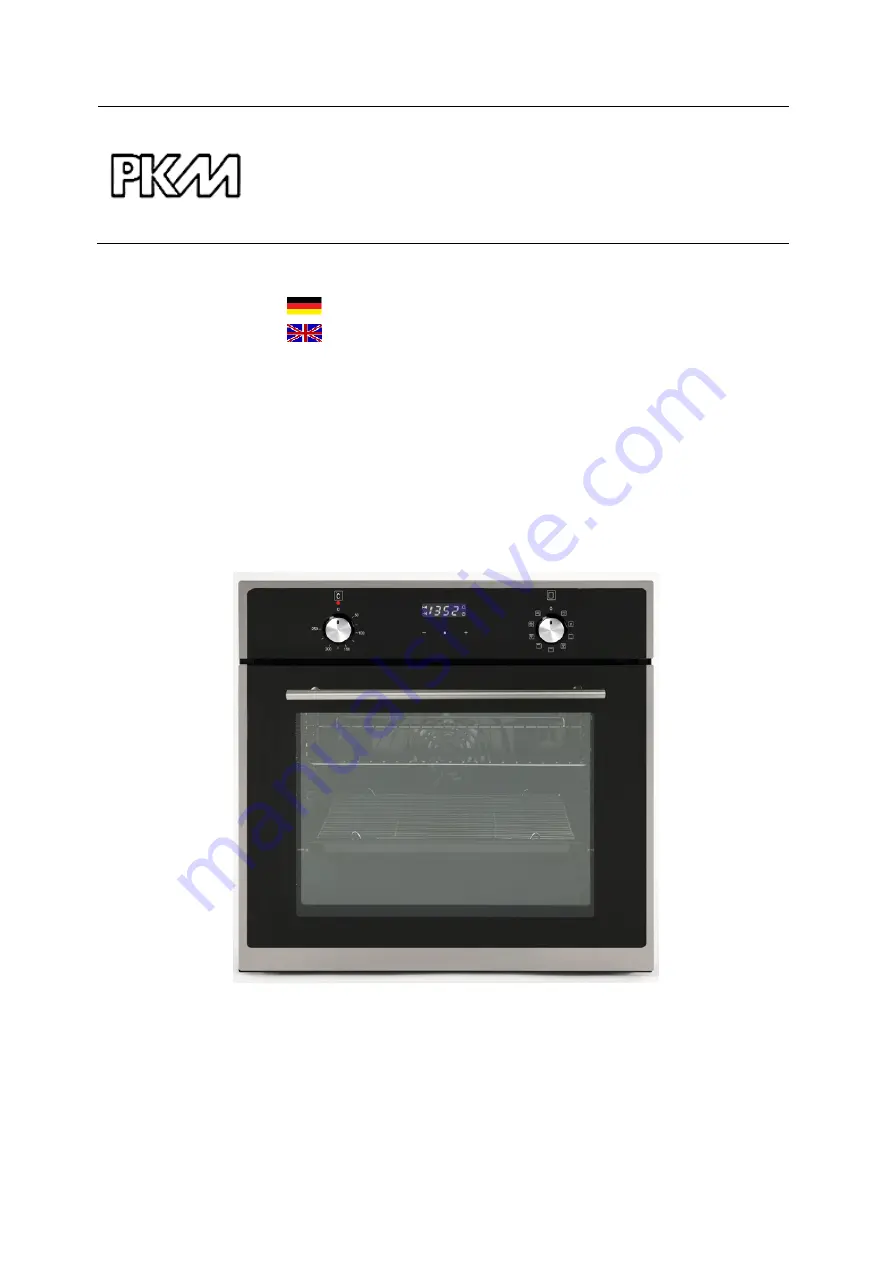
Einbau-Backofen
Built-In Oven
EBO9.3X
Deutsch
Seite
2
English
Page
24
www.pkm-online.de
Страница 1: ...TECHNOLOGIE F R DEN HAUSHALT TECHNOLOGY FOR DOMESTIC USE Bedienungsanleitung Instruction Manual Einbau Backofen Built In Oven EBO9 3X Deutsch Seite 2 English Page 24 www pkm online de...
Страница 2: ...packen und Wahl des Standorts 7 2 2 Einbau des Backofens 7 3 Bedienung 9 3 1 Bedienfeld 9 3 2 Ofenfunktionen 10 18 3 3 Einstellen der Uhrzeit 11 3 4 Programmierung des Backofens 3 5 Tipps zum Backen u...
Страница 3: ...kann zu schweren Beeintr chtigungen Ihrer Gesundheit und im schlimmsten Fall zum Tod f hren GEFAHR verweist auf eine Gefahrensituation die wenn sie nicht abgewendet wird eine unmittelbare Gef hrdung...
Страница 4: ...chgef hrt werden GEFAHR 1 Das Ger t darf nur durch eine qualifizierte Fachkraft Elektrotechniker in an die Stromversorgung angeschlossen werden welche die landes blichen gesetzlichen Verordnungen und...
Страница 5: ...raturen von 120 0 C widersteht 9 Angrenzende M belst cke und alle zur Installation verwendeten Materialien m ssen mindestens einer Temperatur von 850 C ber der Raumtemperatur des Raums in dem das Ger...
Страница 6: ...en das Backblech oder den Rost 6 Seien Sie vorsichtig wenn Sie die Backofent r ffnen Kommen Sie nicht in Kontakt mit den hei en Bereichen oder mit dem Dampf der aus dem ge ffneten Backofen entweicht 7...
Страница 7: ...schlusskabel oder das Ger t selbst keine Besch digungen aufweisen 4 Stellen Sie das Ger t nicht an einem Ort auf an dem es mit Wasser oder Regen in Kontakt kommen kann damit die Isolierungen der Elekt...
Страница 8: ...auf Abbildung 1 genannten Abmessungen verf gen Passen Sie das Ger t in die ffnung ein 2 ffnen Sie die Ofent r und entfernen sie die Gummikappen der zwei Schrauben an der Seite des Ofenrahmens 3 Befes...
Страница 9: ...n Wert 3 Sobald Sie Funktion und Temperatur eingestellt haben nimmt das Ger t seinen Betrieb auf 4 Stellen Sie den Temperaturschalter immer auf 0 wenn Sie das Ger t nicht in Betrieb ist F r einen sich...
Страница 10: ...unigt das Grillen und verbessert den Geschmack des Grillguts GRILLEN MIT OBERHITZE Der Grill und die Oberhitze arbeiten gleichzeitig Kombiniertes Grillen erlaubt h here Temperaturen im oberen Garberei...
Страница 11: ...3 Einstellen der Uhrzeit Bevor Sie den Backofen generell benutzen k nnen m ssen Sie die Uhrzeit einstellen 1 Dr cken Sie auf dem Display die Funktionstaste M wiederholt bis die Anzeige der aktuellen U...
Страница 12: ...Minuten und die Anzeige des Timers erlischt Sie k nnen das akustische Signal und die Anzeige des Timers aber auch durch Dr cken einer beliebigen Taste auf dem Display ausschalten Zum Ausschalten des...
Страница 13: ...Display ausschalten 9 Stellen Sie die Drehschalter f r die Backofenfunktionen und die Temperaturkontrolle auf die Position 0 ENDE DER KOCH BACKZEIT EINSTELLEN Mit dieser Funktion k nnen Sie die Uhrze...
Страница 14: ...CKFUNKTION AUSW HLEN 1 Stellen Sie das Koch Backgut in den Backofen und schlie en Sie die T r ordnungsgem 2 W hlen Sie die gew nschte Backofenfunktion s Kapitel 4 6 BACKOFENFUNKTIONEN und Temperatur m...
Страница 15: ...ginnt um 11 00 Uhr 4 Um 13 00 Uhr wird der Backofen automatisch abgeschaltet 3 4 4 L schen der Programmierungen VORSICHT Zum kompletten Ausschalten des Backofens m ssen die Drehschalter f r die Backof...
Страница 16: ...e ENDE DER KOCHZEIT blinkt 4 Stellen Sie die angezeigte Zeit auf dem Display auf die aktuelle Uhrzeit zur ck VORSICHT Beachten Sie unbedingt die folgenden Warnhinweise 1 Halten Sie die Ofent r geschlo...
Страница 17: ...tzung solcher Formen kann zu einer zu geringen Aufheizung des unteren Teils des Kuchens f hren Bevor der Kuchen aus dem Ofen herausgenommen wird kontrollieren Sie ob das Backen abgeschlossen ist indem...
Страница 18: ...brauch unn tig ansteigen 4 Reinigung und Pflege WARNUNG Schalten Sie das Ger t vor dem Reinigen unbedingt aus und lassen Sie es vollst ndig abk hlen Trennen Sie das Ger t vor allen Wartungsarbeiten vo...
Страница 19: ...Wasser 4 1 Austausch des Leuchtmittels 1 Schalten Sie das Ger t aus und trennen Sie es von der Stromversorgung 2 Drehen Sie das Leuchtmittel aus der Fassung und ersetzen Sie es durch ein neues derselb...
Страница 20: ...die Scharnierabdeckungen auf ihre urspr ngliche Position 4 4 Problembehandlung Gehen Sie bei einem Notfall oder einer Fehlfunktion wie folgt vor 1 Schalten Sie das Ger t komplett ab 2 Trennen Sie das...
Страница 21: ...s mittel Volumen 65 l Funktionen Backofen Grill Umluft Hei luft Vollglasinnent re Ofent r Glasschichten schwarzes Glas 2 Geh usek hlung Griff und Kn pfe Kunststoff Ger uschemmission 51 db A Maximale L...
Страница 22: ...d direkt mit dem Netzstecker entfernen und entsorgen Demontieren Sie immer die komplette T r damit sich keine Kinder einsperren und in Lebensgefahr geraten k nnen 4 Entsorgen Sie Papier und Kartonagen...
Страница 23: ...Beschaffenheit die auf den Gebrauchswert des Produkts keinen Einfluss haben 3 Sch den infolge Betriebs und Bedienungsfehler 4 Sch den durch aggressive Umgebungseinfl sse Chemikalien Reinigungsmittel 5...
Страница 24: ...stallation of the oven 29 3 Operation 30 3 1 Control panel 30 3 2 Functions of the oven 31 3 3 Setting of the time of the day 32 3 4 Programming of the oven 32 3 5 Helpful hints 37 3 6 Energy saving 3...
Страница 25: ...ates a hazardous situation which if ignored could result in death or serious injury CAUTION indicates a hazardous situation which if not avoided may result in minor or moderate injury NOTICE indicates...
Страница 26: ...rried out by unauthorized persons can cause serious damage If the appliance does not operate properly please contact the shop you purchased the appliance at Original spare parts should be used only 5...
Страница 27: ...onents of the appliance Risk of electrical shock 18 The accessible parts of the oven become hot during operation so keep children away from the operating appliance Touching the appliance while it is o...
Страница 28: ...of any kind of dirt 8 Do not put any heavy items onto the open door of the oven Do not lean against the open door of the oven as you will damage the hinges 2 Installation 2 1 Unpacking and positionin...
Страница 29: ...ergy supply The connection must be carried out in accordance with the current local and legal regulations 1 Provide an opening meeting the dimensions on figure 1 Fit the appliance into the opening 2 O...
Страница 30: ...the temperature 3 The appliance starts operating as soon as you have set the function and the temperature 4 Always turn the temperature knob to 0 when you do not operate the appliance Proper position...
Страница 31: ...the taste of the food GRILL AND TOP HEAT The grill and the top heat operate simultaneously Combined grilling allows higher temperatures in the top area and intensifies browning TOP AND BOTTOM HEAT AND...
Страница 32: ...on the display repeatedly until the indicator of the current time flashes 2 Set the correct time of the day using the buttons 3 If the correct time of the day is displayed 12 h display or 24 h displa...
Страница 33: ...ically after the selected period of time has elapsed 3 4 2 Semi automatic cooking baking function This function allows you to set a countdown time by which the oven will be switched off automatically...
Страница 34: ...pter 4 6 FUNCTIONS OF THE OVEN and oven temperature using the corresponding rotary knobs 3 The oven is in operation 4 Press the function button M on the display repeatedly until the indicator END OF T...
Страница 35: ...g baking process should be finished using the buttons 9 After approx 5 seconds the set time is saved 10 The cooking process starts at the calculated time of the day 11 If the cooking baking process ha...
Страница 36: ...KING FUNCTION 1 Press the function button M on the display repeatedly until the indicator DURATION OF THE COOKING TIME flashes 2 Set the time which is indicated on the display back to 00 00 HOW TO CAN...
Страница 37: ...Cook meat with a weight of more than 1 kg in the oven Cook smaller pieces of food on the hob Use oven proof cookware only Check that their handles also are oven proof When you cook meat on a grillage...
Страница 38: ...n the packaging of the detergent Any damage that is caused to the appliance by a cleaning product will not be fixed free of charge even if the guarantee period of the appliance is still valid Never us...
Страница 39: ...ets Hold the door with an angle of 150 to the front frame The hollow of the brackets has to be placed into the bracket support when inserting the door into the oven 2 Open the oven door Close the hing...
Страница 40: ...ergy efficiency class A Energy consumption conventional 0 91 KW h Energy consumption with fan 0 81 KW h Usable volume 76 00 l Size of the appliance medium volume 65 l Functions Grill fan hot air fan A...
Страница 41: ...the plug immediately Remove the door completely so children are not able to get into the appliance as this endangers their lives 4 Dispose of any paper and cardboard into the corresponding containers...
Страница 42: ...ir authorized condition if they do not influence the utility value of the product 3 damage caused by handling errors or false operation 4 damage caused by aggressive environmental conditions chemicals...
Страница 43: ...inden alle Informationen zum Kundendienst auf der Einlage in dieser Bedienungsanleitung Aftersales service information on the leaflet inside this instruction manual nderungen vorbehalten Subject to al...