TECHNOLOGIE FÜR DEN HAUSHALT
TECHNOLOGY FOR DOMESTIC USE
Bedienungsanleitung
Instruction Manual
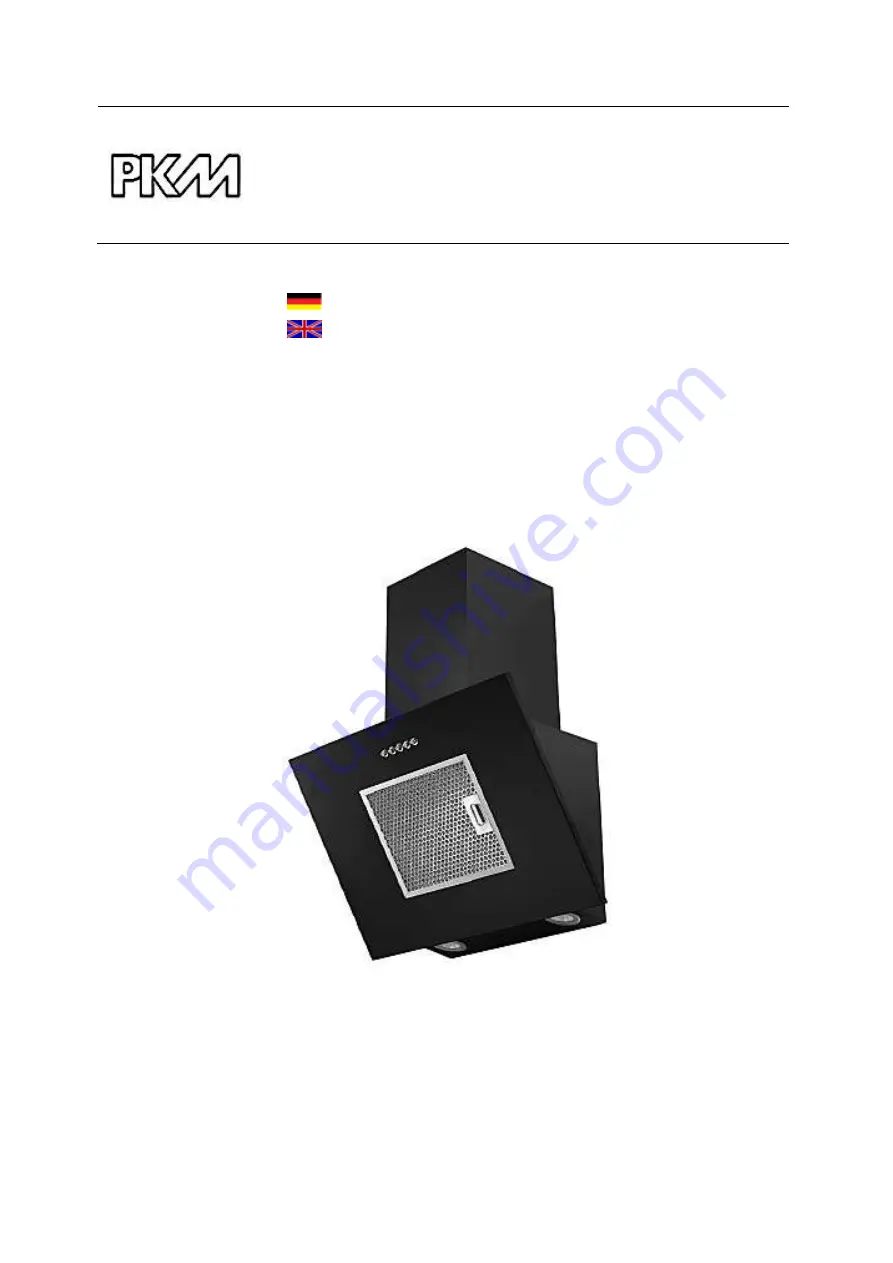
Dunstabzugshaube
Extractor Hood
9038B
Deutsch
Seite
2
English
Page
19
www.pkm-online.de
Страница 1: ...TECHNOLOGIE F R DEN HAUSHALT TECHNOLOGY FOR DOMESTIC USE Bedienungsanleitung Instruction Manual Dunstabzugshaube Extractor Hood 9038B Deutsch Seite 2 English Page 19 www pkm online de...
Страница 2: ...s von dem tats chlichen Design Ihres Ger ts abweichen Folgen Sie in einem solchen Fall dennoch den beschriebenen Sachverhalten Der Hersteller beh lt sich das Recht vor solche nderungen vorzunehmen die...
Страница 3: ...rf jederzeit griffbereit ist Befolgen Sie sorgf ltig alle Hinweise um Unf lle oder eine Besch digung des Ger ts zu vermeiden Pr fen Sie auf jeden Fall auch das technische Umfeld des Ger ts Sind alle K...
Страница 4: ...kommen sollte ffnen Sie alle Fenster zur Bel ftung Ziehen Sie nicht den Stecker aus der Steckdose und benutzen Sie nicht das Bedienfeld bzw die Schalter Ber hren Sie nicht das Ger t bis s mtliches Gas...
Страница 5: ...keine brennbaren Materialien enthalten 12 Das Ger t darf ausschlie lich mit eingesetzten Fettfiltern betrieben werden da sich ansonsten durch den Dunst transportiertes Fett in der Haube und im Ablufts...
Страница 6: ...s ob das Netzkabel oder das Ger t selbst keine Besch digungen aufweisen 2 Installation 1 WARNUNG Die Abluft darf nicht in einen Schornstein geleitet werden der f r Abgase von Ger ten die mit Gas oder...
Страница 7: ...macht Statten Sie eine solche Abluftleitung neben der Isolierung gegebenenfalls auch mit einer Kondenswassersperre aus 11 Je nach Modell kann Ihre Abzugshaube mit einer oben oder zwei oben und hinten...
Страница 8: ...sprechenden Schrauben und D beln zu fixieren 3 H ngen Sie die Haube auf die Befestigungsklammer Befestigen Sie die Haube siehe auch Schritt 2 Die Haube muss waagerecht ausgerichtet sein Kontrollieren...
Страница 9: ...t am R ckschlagventil an 1 Abluftschlauch 2 Haube Kamininstallation 1 Befestigen Sie den unteren Kamin mit 2 St ck 4 8mm Schrauben 1 Schraube 2 Lassen Sie den Kamin gleiten bis Sie die erforderliche H...
Страница 10: ...r zur Befestigung des Halteeisens 2 Schrauben Sie Halteeisen 2 mittels der mitgelieferten zwei Schrauben an der Wand fest 4 Befestigen Sie den Kamin mit den zwei Schrauben 1 Halteeisen 2 1 4 8 mm Schr...
Страница 11: ...nter Installationsschritte Abluftf hrung nach au en beschriebenen Abl ufen 2 Sie k nnen nur beim Umluftbetrieb Kohlefilter zur Geruchsbindung verwenden Entnehmen Sie zur Installation der Kohlefilter z...
Страница 12: ...unter www pkm online de 3 Bedienfeld Aus Niedrigste Einstellung Mittlere Einstellung H chste Einstellung Licht ein aus HINWEIS Benutzen Sie alle Beleuchtungseinheiten nur wenn das Ger t in Betrieb is...
Страница 13: ...ige Reinigungsmittel weil diese Verf rbungen verursachen 4 Reinigen Sie gl serne Bestandteile2 nur mit einem geeigneten Glasreiniger 5 Reinigen Sie bei jedem Fettfilter oder Kohlefilteraustausch bzw b...
Страница 14: ...t von der Stromversorgung 2 ffnen Sie den Aluminium Filter und trennen Sie das Leuchtmittel im Inneren von der Stromversorgung Dr cken Sie auf den Federverschluss an beiden Seiten des Leuchtmittels un...
Страница 15: ...bergang Basisschacht Teleskopschacht undicht Einwegventil abdichten bergang mit geeignetem Mittel abdichten Ger t vibriert Motor nicht fest montiert Haube nicht richtig befestigt Motor richtig befest...
Страница 16: ...e Sollte das Ger t St rungen abweichend von den oben beschriebenen aufweisen oder falls Sie alle Punkte der Liste berpr ft haben das Problem aber nicht behoben werden konnte kontaktieren Sie das Gesch...
Страница 17: ...zust ndigen Wiederverwertungsstelle zugef hrt werden Keinesfalls offenen Flammen aussetzen 3 Bevor Sie ein beliebiges Altger t entsorgen machen Sie dieses vorher unbedingt funktionsunt chtig Das bede...
Страница 18: ...Beschaffenheit die auf den Gebrauchswert des Produkts keinen Einfluss haben 3 Sch den infolge Betriebs und Bedienungsfehler 4 Sch den durch aggressive Umgebungseinfl sse Chemikalien Reinigungsmittel 5...
Страница 19: ...are described in this instruction manual comply with the harmonized regulations The relevant documents can be requested from the final retailer by the competent authorities The figures in this instru...
Страница 20: ...t be done by an authorized professional All connections and energy leading components incl wires inside a wall must be checked by a qualified professional All modifications to the electrical mains to...
Страница 21: ...operly grounded and dedicated socket 4 The appliance must be grounded Only use a proper safety socket to minimize risk of electric shock The technical data of your energy supply must meet the data on...
Страница 22: ...n so they will not play with the appliance CAUTION 1 Accessible parts of the hood may become hot while cooking 2 Carry out the installation of the appliance with at least two persons Risk of damage RI...
Страница 23: ...our appliance 6 The proper maximum bending angle outwards is 1200 7 Use smooth tubes or flexible non inflammable exhaust hoses only 8 When the exhaust duct is connected horizontally a minimum falling...
Страница 24: ...hazards WARNING Do not damage the wiring in the wall while drilling 1 Drill three 8 mm holes to install the suspension bracket Fix the suspension bracket on the wall using the provided screws and dowe...
Страница 25: ...ust be installed in horizontal position Check proper position using a spirit level 1 Suspension bracket 2 Hood 3 Openings for suspension bracket 4 Install the one way valve on the air outlet of the ho...
Страница 26: ...crews 1 Screw 2 Adjust the chimney to the required height Then fix bracket 1 using 2 pcs 4 8 mm screws as described below 1 Bracket 1 3 Drill two 8 mm holes to install bracket 2 Fasten bracket 2 on th...
Страница 27: ...ve Otherwise the appliance will not work properly Installation steps recirculation mode 1 If your home is not equipped with an air outlet for extracting exhaust air to the outside the exhaust hose is...
Страница 28: ...the appliance and turn in clockwise direction Repeat on the opposite side Unplug the appliance before installing the carbon filter For recirculating mode only 1 close WARNING Install the carbon filte...
Страница 29: ...ng and maintenance instructions will cause an increased risk of fire NOTICE Take off all rings and bracelets before cleaning or maintaining the appliance otherwise you will damage the surface of the a...
Страница 30: ...o not use any alkaline dishwasher detergents ph more than 7 Do not put the filter in the dishwasher together with tableware Filters which are blocked with food debris do not carry a guarantee Dry the...
Страница 31: ...become loose The socket is not supplied with energy The fuse is switched off Check the corresponding socket by connecting it with another appliance Check the fuse The voltage is too low Compare the da...
Страница 32: ...120 mm otherwise the capacity of the motor may be decreased If you have installed a fly screen on the wall box the air vent may be obstructed Check by removing the fly screen If the cover panel of the...
Страница 33: ...ed noise emission 60 dB 66 dB Power consumption off Po 0 00 W Power consumption standby Ps NN Power consumption lighting system Wl 3 W 2 1 5 W LED Connected load 68 W Voltage frequency AC 220 240V 50H...
Страница 34: ...f the entire power cord Dispose of the power cord and the plug immediately 4 Dispose of any paper and cardboard into the corresponding containers 5 Dispose of any plastics into the corresponding conta...
Страница 35: ...ir authorized condition if they do not influence the utility value of the product 3 damage caused by handling errors or false operation 4 damage caused by aggressive environmental conditions chemicals...
Страница 36: ...36 A Technische Zeichnung technical drawing Abmessungen in mm Dimensions in mm...
Страница 37: ...R DOMESTIC USE Wenden Sie sich bitte an das Gesch ft in dem Sie das Ger t erworben haben Please contact the shop you purchased the appliance at nderungen vorbehalten Subject to alterations Stand Updat...