TECHNOLOGIE FÜR DEN HAUSHALT
TECHNOLOGY FOR DOMESTIC USE
Bedienungsanleitung
Instruction Manual
Dunstabzugshaube
Extractor Hood
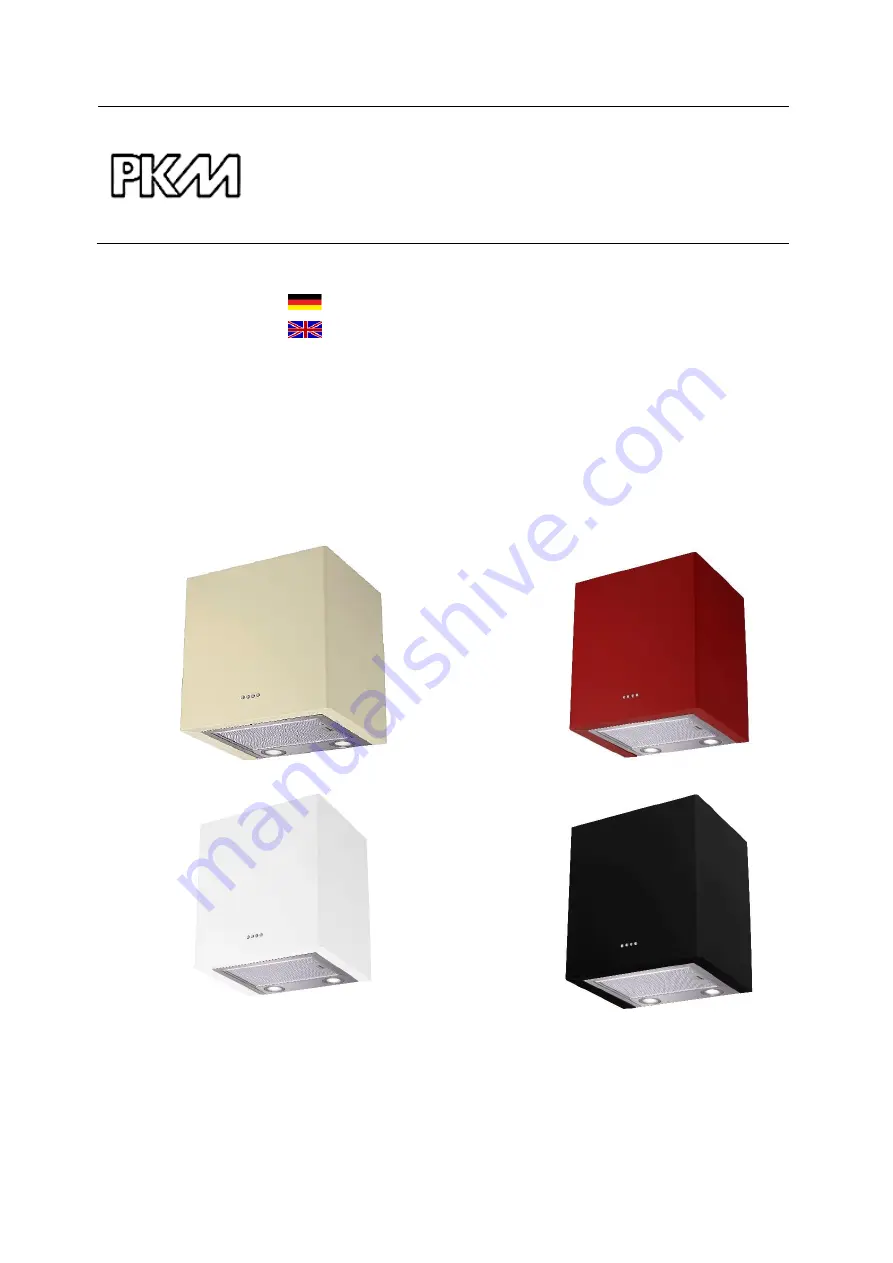
5544 CT/5544 RT/5544 WT/5544ST
Deutsch
Seite
2
English
Page
18
www.pkm-online.de
Страница 1: ...NOLOGIE F R DEN HAUSHALT TECHNOLOGY FOR DOMESTIC USE Bedienungsanleitung Instruction Manual Dunstabzugshaube Extractor Hood 5544 CT 5544 RT 5544 WT 5544ST Deutsch Seite 2 English Page 18 www pkm onlin...
Страница 2: ...s von dem tats chlichen Design Ihres Ger ts abweichen Folgen Sie in einem solchen Fall dennoch den beschriebenen Sachverhalten Der Hersteller beh lt sich das Recht vor solche nderungen vorzunehmen die...
Страница 3: ...rf jederzeit griffbereit ist Befolgen Sie sorgf ltig alle Hinweise um Unf lle oder eine Besch digung des Ger ts zu vermeiden Pr fen Sie auf jeden Fall auch das technische Umfeld des Ger ts Sind alle K...
Страница 4: ...kommen sollte ffnen Sie alle Fenster zur Bel ftung Ziehen Sie nicht den Stecker aus der Steckdose und benutzen Sie nicht das Bedienfeld bzw die Schalter Ber hren Sie nicht das Ger t bis s mtliches Gas...
Страница 5: ...keine brennbaren Materialien enthalten 12 Das Ger t darf ausschlie lich mit eingesetzten Fettfiltern betrieben werden da sich ansonsten durch den Dunst transportiertes Fett in der Haube und im Ablufts...
Страница 6: ...s ob das Netzkabel oder das Ger t selbst keine Besch digungen aufweisen 2 Installation 1 WARNUNG Die Abluft darf nicht in einen Schornstein geleitet werden der f r Abgase von Ger ten die mit Gas oder...
Страница 7: ...notwendig macht Statten Sie eine solche Abluftleitung neben der Isolierung gegebenenfalls auch mit einer Kondenswassersperre aus 11 Je nach Modell kann Ihre Abzugshaube mit einer oben oder zwei oben u...
Страница 8: ...el 3 Befestigungsklammer 4 Schrauben 4 30 mm 2 Befestigen Sie die obere Abdeckung auf dem Geh use und platzieren Sie das Geh use auf dem Haubenk rper 1 Sechs St ck 4 8 mm Schrauben 3 Bringen Sie die H...
Страница 9: ...gungsaufnahmen wie unten dargestellt 1 Oberer Kamin 2 Unterer Kamin 5 Bohren Sie zur Installation der Platte II zwei 8 mm L cher Befestigen Sie Platte II mit den zwei mitgelieferten Schrauben an der W...
Страница 10: ...lektrische Kabel vom Knopf ab 4 Schlie en Sie das elektrische Kabel wieder an und installieren Sie das neue Geh use Kohlefilter 1 WARNUNG Schalten Sie das Ger t vor der Montage von Kohlefiltern unbedi...
Страница 11: ...erursachen kann schlie en Bestellen Sie den Kohlefilter unter www pkm online de 3 Bedienfeld Niedrigste Einstellung Mittlere Einstellung H chste Einstellung Licht ein aus HINWEIS Benutzen Sie alle Bel...
Страница 12: ...gneten Glasreiniger 5 Reinigen Sie bei jedem Fettfilter oder Kohlefilteraustausch bzw bei einer Reinigung des Filters alle frei einsehbaren unteren Komponenten Ihres Ger ts mit einem milden nicht tzen...
Страница 13: ...Topflappen etc zur Vermeidung hei werdender Teile und Brandrisiken m 0 45 m Zur Vermeidung unangemessen hei werdender Teile Brandrisiken und einer Strahlenbelastung durch UV Strahlung d rfen ausschli...
Страница 14: ...bergang Basisschacht Teleskopschacht undicht Einwegventil abdichten bergang mit geeignetem Mittel abdichten Ger t vibriert Motor nicht fest montiert Haube nicht richtig befestigt Motor richtig befest...
Страница 15: ...tens alle 3 6 Monate Sollte das Ger t St rungen abweichend von den oben beschriebenen aufweisen oder falls Sie alle Punkte der Liste berpr ft haben das Problem aber nicht behoben werden konnte kontakt...
Страница 16: ...zte und alte Ger te m ssen der zust ndigen Wiederverwertungsstelle zugef hrt werden Keinesfalls offenen Flammen aussetzen 3 Bevor Sie ein beliebiges Altger t entsorgen machen Sie dieses vorher unbedin...
Страница 17: ...Beschaffenheit die auf den Gebrauchswert des Produkts keinen Einfluss haben 3 Sch den infolge Betriebs und Bedienungsfehler 4 Sch den durch aggressive Umgebungseinfl sse Chemikalien Reinigungsmittel 5...
Страница 18: ...are described in this instruction manual comply with the harmonized regulations The relevant documents can be requested from the final retailer by the competent authorities The figures in this instru...
Страница 19: ...t be done by an authorized professional All connections and energy leading components incl wires inside a wall must be checked by a qualified professional All modifications to the electrical mains to...
Страница 20: ...operly grounded and dedicated socket 4 The appliance must be grounded Only use a proper safety socket to minimize risk of electric shock The technical data of your energy supply must meet the data on...
Страница 21: ...n so they will not play with the appliance CAUTION 1 Accessible parts of the hood may become hot while cooking 2 Carry out the installation of the appliance with at least two persons Risk of damage RI...
Страница 22: ...our appliance 6 The proper maximum bending angle outwards is 1200 7 Use smooth tubes or flexible non inflammable exhaust hoses only 8 When the exhaust duct is connected horizontally a minimum falling...
Страница 23: ...RNING Do not damage the wiring in the wall while drilling NOTICE Two assistants are required for installation 1 Drill three 8 mm holes to install the bracket Fix the bracket using the supplied screws...
Страница 24: ...ght After adjusting hang the fixing openings on the fixing hooks as described on the drawing below 1 Upper chimney 2 Lower chimney 5 Drill two 8 mm holes to install plate II Fix plate II on the wall u...
Страница 25: ...nect the appliance from the energy supply and remove the chimney 2 Push the housing und pull it off the body Do not push too strongly as the wire inside is still connected 3 Unplug the wire 4 Connect...
Страница 26: ...Reinstall the grease filters 4 The suction capacity is decreased by installed carbon filters Carbon filters are not included in delivery 5 Use carbon filters for recirculating mode only The carbon fi...
Страница 27: ...economically 2 Do not clean the control panel with a detergent Use a damp cloth Otherwise you may damage the electronic components of the controls 3 Never use any alcohol containing detergents to clea...
Страница 28: ...uminant Do not touch the illuminant with your hands The sweat on your fingers will reduce the operating time of your new illuminant Use a thin cloth or a thin glove We recommend that the replacing is...
Страница 29: ...y seal the valve seal the connection with a suitable material Appliance vibrates motor not properly fixed hood not properly fixed fix motor properly fix hood properly Insufficient extracting capacity...
Страница 30: ...se contact the shop you purchased the appliance at 6 Technical data 5544 CT RT ST WT Type Cooker hood Material Metal lacquered Installation width in cm 44 00 Electronic buttons 4 Recirculation extract...
Страница 31: ...d appliances must be send for disposal to the responsible recycling centre Never expose to open flames 3 Before you dispose of an old appliance render it inoperative Unplug the appliance and cut off t...
Страница 32: ...ir authorized condition if they do not influence the utility value of the product 3 damage caused by handling errors or false operation 4 damage caused by aggressive environmental conditions chemicals...
Страница 33: ...33 A Technische Zeichnung technical drawing Abmessungen in mm Dimensions in mm...
Страница 34: ...R DOMESTIC USE Wenden Sie sich bitte an das Gesch ft in dem Sie das Ger t erworben haben Please contact the shop you purchased the appliance at nderungen vorbehalten Subject to alterations Stand Updat...