42
Playback with NETWORK features
10
10
A: Wired setting
Make sure that the LAN cable connections has completed
(page 11).
1
Press NET SERVICE
SETUP.
The
Initial Setup
screen is shown on the display.
2
Select Network Setting
Network Configuration.
3
Use
/
to select Wired, then press ENTER.
4
Use
/
to select DHCP On, then press ENTER.
Select
Don’t Use Proxy Server
.
Note
•
If your router does not have a built-in DHCP server function,
you have to set up the network manually.
Select DHCP to be Off and press
ENTER
in step 4.
<Manual setting>
Then use
///
or numeric buttons to adjust the
numbers, then press
ENTER
.
/
: Moves the adjusting digit.
/
: Increases or decreases values.
IP Address
The IP address to be entered must be defined within the
following ranges. If the IP address defined is beyond the
following ranges, you cannot play back audio files stored
on components on the network or listen to Internet radio
stations.
Class A: 10.0.0.1 to 10.255.255.254 / Class B: 172.16.0.1 to
172.31.255.254 / Class C: 192.168.0.1 to 192.168.255.254
Subnet Mask
If an xDSL modem or a terminal adapter is directly
connected to this receiver, enter the subnet mask listed in
your ISP documentation. In most of the cases, enter
255.255.255.0.
Default Gateway
If a gateway (router) is connected to this receiver, enter
the corresponding IP address.
Primary DNS Server/Secondary DNS Server
If there is only one DNS server address listed in your ISP
documentation, enter
Primary DNS Server
. In case there
are more than two DNS server addresses, enter
Secondary DNS Server
in the other DNS server address
field.
•
When you connect this receiver to the Internet via a proxy
server, proxy server settings are required.
Select
Use Proxy Server
and press
ENTER
in step 4.
<Proxy Server setting>
Then Enter
Proxy Host Name
and the port number of
your proxy server in the
Proxy Port
field.
B: Connection settings using an iOS device
(with iOS 5.0 or later)
You can apply iPod/iPhone/iPad (iOS device with iOS ver 5.0
or later)’s Wi-Fi settings to this receiver.
Note
•
The iOS device and router must be connected at 2.4 GHz.
1
Be sure the LAN cable is not connected to the receiver.
2
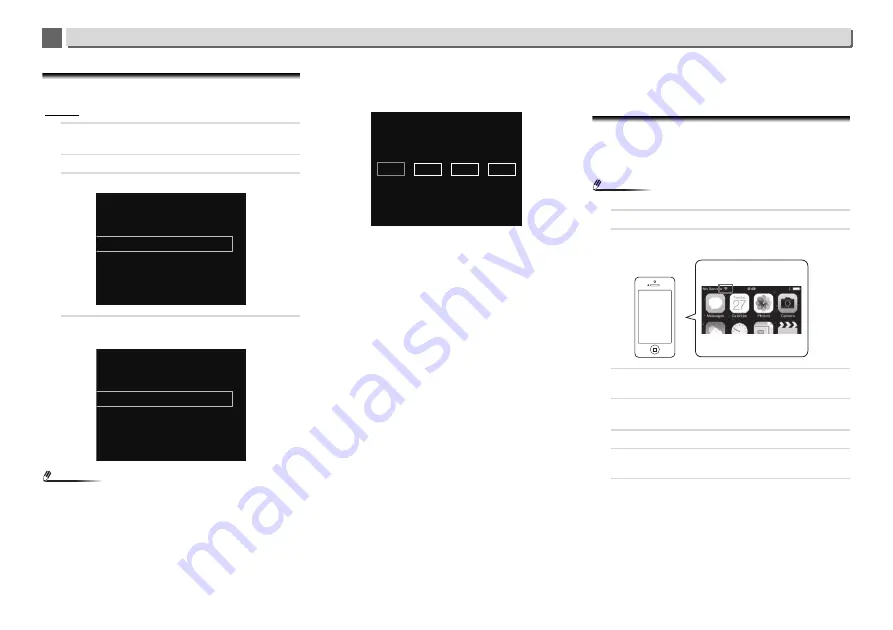
Unlock your iPod/iPhone/iPad. Check that the Wi-Fi
mark is displayed on the iOS device.
3
Plug the power cord into an AC outlet. Press STANDBY/
ON.
4
Press iPod/USB on the remote control.
Connect the iOS device to the USB terminal.
5
Press SETUP.
6
Select Network Setting
Network Configuration
Wireless
iOS Device and then press ENTER.
7
Tap Allow on iPod/iPhone/iPad.
The Wi-Fi settings of your iPod/iPhone/iPad are applied to
the receiver.
Wireless
Wired
Network Configuration
DHCP Off
DHCP On
Network Configuration
IP Address
XXX .
XXX
XXX
XXX
.
.
Share Wi-Fi Settings?
Ignore


