46
Connecting your equipment
03
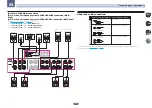
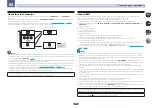
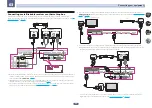
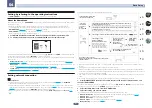
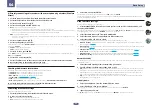
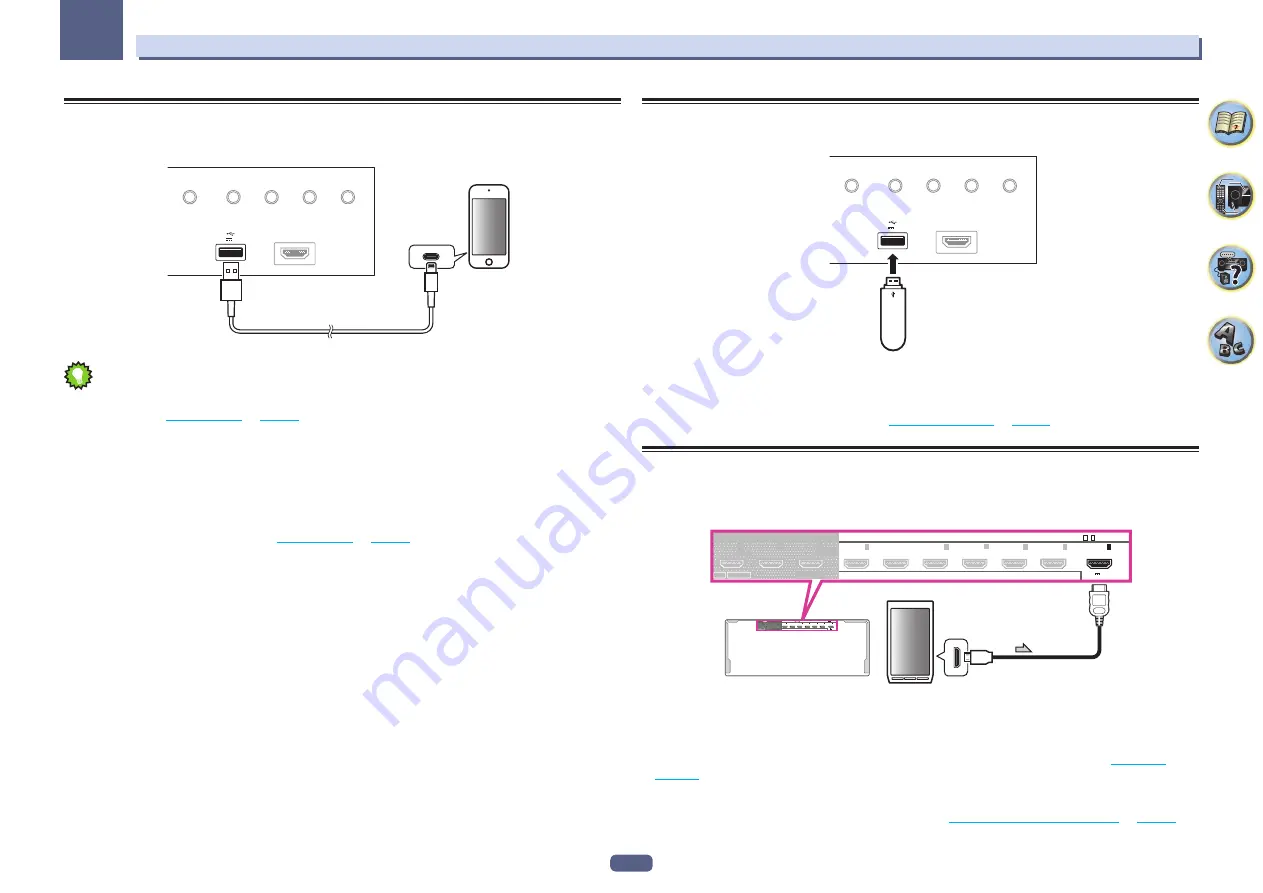
Connecting an iPod
This receiver has a dedicated iPod terminal that will allow you to control playback of audio content from your iPod
using the controls of this receiver.
HDMI 5 INPUT
AUTO/ALC/
DIRECT
STATUS
BAND
TUNER EDIT
iPod iPhone
DIRECT CONTROL
5V 1 A
USB cable included with the iPod
iPod/iPhone
Tip
!
An iPod/iPhone can be connected to the receiver. For details on supported models and versions of the respec-
tive products, see
on
%
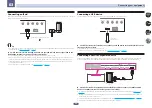
Switch the receiver into standby, and then use the iPod cable to connect your iPod to the
iPod/iPhone terminal on the front panel of this receiver.
!
For the cable connection, also refer to the operating instructions for your iPod.
!
When connecting an iPhone to this unit, keep the iPhone at least 20 cm away from this unit. If the iPhone is
kept closer to this unit and a telephone call is received by the iPhone, noise may be output from this device.
!
iPod recharging occurs whenever an iPod is connected to this unit. (Recharging is enabled only when the
unit’s power is turned on.)
!
For instructions on playing the iPod, see
on
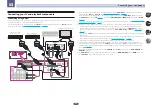
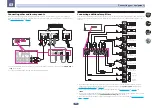
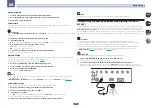
Connecting a USB device
It is possible to play audio and photo files by connecting USB devices to this receiver.
HDMI 5 INPUT
AUTO/ALC/
DIRECT
STATUS
BAND
TUNER EDIT
iPod iPhone
DIRECT CONTROL
5V 1 A
USB mass
storage device
%
Switch the receiver into standby then connect your USB device to the USB terminal on the
front panel of this receiver.
!
This receiver does not support a USB hub.
!
For instructions on playing the USB device, see
.
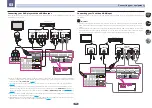
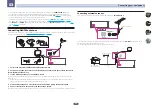
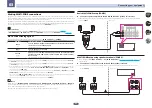
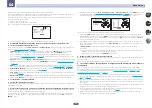
Connecting an MHL-compatible device
An MHL-compatible mobile device can be connected to enjoy 3D/Full-HD videos, high quality multi-channel
audio, and photos etc., with charge the battery on the receiver. Use the MHL cable to connect the device.
3
(HDZONE)
2
1
MAIN
SELECTABLE
HDMI IN
HDMI OUT
1
(DVD)
BD
2
(SAT/CBL)
3
(DVR/BDR)
6
4
7 /
/MHL
ASSIGNABLE
1 7
-
ARC CONTROL
( 5 V 0.9 A )
3
(HDZONE)
2
1
MAIN
SELECTABLE
HDMI IN
HDMI OUT
1
(DVD)
BD
2
(SAT/CBL)
3
(DVR/BDR)
6
4
7 /
/MHL
ASSIGNABLE
1 7
-
ARC CONTROL
( 5 V 0.9 A )
MHL enabled
device
MHL cable
%
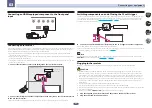
Switch the receiver into standby then use the MHL cable to connect your MHL enabled
device to the MHL terminal on the rear panel of this receiver.
!
To automatically switch to the MHL input when an MHL-compatible device is connected, see
on
.
!
The MHL-compatible device is recharged whenever it is connected to this unit. (Recharging is enabled only
when the unit’s power is turned on.)
!
For instructions on playing the MHL-compatible device, see
Playing an MHL-compatible device
!
Do not place the MHL device on this unit which has the power turned on.

