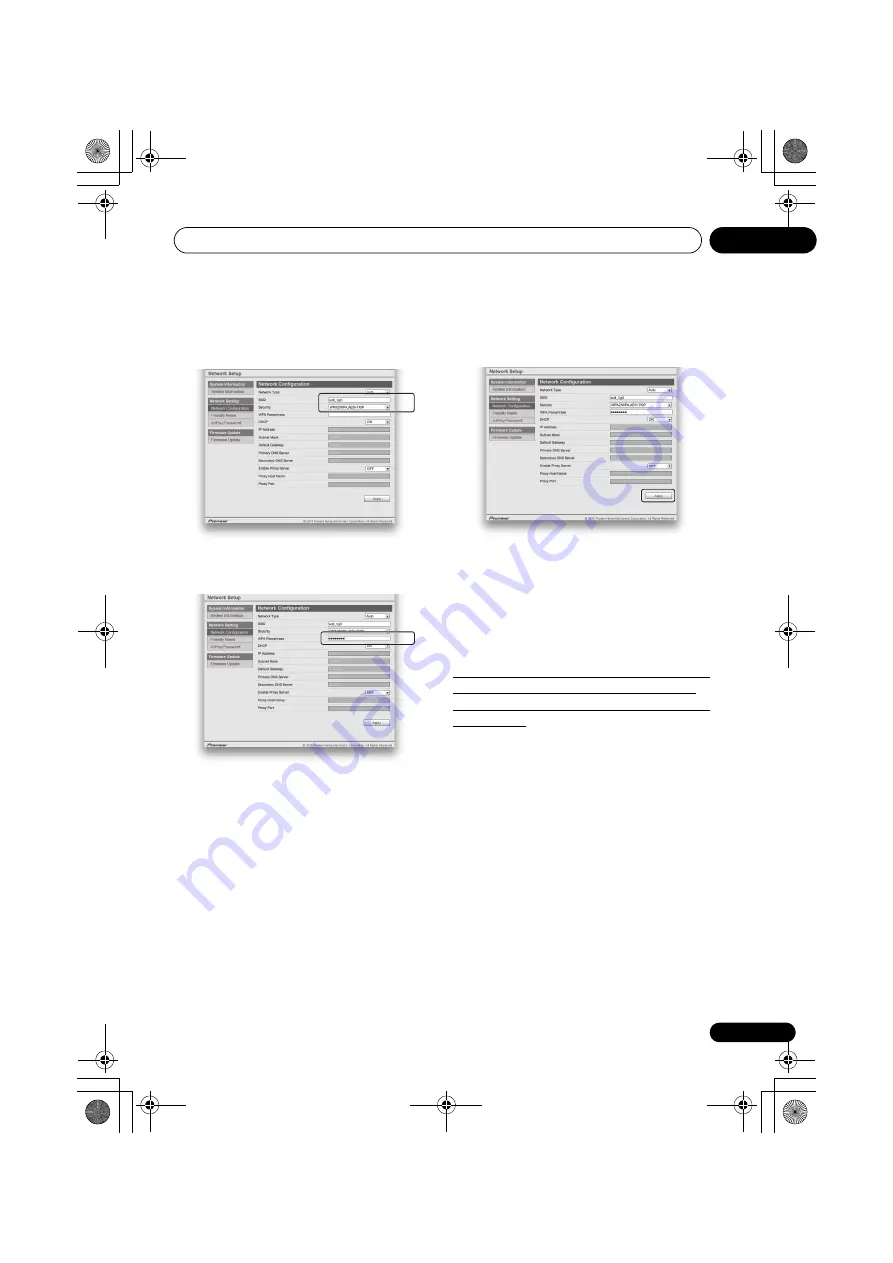
Connect network
08
27
10 On the “Network Configuration”, input the
router's SSID, then select the “Security” item set
on the router.
11 If a password is requested, input it here.
12 Select “OFF” or “ON” for the Enable Proxy
Server setting to deactivate or activate the
proxy server.
In case you select “
OFF
”, proceed with Step 15. In case you
select “
ON
”, on the other hand, proceed with Step 13.
13 Enter the address of your proxy server or the
domain name.
14 Enter the port number of your proxy server.
15 Select the DHCP setting you want.
If you are asked to input a fixed IP address, perform settings
after turning DHCP OFF. For details, see
16 When settings are completed, click on
“Apply”.
The unit will automatically power down.
17 Disconnect the LAN cable from the unit and
confirm that the router’s power is ON.
If you intend to use the unit in a wired configuration, use a
LAN cable to connect the unit to the router.
18 Press
STANDBY/ON.
When the power is completely on, the
NETWORK
indicator
will light white, indicating that settings are completed.
F: Setting the wireless LAN setting for
this unit from the web browser of a
computer that supports a wireless LAN
connection
To set with this method, your computer must be compatible
with wireless LAN functions.
Network settings are performed on the browser on your
computer.
• Check that the LAN cable is not connected to this unit.
• When wired LAN is set once, the following procedures 1
through 3 must be executed.
1
Select “Network Type Set” from the HOME
MENU.
2
Use
/
to select “Wireless”.
3
Press ENTER.
The home menu will be disabled for about 60 seconds. After
60 seconds, execute the following operation.
4
Press NETWORK SET UP and VOLUME – on
the front panel together for 3 seconds.
5
The unit will enter WAC mode.
SBX-B70D.book 27 ページ 2015年4月13日 月曜日 午後2時6分


