20
Chapter
49
Engb
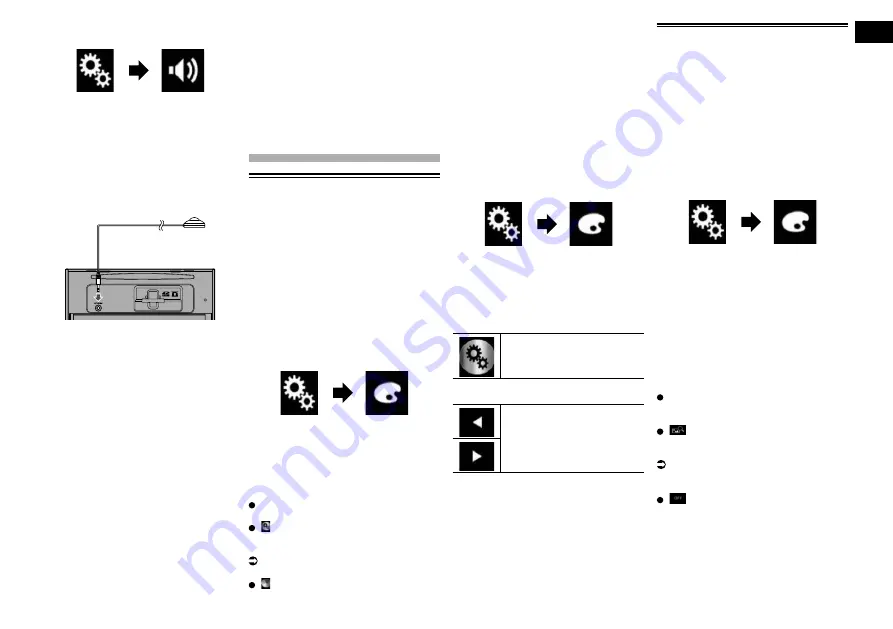
7 Touch the following keys in the
following order.
The “
Audio
” screen appears.
8 Touch [A-EQ&TA Measurement].
The “
A-EQ&TA Measurement
” screen
appears.
9 Connect the microphone for
acoustical measurement with this
product.
Plug the microphone into the microphone
input jack on this product.
10 Touch [Front Left] or [Front Right]
to select the current listening
position.
11 Touch [Start].
A 10-second countdown starts.
p
The Bluetooth connection is discon-
nected before the process starts.
12 Exit the vehicle and keep the
doors closed until the countdown
finishes.
When the countdown finishes, a measure-
ment tone (noise) is emitted from the speak-
ers and the Auto EQ measurement begins.
13 Wait until the measurement is
completed.
When Auto EQ is completed, a message is
displayed indicating that the measurement
is completed.
p
If the vehicle’s acoustics cannot be
measured correctly, an error message will
be displayed.
p
The measurement time varies depending
on the type of vehicle.
p
To stop the measurement, touch [
Stop
].
14 Store the microphone carefully in
the glove compartment or another
safe place.
If the microphone is subjected to direct sun-
light for an extended period, high tempera-
tures may cause distortion, colour change or
malfunction.
Theme menu
Setting the illumination
colour
The illumination colour can be selected
from 5 different colours. Furthermore, the
illumination can be switched between these
5 colours in order.
■
Selecting the colour from the
preset colours
You can select an illumination colour from
the colour list.
1 Press the HOME button to display
the Top menu screen.
2 Touch the following keys in the
following order.
The “
Theme
” screen appears.
3 Touch [Illumination].
p
You can also change the screen
for settings by touching [
Theme
],
[
Background
] or [
Clock
] on this screen.
4 Touch the colour you want.
Coloured keys:
Selects the desired preset colour.
(custom):
Displays the screen to customise the
illumination colour.
For details, refer to Creating a user-
defined colour on page 49.
(rainbow):
Shifts gradually between the five default
colours in sequence.
p
You can preview the Top menu screen
or the AV operation screen by touching
[
Home
] or [
AV
] respectively.
■
"QD@SHMFÐ@ÐTRDQCDÆMDCÐBNKNTQ
You can create a user-defined colour. The
created colour is stored, and you can select
the colour when setting the illumination
colour the next time.
1 Press the HOME button to display
the Top menu screen.
2 Touch the following keys in the
following order.
The “
Theme
” screen appears.
3 Touch [Illumination].
p
You can also change the screen
for settings by touching [
Theme
],
[
Background
] or [
Clock
] on this screen.
4 Touch the following key.
Displays the screen to create a
user-defined colour and store it
to memory.
5 Touch the following keys.
Adjusts the brightness and the
level of red, green and blue to
create a favourite colour.
p
You can also adjust the colour tone by
dragging the colour bar.
6 Touch and hold [Memo] to store the
customised colour in the memory.
The customised colour is stored in the
memory.
The set colour will be recalled from the mem-
ory the next time you touch the same key.
Selecting the background
display
The background display can be selected
from 8 different preset displays for the AV
operation screen and 5 different preset dis-
plays for the Top menu screen. Furthermore,
you can change the background display
to other images imported from an external
device.
1 Press the HOME button to display
the Top menu screen.
2 Touch the following keys in the
following order.
The “
Theme
” screen appears.
3 Touch [Background].
p
You can also change the screen for
settings by touching [
Illumination
],
[
Theme
] or [
Clock
] on this screen.
4 Touch [Home] or [AV] to switch the
screen displays.
p
The setting contents can be memorised
separately for the AV operation screen
and the Top menu screen.
5 Touch the item you want to set.
Preset displays:
Selects the desired preset background
display.
(custom):
Displays the background display image
imported from the external device.
For details, refer to Changing to the
background display image stored on the
external device (USB/SD) on page 49.
(off):
Hides the background display.
■
Changing to the background
display image stored on the
external device (USB/SD)
You can change the background display
image to an image imported from the exter-
nal device (USB/SD).


