Assembling Speaker pHAT
In this guide, you'll learn how to assemble your Speaker pHAT. Speaker pHAT combines an I2S DAC and
mono amplifier, a tiny 8
Ω
2W speaker, and a 10 LED bar graph that can be used as a VU meter to display
volume levels.
Like our other pHATs, Speaker pHAT comes as a kit, so you'll have to assemble it yourself. Fortunately, it's
really easy to assemble, and shouldn't take you more than 30 minutes. We'll show you just how to do that here.
Mounting the speaker
The speaker mounts on the underside of Speaker pHAT (the top is the side with the boom box artwork), and
requires a couple of pieces of wire to be soldered from the two solder pads on the speaker to the two pads on
the underside of the pHAT.
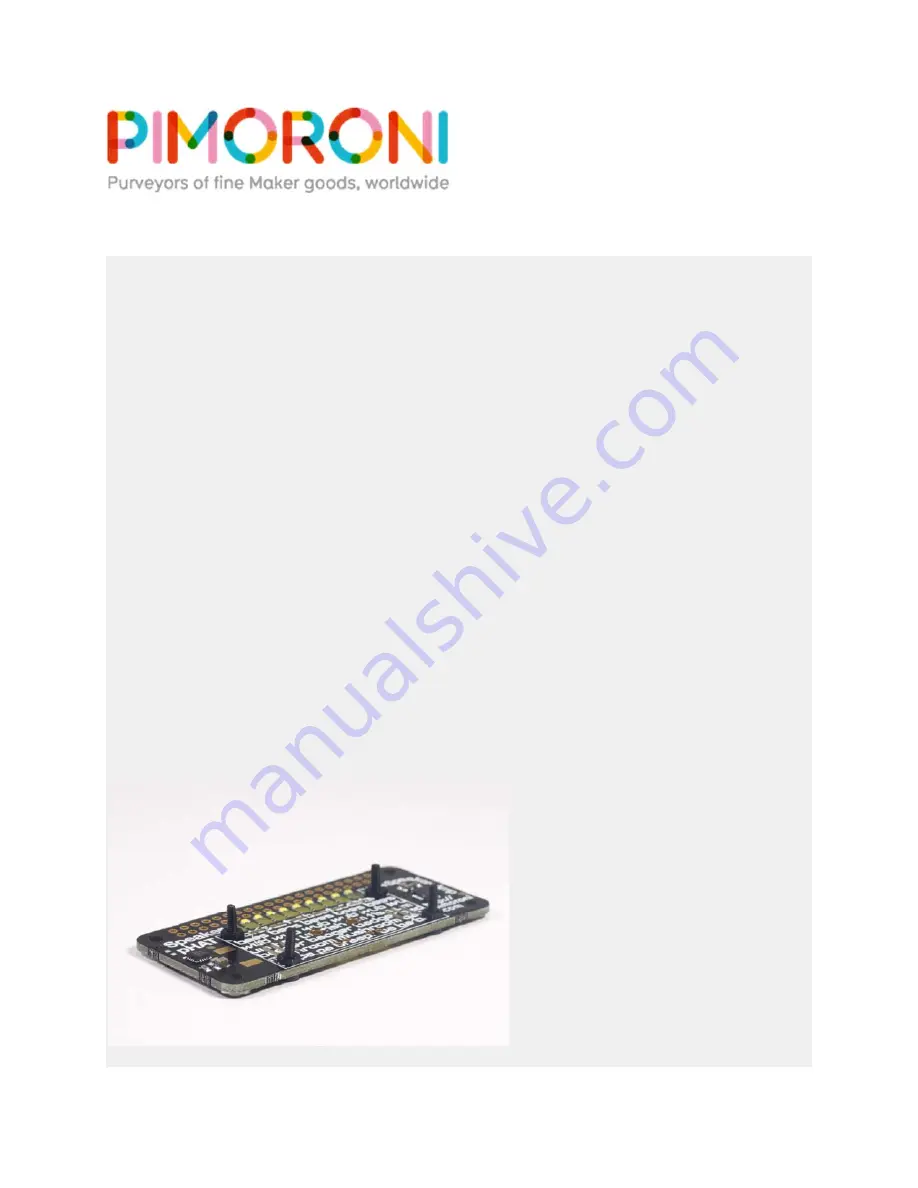
We'll mount the speaker with the nuts and bolts first. Push the four bolts through from the top of Speaker
pHAT, using the inner set of four holes (the outer set are for mounting the pHAT).
It's really important to use these spacer nuts. If the speaker isn't spaced slightly off the PCB, then the
Mylar speaker cone will vibrate against the back of the PCB, degrading both the sound quality and the
speaker itself.
Use four of the nuts to secure the bolts on the underside of the pHAT; they'll act as spacers to space the
speaker slightly away from the pHAT.


