


FL SWITCH EP74…
PHOENIX CONTACT
4057_en_A
Proxy ARP:
Select the Proxy ARP admin status for the interface. The default option is
Disabled
. The list contains:
–
Enabled:
Enables Proxy ARP feature for the interface.
–
Disabled:
Disables Proxy ARP feature for the interface.
MTU:
Enter the Maximum Transmission Unit (MTU). The MTU for the interface as shown to
the higher interface sub-layer (this value should not include the encapsulation or header
added by the interface). If IP is operating over the interface, then this value indicates the IP
MTU over this interface. The default value is
1500
. This value ranges from
46
to
9216
.
Click the “Create” button to save the new configuration.
Click the “Reset” button to discard all user inputs and reset the respective fields to the
default values.
Click the “Apply” button to save the changes of an existing configuration.
Click the “Delete” button to remove the selected entry.
1.
In the appropriate fields, enter the IP address and subnet mask for your network.
2.
Click the “Modify” button.
3.4.3
IP route configuration
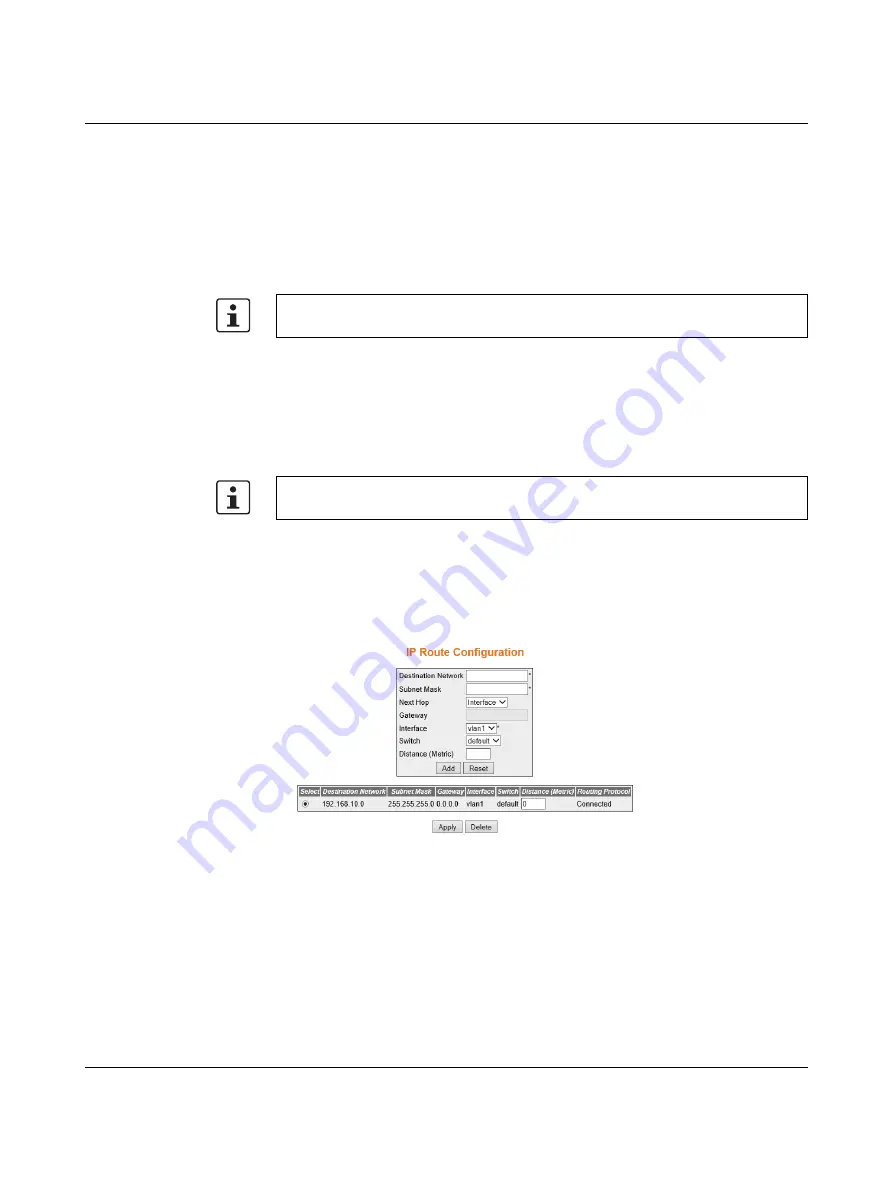
On the left-side menu, click the “Layer 3 Management/IP/IP Route” option to display the “IP
Route Configuration” page.
Figure 3-7
“IP Route Configuration” page
Select:
Select the destination network for which configuration needs to be modified or
deleted.
Destination Network:
Enter the destination IP address of the route. It denotes the network
address for which the route is being added.
Subnet Mask:
Enter the subnet mask for the destination network address.
Gateway:
Enter the Next Hop gateway to reach the destination network.
To configure the MTU value, the Admin State of the interface should be Down.
Consult the network administrator if you do not know these values.