


Startup
8482_en_03
PHOENIX CONTACT
57
Transmitting settings to
the controller
•
Click on the "Send" button.
•
In the "Settings Communication Path" dialog box, select the USB interface and confirm
with "OK".
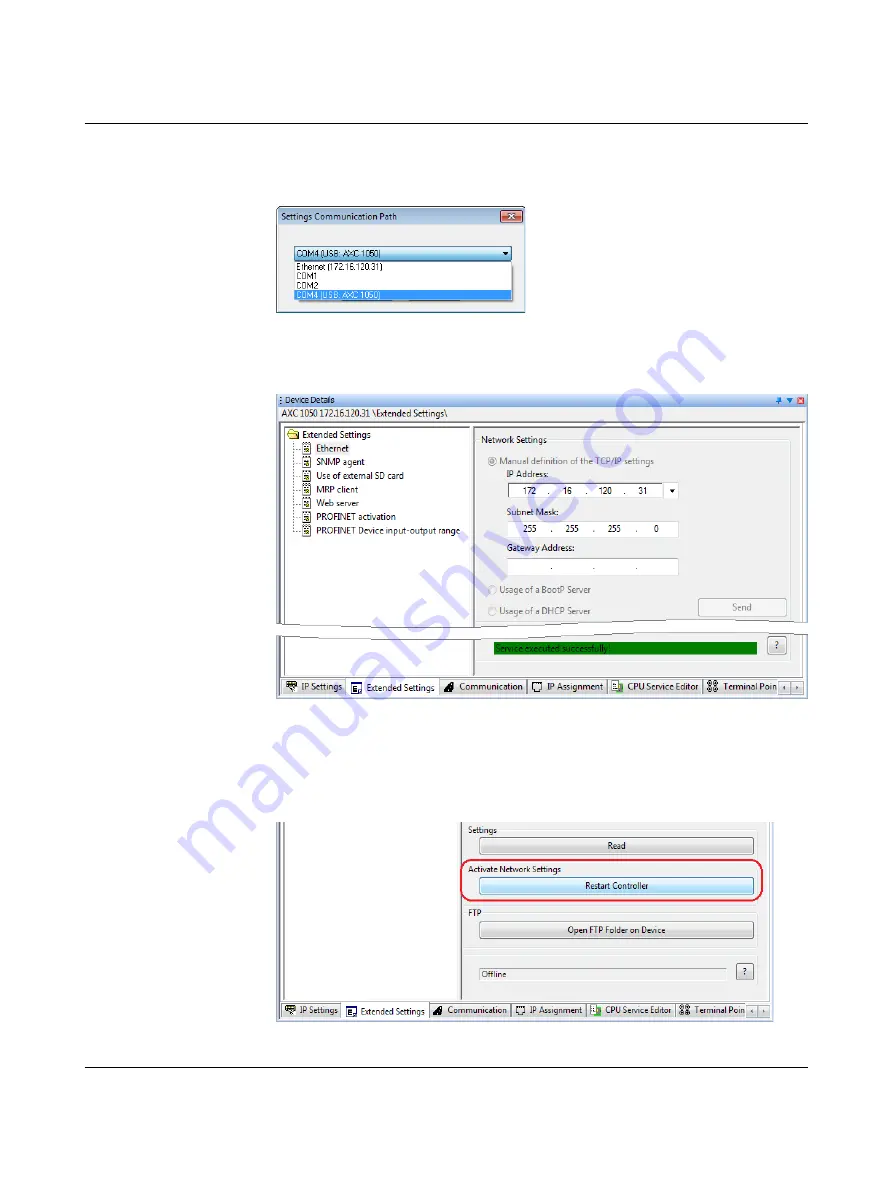
Figure 6-12
"Settings Communication Path" dialog box
Successful download of the IP address settings to the controller is displayed in the status
window:
Figure 6-13
IP address settings download successful
Applying IP address set-
tings after a restart
In order for the transferred IP address settings to take effect in the controller, you must re-
start the controller (voltage reset).
•
In "Device Details", select the "Ethernet" setting under "Extended Settings".
•
In the "Activate Network Settings" area, click on the "Restart Controller" button.
Figure 6-14
Activate Network Settings: Restart Controller