

Mechanical Instructions
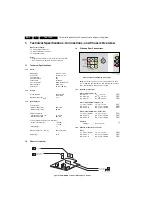
4.
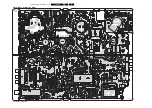
4.2.2
Mono Carrier Removal
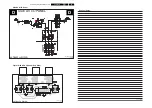
1.
First, disconnect the strain relief of the AC power cord [4].
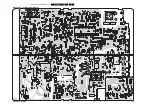
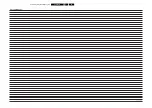
2.
Disconnect all the necessary cables [5].
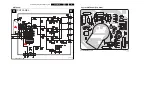
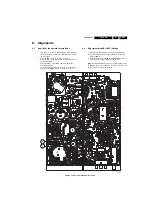
3.
To remove the Mono Carrier; release the clamps [6] and
slide the whole panel backwards [7] (= away from the
front).
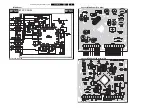
4.
Slide the panel away from the cabinet.
Figure 4-3 Mono carrier removal [1/4]
Figure 4-4 Mono carrier removal [2/4]
Figure 4-5 Mono carrier removal [3/4]
Figure 4-6 Mono carrier removal [4/4]
4.3
Service Positions
For easy measurements, you can use the following service
position.
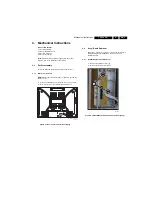
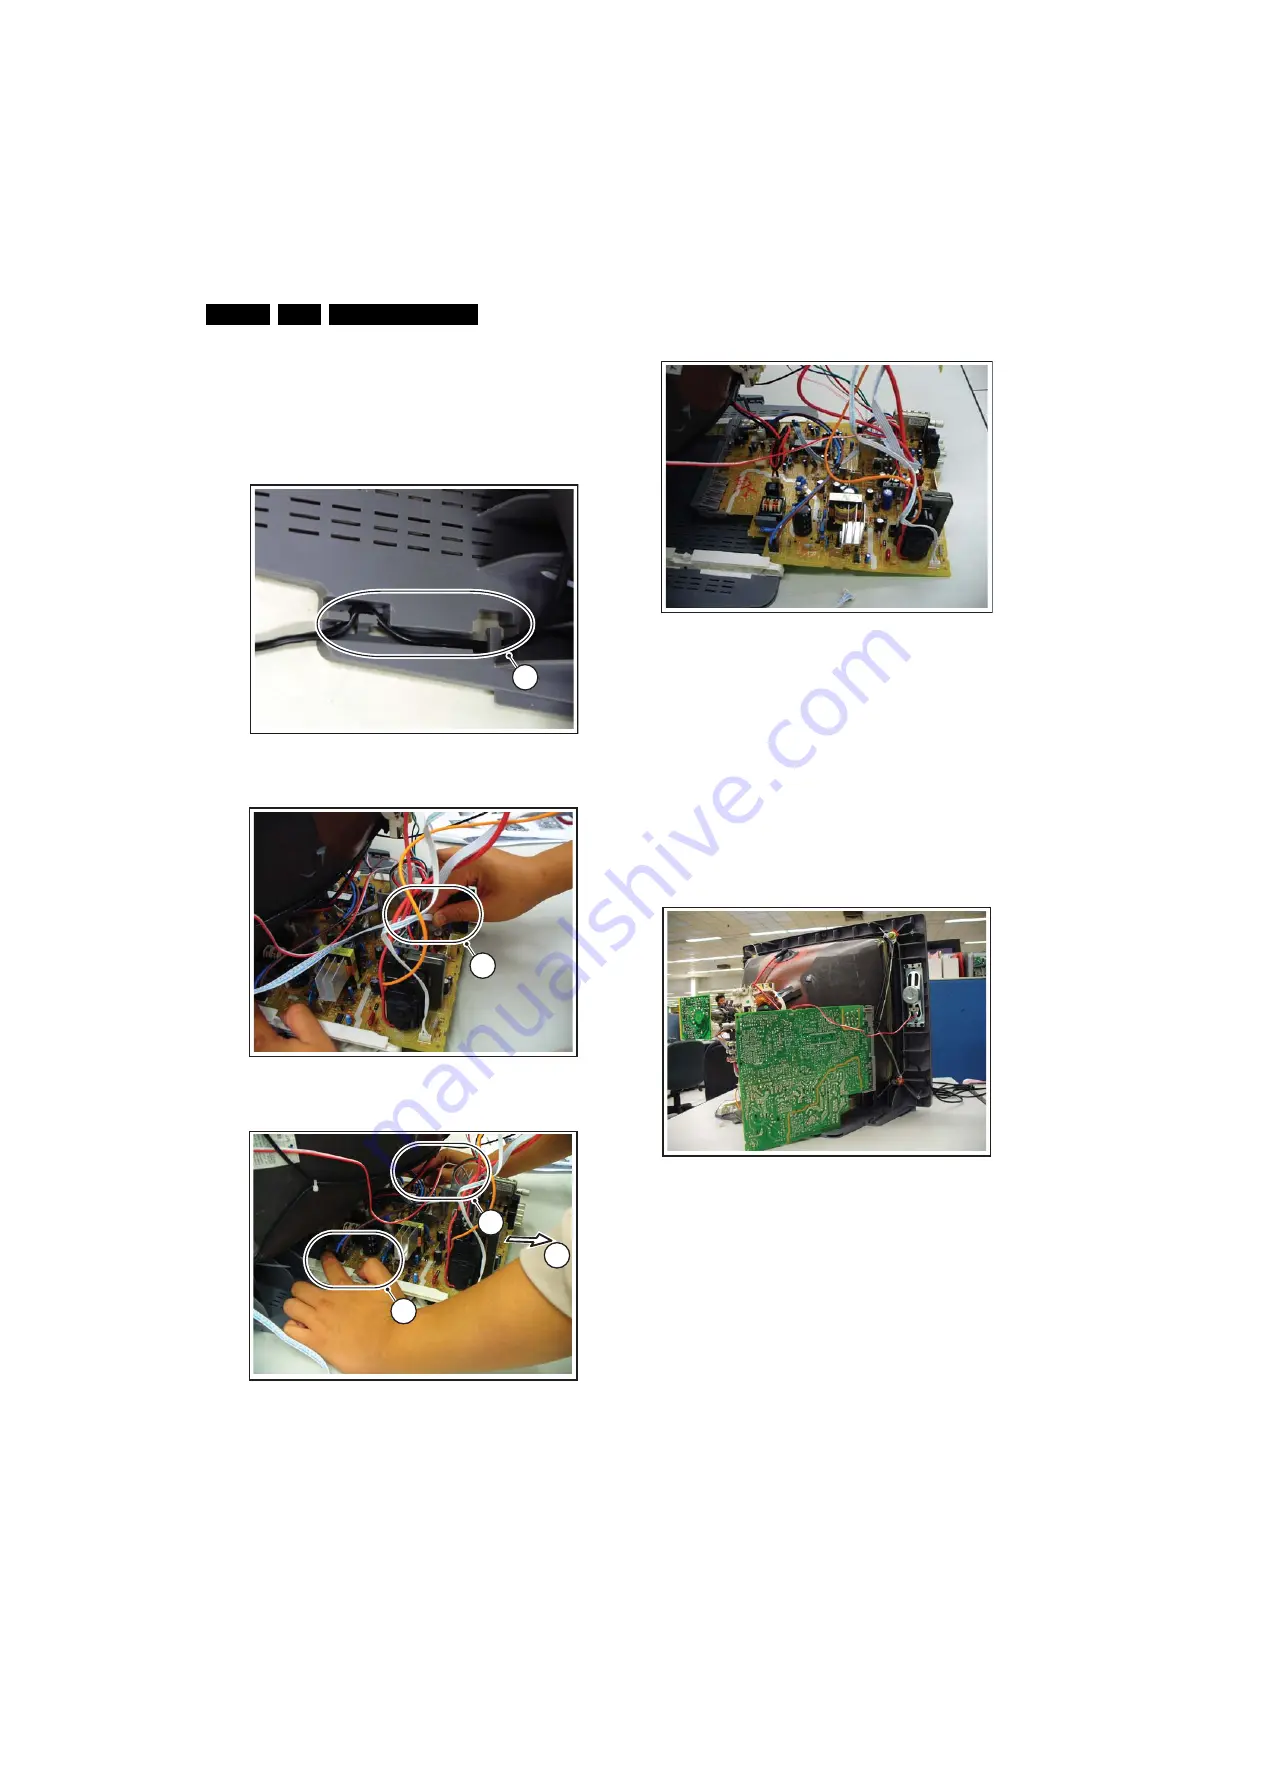
4.3.1
Service Position Mono Carrier
Removing cables and repositioning the panel
For better accessibility of the Mono Carrier, do the following
(see next figure):
1.
If necessary, disconnect some cables, and move the panel
somewhat to the left. Then flip it 90 degrees with its
components towards the CRT.
Figure 4-7 Service position Mono Carrier
4.4
Set Re-assembly
To re-assemble the whole set, do all processes in reverse
order.
Be sure that, before the rear cover is mounted:
•
The mains cord is positioned correctly in its guiding
brackets (make sure that the strain relief is replaced in its
correct position and that it will function correctly!).
•
All wires/cables are returned in their original positions.
H_171
3
0_025.ep
s
1
4
H_171
3
0_026.ep
s
1
5
H_171
3
0_027.ep
s
1
6
1
6
1
7
H_17130_023.eps
240407
H_17130_024.eps
240407
Содержание TC8.1L CA
Страница 12: ...Service Modes Error Codes and Fault Finding EN 12 TC8 1L CA 5 Personal Notes E_06532_012 eps 131004 ...
Страница 20: ...20 TC8 1L CA 7 Circuit Diagrams and PWB Layouts Personal Notes E_06532_013 eps 131004 ...
Страница 34: ...Revision List EN 34 TC8 1L CA 11 11 Revision List Manual xxxx xxx xxxx 0 First release ...


