background image

3139 246 11941

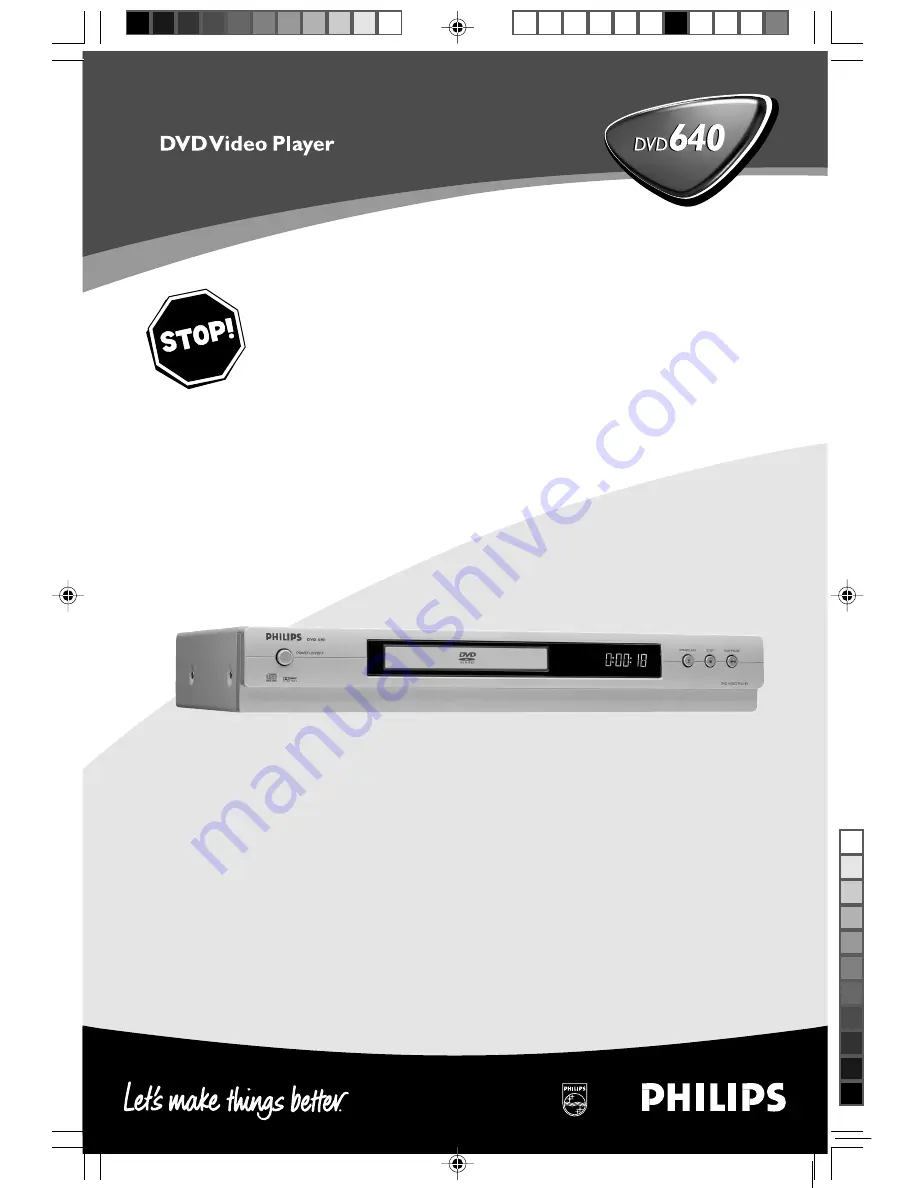
Read this manual first!

Congratulations on purchasing this Philips product.
We’ve included everything you need to get started.
If you have any problems, Philips Representatives can
help you get the most from your new product by explaining:
• Hookups,
• First Time Setup, and
• Feature Operation.
Before you return this product to the store,


For fast help, call us first!

     Tel: see back page of your manual 

Thank you for making Philips a part of your home!

Содержание DVD640

Страница 1: ...to get started If you have any problems Philips Representatives can help you get the most from your new product by explaining Hookups FirstTime Setup and Feature Operation Before you return this product to the store For fast help call us first Tel see back page of your manual Thank you for making Philips a part of your home ...

Страница 2: ...mportant Note for Users in the UK Mains plug This apparatus is fitted with an approved 13 Amp plug To change a fuse in this type of plug proceed as follows 1 Remove fuse cover and fuse 2 Fix new fuse which should be a BS1362 5 Amp A S T A or BSI approved type 3 Refit the fuse cover If the fitted plug is not suitable for your socket outlets it should be cut off and an appropriate plug fitted in its...

Страница 3: ...RÅLINGVED ÅBNING UNDGÅ UDSÆTTELSE FOR STRÅLING VARNING SYNLIG OCH OSYNLIG LASERSTRÅLNING NÄR DENNA DEL ÄR ÖPPNAD BETRAKTA EJ STRÅLEN VARO AVATTAESSA OLET ALTTIINA NÄKYVÄLLE JA NÄKYMÄTTÖMÄLLE LASER SÄTEILYLLE ÄLÄ KATSO SÄTEESEEN VORSICHT SICHTBARE UND UNSICHTBARE LASERSTRAHLUNG WENN ABDECKUNG GEÖFFNET NICHT DEM STRAHL AUSSETSEN ATTENTION RAYONNEMENT LASERVISIBLE ET INVISIBLE EN CAS D OUVERTURE EXPO...

Страница 4: ...ectual property rights owned by Macrovision Corporation and other rights owners Use of this copyright protection technology must be authorised by Macrovision Corporation and is intended for home and other limited viewing uses only unless otherwise authorised by Macrovision Corporation Reverse engineering or disassembly is prohibited Laser safety This unit employs a laser Due to possible eye injury...

Страница 5: ...Camera Angle 13 Changing the Audio Language 13 Subtitles 13 SpecialVCD SVCD Features 14 Playback Control PBC 14 Preview 14 Picture CD MP3 CD Playback Function introduction 15 Basic playback 15 Auto playback 15 Selection playback 15 Preview function 15 Playback with multi angles 15 Playback Speed Control 15 Zoom picture 15 Setup Menu Basic Operation 16 General Setup 16 18 Disc Lock 16 Program 16 VF...

Страница 6: ... to be opened In cabinet allow about 2 5cm 1 inch of free space all around the player for adequate ventilation Do not expose your player to extreme of temperature or humidity If the DVD player is brought directly from a cold to a warm location or is placed in a very damp room moisture may condense on the lens of the disc unit inside the DVD player Should this occur the DVD player would not operate...

Страница 7: ...AL CVBS AUDIO OUT L R TV OUT MAINS AUDIO OUT Left Right connect to AUDIO inputs of an amplifier receiver or stereo system COAXIAL Digital audio out connect to AUDIO inputs of a digital coaxial audio equipment CVBS VIDEO OUT connect to CVBS Video inputs of a TV MAINS AC Power Cord connect to a standard AC outlet TV OUT VIDEO OUT connect to a TV with SCART Caution Do not touch the inner pins of the ...

Страница 8: ...PLAY B start playback PAUSE pause playback temporarily frame by frame playback REPEAT repeat chapter track title disc REPEAT A B repeat a specific segment PREVIEW display the content of a track or whole disc MUTE disable or enable sound output POWER B switch DVD ON or go to standby on mode 0 9 numerical key pad select numbered items in a menu DISPLAY to display track chapter status during playback...

Страница 9: ...to avoid distortion because DVD video discs are copy protected Do not connect the DVD player AUDIO OUT to PHONO IN of your amplifier or receiver Connecting to aTV 1 Connect the SCART TV OUT on the DVD player to the corresponding connector on the TV IN Note Ensure that the TV indication on SCART cable is connected to theTV set and DVD indication on SCART cable is connected to the DVD player If your...

Страница 10: ...trol 1 Open the battery cover 2 Insert batteries AA size with the correct polarity as indicated by the and symbols inside the battery compartment 3 Close the cover CAUTION Remove batteries if they are exhausted or not to be used for a long time Do not use old and new or different types of batteries in combination Batteries contain chemical substances so they should be disposed off properly and kep...

Страница 11: ...om the point where the playback was last stopped by pressing the STOP key once 2 Playback will start from the beginning if you press STOP key twice to stop playback PAUSE STEP DVD VCD CD SVCD 1 Press PAUSE once to get a still picture during playback Playback will pause 2 To step forward to the next picture frame press PAUSE again 3 To resume normal playback press PLAY SEARCH Fast Forward and Fast ...

Страница 12: ...CD CD Repeat track disc To repeat the current track press REPEAT To repeat the entire disc press REPEAT a second time To exit Repeat mode press REPEAT a third time Repeat A B DVD VCD CD DVD Video Discs repeat a sequence in a title Video and Audio CDs repeat a sequence in a track 1 Press REPEAT A B at your chosen starting point 2 Press REPEAT A B again at your chosen end point The playback of the r...

Страница 13: ...c Special DVD Features Playing a title chapter DVD video discs may have one or moreTITLES and eachTITLE may have one or more CHAPTERS 1 Insert a disc and close the tray playback starts automatically The display on the screen shows the type of disc loaded disc s information and playing time 2 When the Disc Menu appear on theTV screen use 431 2 keys or numerical keys on the remote control to select ...

Страница 14: ...VIEW on the remote control The preview menu will be displayed 1 INTRO DVD player will playback every track for few seconds with full screen to obtain a summary of the disc content 1 Press numerical key pad 1 2 Press OK to confirm The full screen of each track will appear in sequence 3 Press STOP to quit previewing 2 DISC Reduce the picture of 9 tracks enough to display in a full screen 1 Press num...

Страница 15: ...k Auto playback After you open one picture the player can playback each file in sequence automatically Selection playback 1 Press the numerical key to select your favourite file directly 2 In the JPEG playback menu press the 1 2 3 4 key to select the folder you want and press the OK to open it 3 Press the 1 2 3 4 key to highlight your favourite file and press the OK key to confirm Preview function...

Страница 16: ...e DVD player s memory During playback of the locked disc the DVD player will prompt for the password 1 Press 34 keys to select the DISC LOCK in the General Setup menu and press OK to confirm 2 Enter the submenu by pressing the 2 key LOCK Lock the disc being played UNLOCK Unlock the disc 3 Press 1 key to return to General Setup menu Notes When playback a locked disc the DVD player will prompt to en...

Страница 17: ...hlight an option 100 VFD brighter than normal 70 standard brightness 40 VFD to dim mode 4 Press OK and press 1 key to return to General Setup menu OSD Language There are 14 languages available for information display on theTV screen 1 Press 34 keys to select the OSD LANG in the General Setup menu and press OK to confirm 2 Enter the submenu by pressing the 2 key 3 Use the 34 keys to highlight an op...

Страница 18: ...ic Range Compression To optimised the dynamic sound output High volume outputs are softened enabling you to watch your favourite action movie without disturbing others 1 Press 34 keys to select the D R C in the Speaker Setup menu and press OK to confirm 2 Enter the submenu by pressing the 2 key 3 Use the 34 keys to highlight an option ON Enable D R C OFF Disable D R C 4 Press OK and press 1 key to...

Страница 19: ...TOP twice 2 Press SYSTEM MENU to enter its menu 3 Select theVIDEO OUTPUT SETUP by pressing 34 key and OK the confirm selection TV Display Select the aspect ratio of theTV to be connected 16 9 when you connect a wide screenTV to the DVD player 4 3 LETTER BOX when you connect a normal TV to the DVD player Displays a wide picture with bands displayed on the upper and lower portions of theTV screen 4 ...

Страница 20: ... one picture setting from a fixed predefined set Bright Standard and Soft 1 Press 34 keys to select theVIDEO MODE in theVIDEO OUTPUT Setup menu and press OK to confirm 2 Enter the submenu by pressing the 2 key 3 Use the 34 keys to highlight an option BRIGHT TV screen brighter STANDARD Standard picture setting SOFT TV screen softer PERSONAL Reapply the previous setting 4 Press OK and press 1 key to...

Страница 21: ... these settings to select your preferred default language 1 Press 34 keys to select the SUBTITLE in the Preferences menu and press OK to confirm 2 Enter the submenu by pressing the 2 key 3 Use the 34 keys to highlight an option 4 Press OK and press 1 key to return to Preferences menu Notes This feature is subject to availability of the disc If the language selected is not available on the disc the...

Страница 22: ...ination thus Parental Control is not available on these discs 1 Press 34 keys to select the PARENTAL in the Preferences menu and press OK to confirm 2 Enter the submenu by pressing the 2 key 3 Use the 34 keys to highlight a rating from 1 to 8 for the loaded disc Select NO PARENTAL and press OK to deactivated the Parental Control feature 4 Press OK and press 1 key to return to Preferences menu Defa...

Страница 23: ...gital Output 1 coaxial IEC958 for CDDA LPCM MPEG1 IEC1937 for MPEG2 Dolby Digital and DTS CABINET Dimensions w x h x d 435 x 235 x 71 mm Weight Approximately 2 7 Kg Specifications subject to change without prior notice Specifications Cleaning the Cabinet Use a soft cloth slightly moistened with a mild detergent solution Do not use a solution containing alcohol spirits ammonia or abrasives Cleaning...

Страница 24: ...sound and picture Check that the SCART cable is connected to the correct device See Connecting to aTV Disc can t be played Ensure the disc label is facing up Check if the disc is defective by trying another disc Region code incorrect Picture freezes momentarily Check the disc for fingerprints scratches and during playback clean with a soft cloth wiping from centre to edge No return to start up scr...

Отзывы: