20
the Power Supply Module then cover the open Bay with a Power
Supply Bay cover and replace the screws.
Installing or Replacing the Power Supply Module
1.
If installing or replacing the Power Supply Module, remove it
from its packaging.
2.
Using a cross-head screwdriver, remove the screw from the top of
the Power Supply Bay cover on the back of the Chassis and
remove the cover.
3.
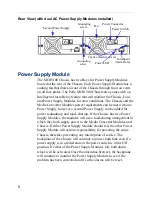
Locate the bottom alignment guide inside the Power Supply Bay.
4.
Using the Power Supply module alignment guide gently slide the
module into the Bay until it becomes flush with the back of the
Chassis. Light pressure may be needed to seat the module. Do not
force the module as you might damage the connector. If there is
resistance, remove the module and try again.
5.
Using a screwdriver secure the one screw located at the top of the
Power Supply Module.
6.
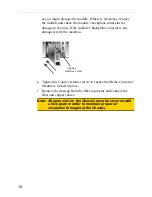
Tighten the Captive retainer screws on either side of the Power
Supply Module.
7.
Connect the power cord to the MCR1900 Power Supply Module.
8.
Connect the power cord its source.
9.
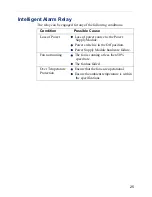
Connect the alarm relays ( optional).
10.
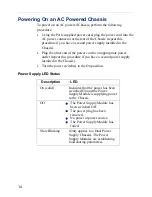
Turn the power switch to the On position.
Note:
If the Intelligent Alarm Relay has been connected to an audible
or visual alarm, the insertion of a second Power Supply Module
will engage the alarms until the power switch has been set to
the On position.
Содержание MCR1900
Страница 1: ...MCR1900 Media Converter 19 Slot Chassis Installation Guide Part 5500304 10...
Страница 16: ...16...

