PEERLESS Mounts LCT-A1B3C Скачать руководство пользователя страница 1

3215 W. North Ave.  •  Melrose Park, IL 60160  •  (800) 729-0307 or (708) 865-8870  •  Fax: (708) 865-2941  •  www.peerlessmounts.com

ISSUED: 02-18-09   SHEET #: 090-9165-1
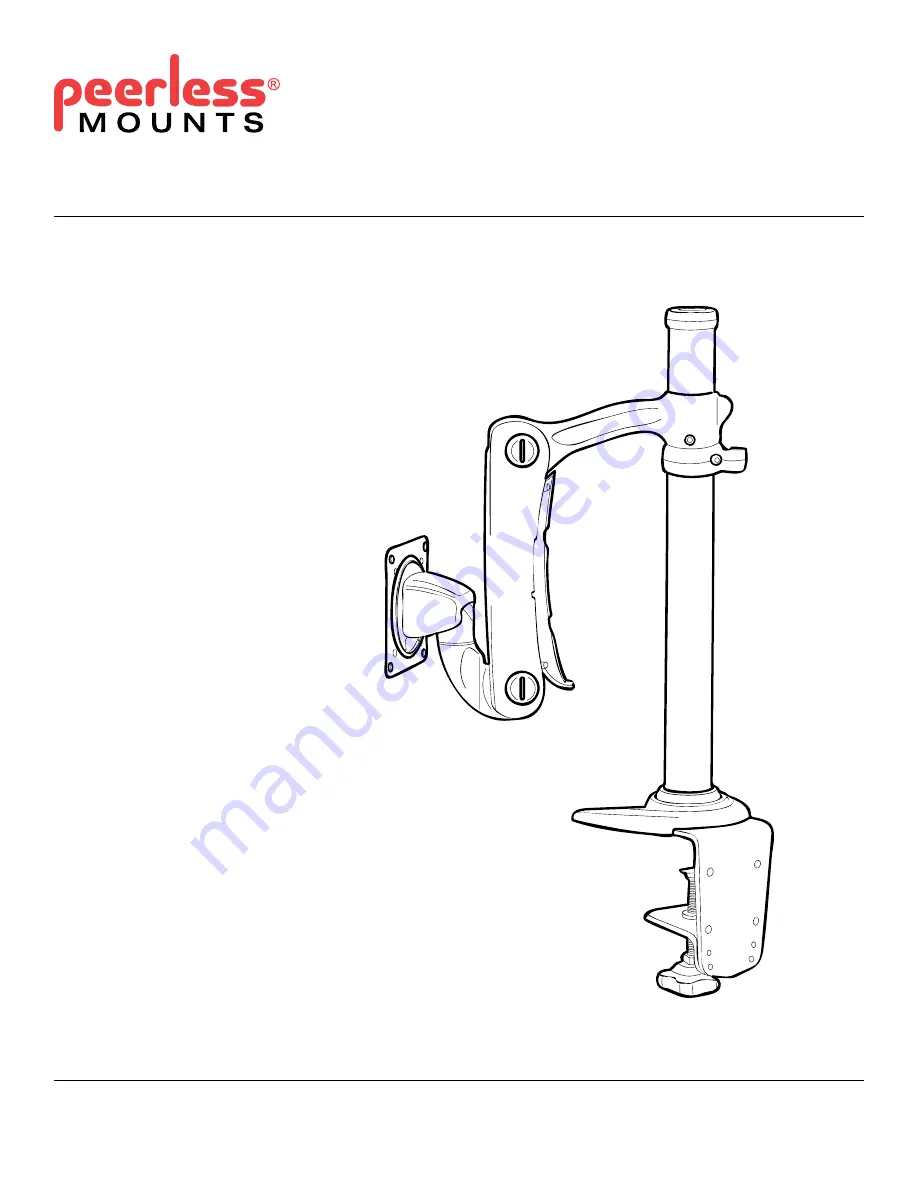
Max Load Capacity:

 17.6 lb (8 kg)

Installation and Assembly:

Desktop Two-Link Pole for 15" - 24" LCD monitors

Models: LCT-A1B3C, LCT-A1B3H

Содержание LCT-A1B3C

Страница 1: ...160 800 729 0307 or 708 865 8870 Fax 708 865 2941 www peerlessmounts com ISSUED 02 18 09 SHEET 090 9165 1 Max Load Capacity 17 6 lb 8 kg Installation and Assembly Desktop Two Link Pole for 15 24 LCD m...

Страница 2: ...865 2112 This product should only be installed by someone of good mechanical aptitude has experience with basic building construction and fully understands these instructions Make sure that the suppo...

Страница 3: ...mm screws 4 4 D M4 x 16 mm screws 4 4 e bar bushing 1 1 F cable guide 2 2 G lower pipe cap 1 1 H upper pipe cap 1 1 J M4 x 8 mm screws 4 4 K 4 mm allen wrench 1 1 L 2 5 mm allen wrench 1 1 M bolt 1 N...

Страница 4: ...ce until firmly attached 1 3 3 5 mounting surface clamp mounting surface 1 Clamp Installation Method 1 1 fig 2 2 fig 2 1 Drill 5 13 mm hole into mounting surface Place pipe assembly A onto mounting su...

Страница 5: ...bar bushing E through pipe and align with set screw then place arm assembly B onto pipe assembly A Attach lower pipe cap G to top of pipe assembly A using two M4 x 8 mm screws J 3 4 Attach upper pipe...

Страница 6: ...t with 4 mm allen wrench K as shown in figure 7 3 7 Control Bolt Tension Adjustment fig 7 1 fig 7 2 fig 7 3 K Loosen pipe assembly set screw using 4 mm allen wrench K then loosen arm assembly set scre...

Страница 7: ...unts com For customer care call 1 800 729 0307 or 708 865 8870 7 of 8 9 Installation to Screen Attach front of arm assembly B to back of screen with four screws C or D as shown in detail 3 using VESA...

Страница 8: ...te through arm assembly Open gap to press fit cables as shown in detail 4 Loop cords through cable guide F and attach to arm using one M4 x 8 mm screw J as shown below 11 10 Cable Management cable cab...

Отзывы: