


AT-UHD-SW-510W
29
1. Launch a web browser and enter the IP address of the AT-UHD-SW-510W in the address bar.
2. Login to the web GUI. Refer to
Introduction to the Web GUI (page 71)
for more information.
3. Click
Splash Screen
from the menu bar on the left.
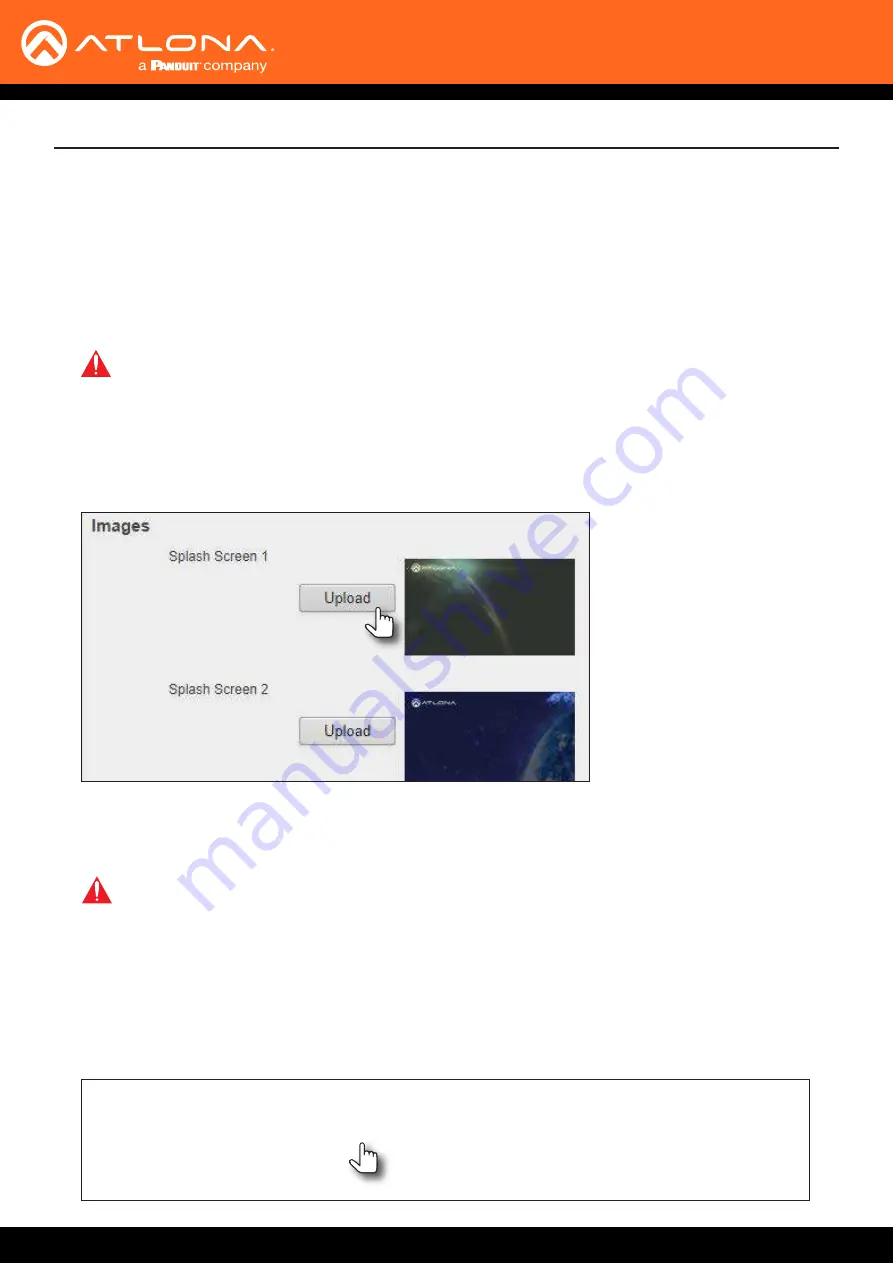
Uploading a custom image
Basic Operation
IMPORTANT:
Custom images should not exceed 1920 x 1080. All common image types, such as
JPG, BMP, PNG, TIF, GIF, are supported.
4. Click the
Upload
button next to the image to be changed.
5.
Select the desired file and click the
Open
button on the dialog box.
If viewing the currently active splash screen, the splash screen will be replaced with the uploaded image.
Any one of the splash screens or the loading screen can be replaced with a custom image.
1. Launch a web browser and enter the IP address of the AT-UHD-SW-510W in the address bar.
2. Login to the web GUI. Refer to
Introduction to the Web GUI (page 71)
for more information.
3. Click
Splash Screen
from the menu bar on the left.
4. Click the
Reset to default
button. The AT-UHD-SW-510W will display a message box to confirm the operation.
Click
OK
to proceed or click
Cancel
to abort.
Resetting Splash Screen Images
IMPORTANT:
This will restore the splash screen images to the factory-default settings. All custom
images that were uploaded to the AT-UHD-SW-510W will be deleted.