


AT-OCS-900N
17
Device Operation
1. Open the desired web browser and enter the IP address of the AT-OCS-900N.
2. Login using the required credentials.
3. Click
Network
on the side menu bar.
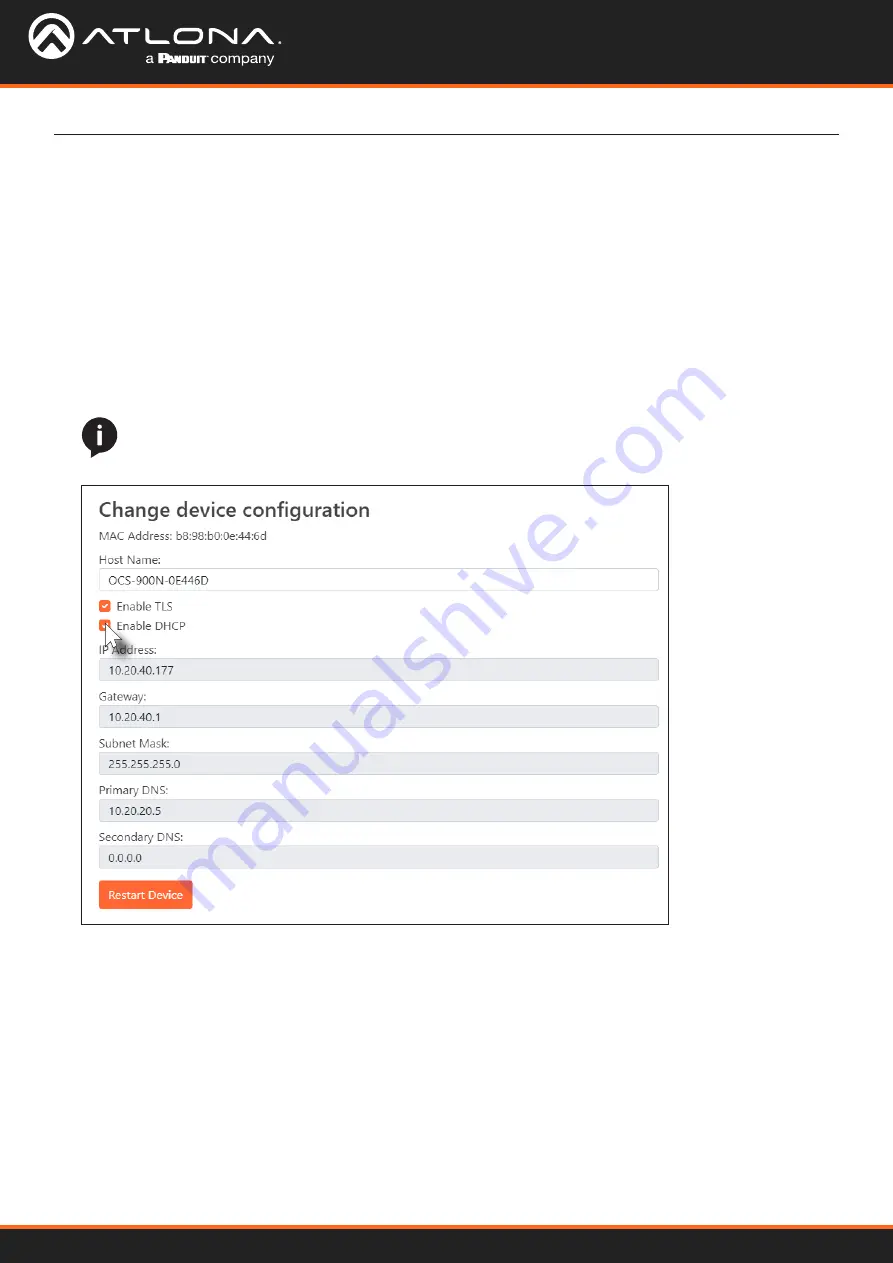
4. Click the
Enable DHCP
checkbox. If the box is checked, then the AT-OCS-900N will obtain an IP address from a
DHCP server.
Using DHCP to assign an IP address
The AT-OCS-900N is shipped with DHCP enabled. Once connected to a network, the DHCP server (if available),
will automatically assign an IP address to the unit. To switch from a static IP address to a dynamically-assigned IP
address, DHCP must be enabled on the AT-OCS-900N.
5. Click the
Restart Device
button to save changes and restart the unit.
NOTE:
When
Enable DHCP
is active, none of the IP address fields can be changed.