3.
Click the [OK] button after entering the items.
→
The self-signed certificate will be generated.
Note
•
The information of the generated self-signed certificate will be displayed on “Self-signed
Certificate” - “Information”.
Depending on the status of the self-signed certificate, the following are displayed.
Indication
Description
Not generated
The self-signed certificate are not generated.
Invalid (Reason: CA Certificate installed)
The self-signed certificate has already been
generated, and the CA certificate has been
installed.
•
In this case, the CA certificate is validated.
Common name of the self-signed
certificate
The self-signed certificate has already been
generated and validated.
•
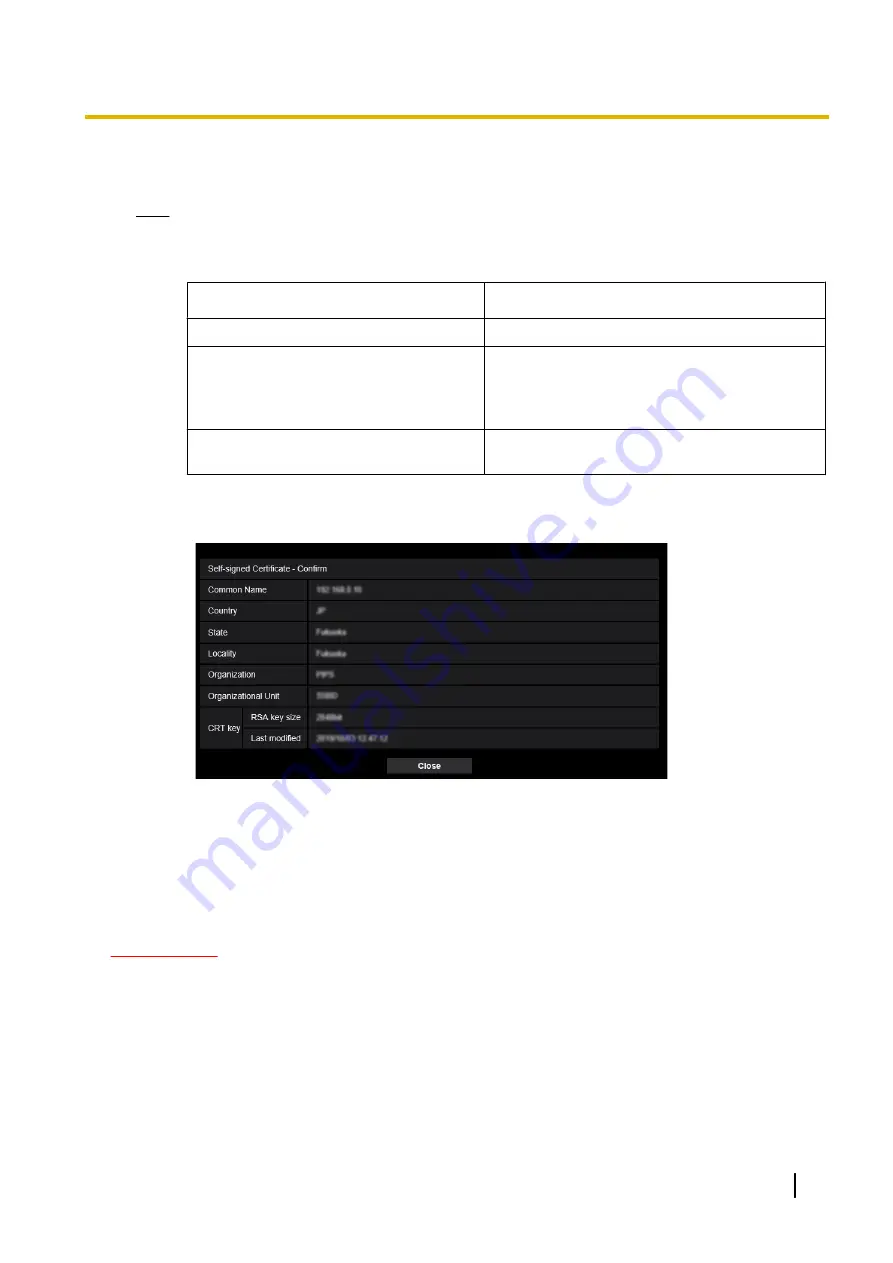
When the [Confirm] button is clicked, the registered information of the self-signed certificate
(security certificate) will be displayed in the “Self-signed Certificate - Confirm” dialog box.
•
When the [Delete] button is clicked, the generated self-signed certificate (security certificate) will
be deleted.
•
When “HTTP” is selected for “Connection”, it is impossible to delete the self-signed certificate.
2.8.3.3 Generation of CSR (Certificate Signing Request)
IMPORTANT
•
If the CRT key is not generated, it is impossible to generate the CSR.
•
Before generating the CSR file, configure the following settings on [Internet Options] of the web browser
in advance. Click [Internet Options...] under [Tools] of the menu bar of Internet Explorer, and then click
the [Security] tab.
–
Register the camera for [Trusted Sites].
–
Click the [Custom level…] button to open the [Security Settings] window, and check the [Enable]
radio button of [File Download] under [Downloads].
–
Click the [Custom level…] button to open the [Security Settings] window, and check the [Enable]
radio button of [Automatic prompting for file downloads] under [Downloads].
Operating Instructions
69
2 Settings


