Installing the Printer Driver and Application Software
144
When Connecting using a Network Port
1
Start Windows and make sure no other applications are
running.
• You must be logged in as an administrator in order to
install the Panasonic Document Management
System.
2
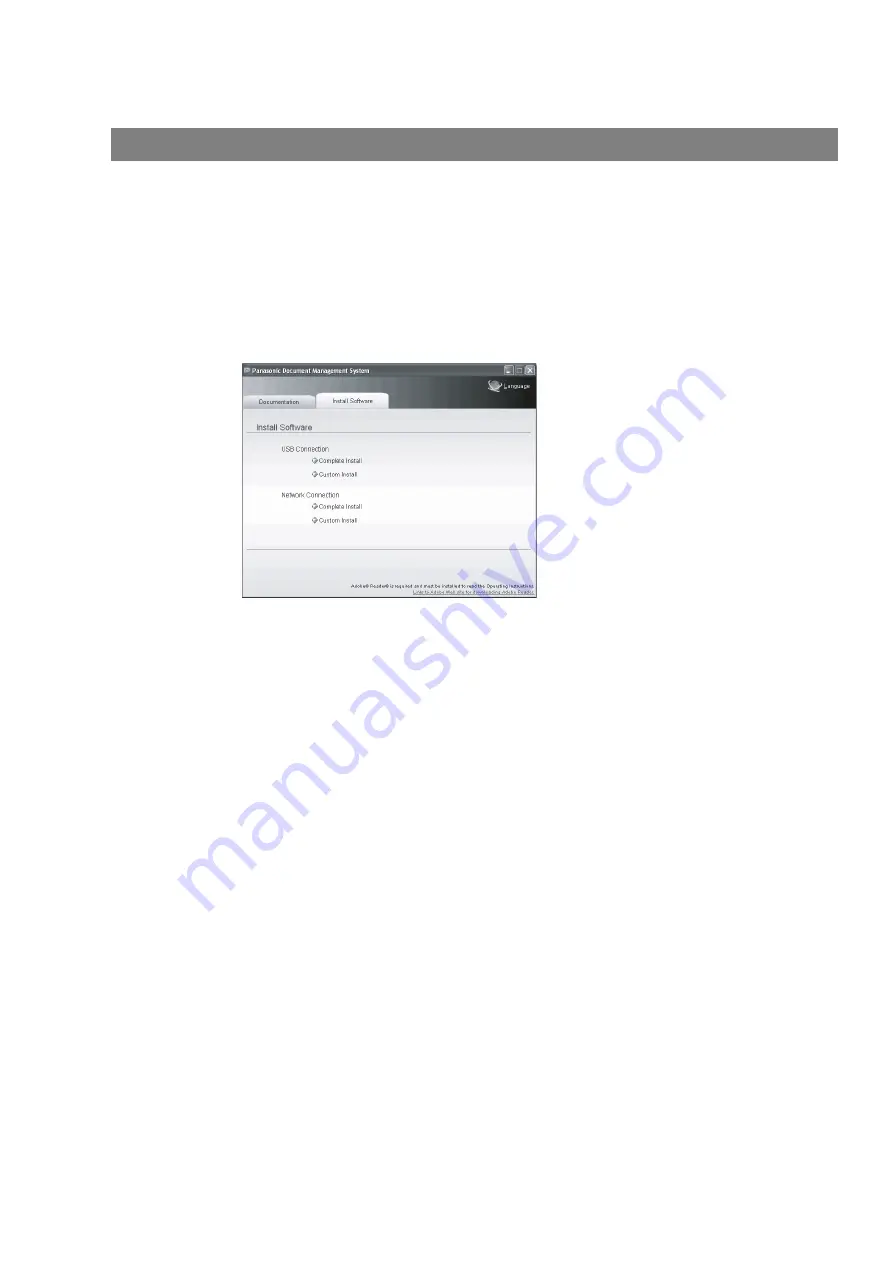
Insert the supplied CD-ROM into your CD-ROM drive.
• The
[Panasonic Document Management System]
window appears.
3
Click
[Complete Install]
or
[Custom Install]
from
[Network Connection]
in the
[Install Software]
tab.
• For
[Complete Install]
, go to the next step.
• For
[Custom Install]
, select the desired software,
then click
[Install]
.
4
The
[License Agreement]
dialog box appears. Select
[I accept the terms of the license agreement]
, and click
[Next]
.
5
The
[Select Installation Folder]
dialog box appears.
Confirm the destination of the installation folder, and click
[Next]
.
• To install to a different folder, click
[Browse]
and
select the desired folder.
6
The
[Select Data Folder]
dialog box appears. Confirm
the destination of the data folder, and click
[Next]
.
• To install to a different folder, click
[Browse]
and
select the desired folder.
7
The
[Select Printer Device]
dialog box appears. Select
the name of your machine in
[Network Printer Device]
,
and click
[Next]
.
8
The
[Select Printer Driver]
dialog box appears. Select
[Panasonic UF-5500]
, and click
[Next]
.
9
The
[Select Fax Device]
dialog box appears. Select the
name of your machine in
[Network Fax Device]
, and
click
[Next]
.


