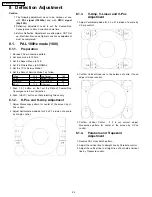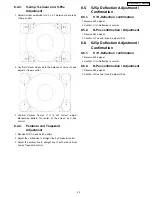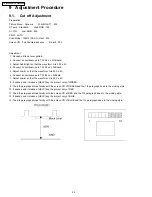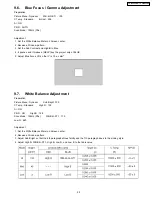
10.3.1.3. "G-SIZE (H)" adjustment
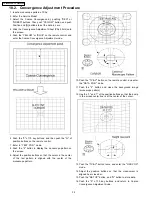
Push the "TV/AV" buttons, and select the "G-SIZE (H)".Push the "Volume up/down" buttons, and adjust the boarder line on either
side of test pattern is aligned with the edge of the screen frame.
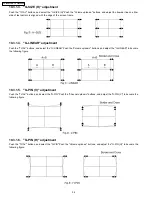
10.3.1.4. "G-LINEAR" adjustment
Push the "TV/AV" buttons, and select the "G-LINEAR".Push the "Volume up/down" buttons, and adjust the "G-LINEAR" to become
the following figure.
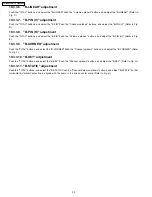
10.3.1.5. "G-PIN (V)" adjustment
Push the "TV/AV" buttons, and select the "G-PIN".Push the "Channel up/down" buttons, and adjust the "G-PIN (V)" to become the
following figure.
10.3.1.6. "G-PIN (H)" adjustment
Push the "TV/AV" buttons, and select the "G-PIN".Push the "Volume up/down" buttons, and adjust the "G-PIN (H)" to become the
following figure.
34
TX-47P800HQ / TX-47P800HZ
Содержание TX-47P800HQ TX-47P800HZ
Страница 15: ...15 TX 47P800HQ TX 47P800HZ ...
Страница 16: ...6 3 Option Descrition 16 TX 47P800HQ TX 47P800HZ ...
Страница 17: ...17 TX 47P800HQ TX 47P800HZ ...
Страница 18: ...18 TX 47P800HQ TX 47P800HZ ...
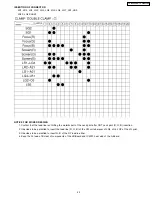
Страница 41: ...Fine Convergence Control Chart 41 TX 47P800HQ TX 47P800HZ ...
Страница 42: ...42 TX 47P800HQ TX 47P800HZ ...
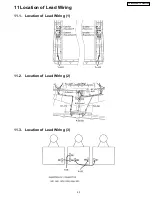
Страница 44: ...11 4 Location of Lead Wiring 4 44 TX 47P800HQ TX 47P800HZ ...
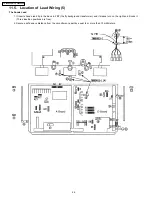
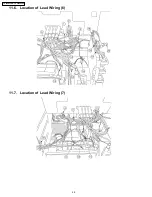
Страница 48: ...11 6 Location of Lead Wiring 6 11 7 Location of Lead Wiring 7 48 TX 47P800HQ TX 47P800HZ ...
Страница 49: ...11 8 Location of Lead Wiring 8 11 9 Location of Lead Wiring 9 49 TX 47P800HQ TX 47P800HZ ...
Страница 50: ...50 TX 47P800HQ TX 47P800HZ ...


