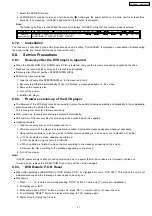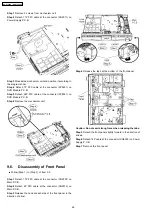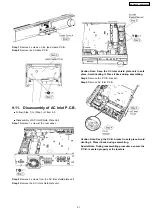
Caution: Do not attempt to exert strong force when
detaching the front panel.
9.7. Disassembly of Panel P.C.B.
•
•
•
•
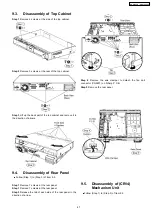
Follow (Step 1) to (Step 3) of Item 9.3.
•
•
•
•
Follow (Step 1) to (Step 7) of Item 9.6.
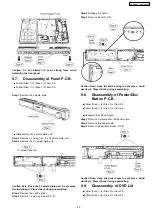
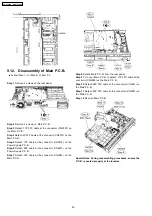
Step 1 Remove the volume knob.
•
•
•
•
Disassembly of FL shield plate unit.
Step 2 Remove 3 screws from the FL shield plate unit.
Step 3 Remove the FL shield plate unit.
Caution Note: Keep the FL shield plate unit in safe place.
Avoid denting it. Place it back during assembling.
Step 4 Remove the earth spring.
Step 5 Remove 1 screw on Panel P.C.B.
Step 6 Release the catch.
Step 7 Remove Panel P.C.B.
Caution Note: Keep the earth spring in safe place. Avoid
denting it. Place it back during assembling.
9.8. Disassembly of Power/Disc
Button P.C.B.
•
•
•
•
Follow (Step 1) to (Step 3) of Item 9.3.
•
•
•
•
Follow (Step 1) to (Step 7) of Item 9.6.
•
•
•
•
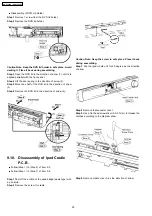
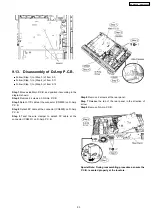
Disassembly of Panel Angle.
Step 1 Remove 2 screws from the panel angle.
Step 2 Remove the panel angle.
Step 3 Remove Power/Disc Button P.C.B.
Caution Note: Keep the panel angle in safe place. Avoid
denting it. Place it back during assembling.
9.9. Disassembly of DVD Lid
•
•
•
•
Follow (Step 1) to (Step 3) of Item 9.3.
•
•
•
•
Follow (Step 1) to (Step 7) of Item 9.6.
49
SA-PT960P / SA-PT960PC
Содержание SA-PT960P
Страница 12: ...12 SA PT960P SA PT960PC ...
Страница 44: ...44 SA PT960P SA PT960PC ...
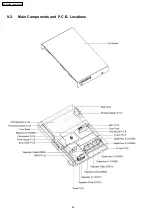
Страница 46: ...9 2 Main Components and P C B Locations 46 SA PT960P SA PT960PC ...
Страница 80: ...14 Voltage and Waveform Chart 14 1 DVD Module P C B 80 SA PT960P SA PT960PC ...
Страница 92: ...SA PT960P SA PT960PC 92 ...
Страница 102: ...102 SA PT960P SA PT960PC ...
Страница 130: ...CN5501 Fig 3 Fan Connector 130 SA PT960P SA PT960PC ...
Страница 132: ...Table 1 132 SA PT960P SA PT960PC ...
Страница 136: ...136 SA PT960P SA PT960PC ...
Страница 141: ...24 Exploded Views 24 1 Cabinet Parts Location SA PT960P SA PT960PC 141 ...
Страница 142: ...24 2 Packaging SA PT960P SA PT960PC 142 ...

