


Operating Instructions
LCD Projector
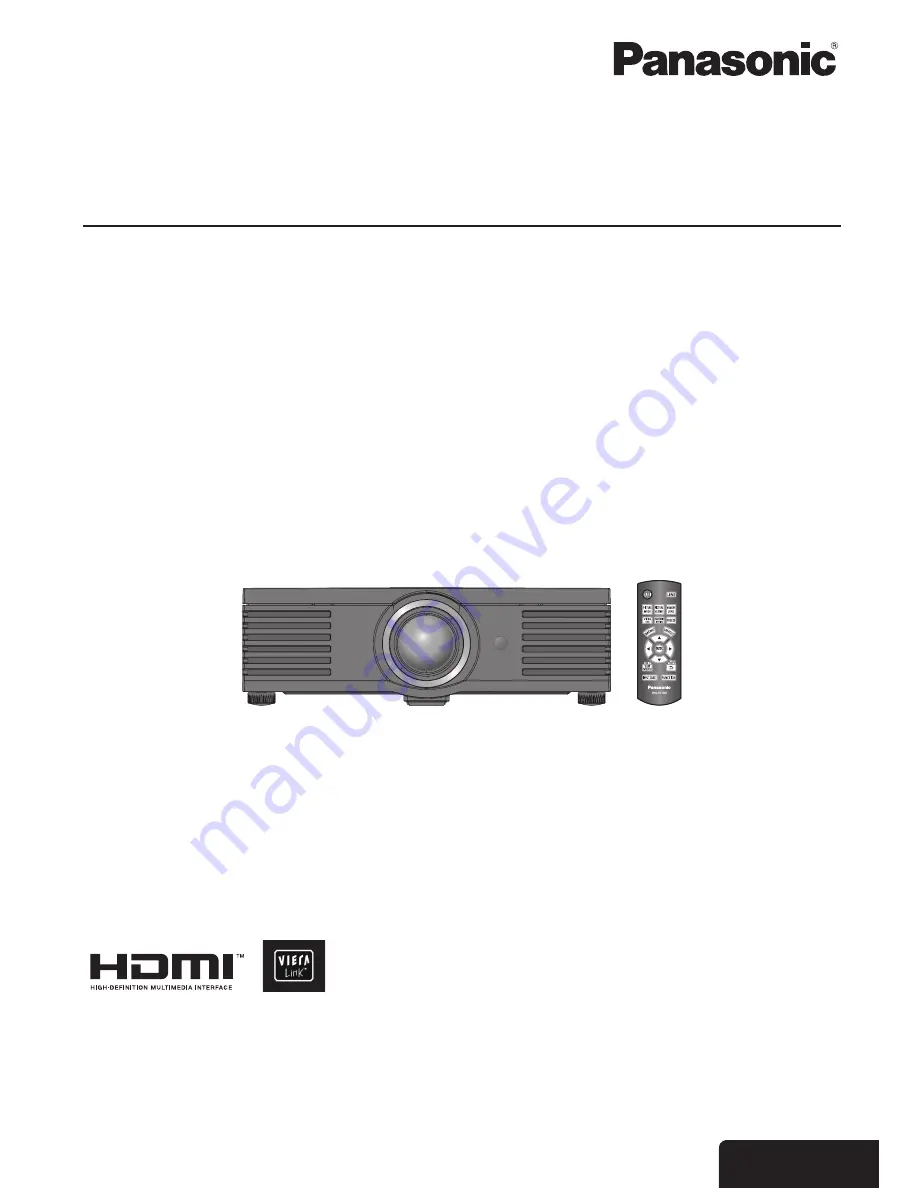
PT-AE4000U
Thank you for purchasing this Panasonic product.
Before operating this product, please read the instructions carefully, and save this manual for future use.
Please read the functional instructions that is in the provided CD-ROM for more details.
TQBJ0309
E
NGLISH
Model No.
Содержание PT-AE4000U
Страница 36: ...TQBJ0309 P1009 1109B...


