2. Getting Started/Basic Operations
76
• It will adjust the monitor when the monitor is in use, and the viewfinder when the viewfinder is in
use.
• Some subjects may appear differently from actuality on the monitor. However, this does not
affect the recorded pictures.
• The brightness of pictures displayed on the monitor is enhanced, so some subjects on the
monitor may appear different from the actual subjects. However, this enhancement does not
affect recorded pictures.
• The monitor automatically returns to standard brightness if no operations are performed for
30 seconds when recording in [MODE1]. It will light up brightly again with button or touch
operation.
• When [AUTO] or [MODE1] is set, the usage time is reduced.
• [AUTO] is only available in the Recording Mode.
• The initial setting when using the AC adaptor (optional) is [MODE2].
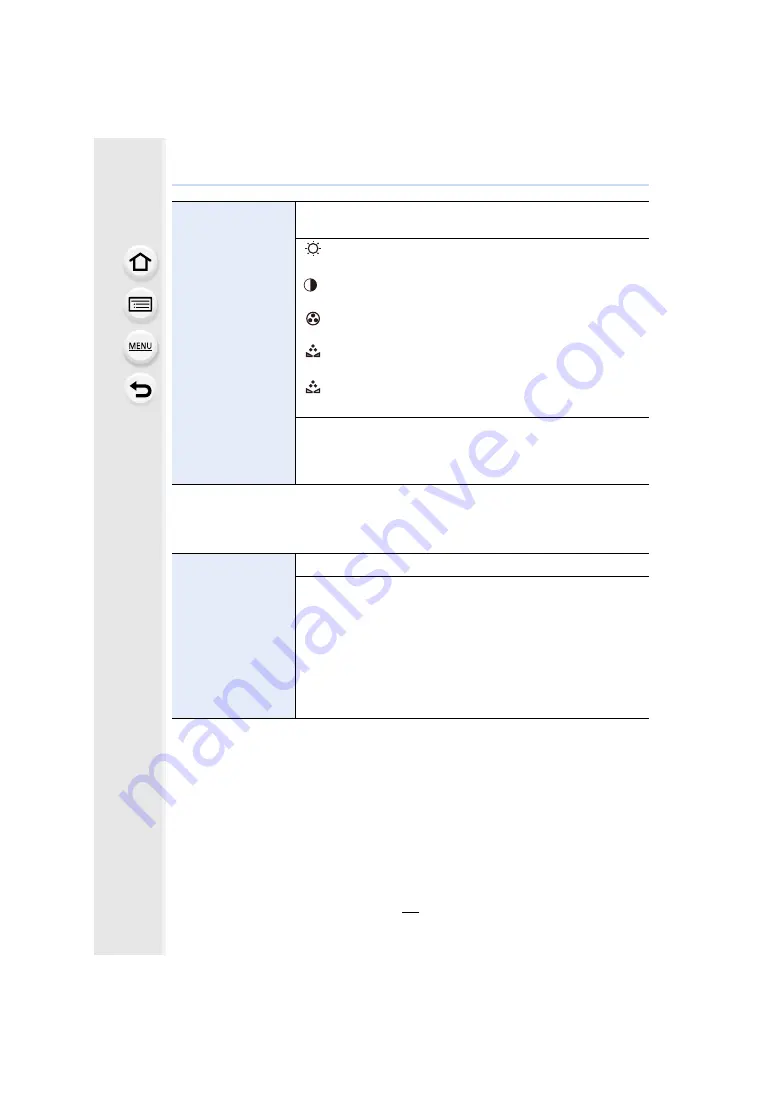
[Monitor Display]/
[Viewfinder]
Brightness, color, or red or blue tint of the Monitor/viewfinder is
adjusted.
[
]
([Brightness])
:
Adjust the brightness.
[
]
([Contrast])
:
Adjust the contrast.
[
]
([Saturation])
:
Adjust the clarity of colors.
[
]
([Red Tint])
:
Adjust the red tint.
[
]
([Blue Tint])
:
Adjust the blue tint.
1
Select the settings by pressing
3
/
4
, and adjust with
2
/
1
.
• Adjusting can also be performed by rotating the rear dial.
2
Press [MENU/SET] to set.
[Monitor Luminance]
Sets the monitor brightness according to the ambient light level.
„
[AUTO]:
The brightness is adjusted automatically depending on how bright
it is around the camera.
[MODE1]:
Make the monitor brighter.
[MODE2]:
Set the monitor to the standard brightness.
[MODE3]:
Make the monitor darker.
…
1
…
2
…
3


