


137
4K Photo and Drive Settings
Taking pictures with Time Lapse Shot/Stop Motion Animation
Creating stop motion animation [Stop Motion Animation]
You can stitch still pictures to create stop motion animation.
1
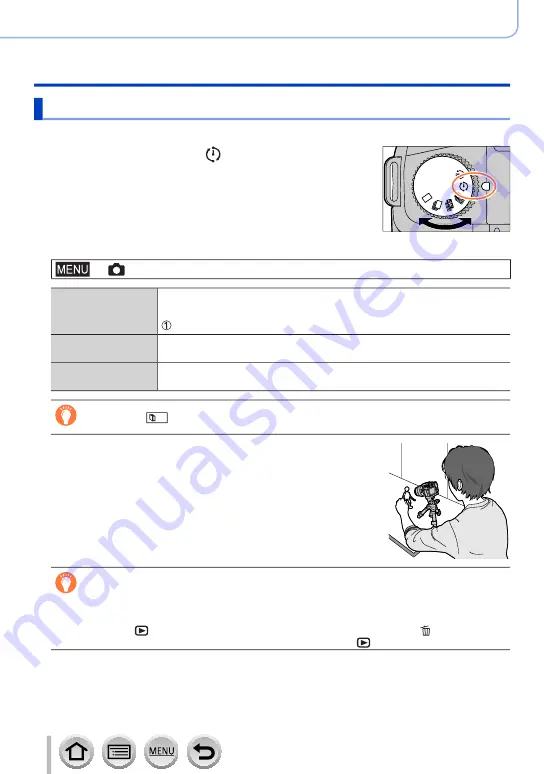
Set the drive mode dial to [
]
2
Set the menu
→
[Rec
] → [
Time Lapse/Animation]
[Mode]
Switches the recording method between [Time Lapse Shot] and [Stop
Motion Animation].
Select [Stop Motion Animation]
[Auto Shooting]
[ON]:
Takes pictures automatically at a set recording interval.
[OFF]:
Takes pictures manually, one frame at a time.
[Shooting Interval]
(Only when [Auto Shooting] is set to [ON])
Set the interval used for [Auto Shooting].
If you touch [
] on the recording standby screen, the menu screen will be displayed.
3
Press the shutter button halfway to exit the menu
4
Focus on the subject and take a picture
5
Move the subject to decide on the composition
(repeat)
• Up to 9,999 frames can be recorded.
• When you turn off the camera during recording, a
message to restart recording will appear when you turn
on the camera.
How to create stop motion animation effectively
●
Up to two previously recorded pictures are displayed on the recording screen. Check this screen
as a guideline for determining the amount of required motion.
●
You can press [
] (Playback) button to check the recorded pictures. Press [ ] button to delete
unnecessary pictures. To return to the recording screen, press [
] (Playback) button again.