– 29 –
Chapter 3 Part Names and Functions — Control Panel AV-HS60C2/AV-HS60C4
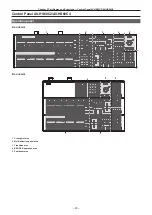
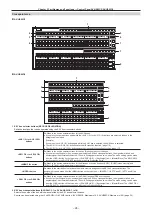
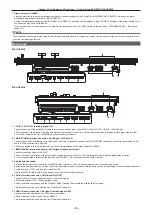
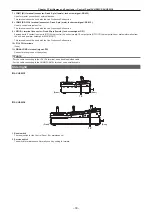
3 Alarm indicator <ALARM>
Lights up when there is a problem (voltage decrease) in the power supply of the Control Panel AV-HS60C2/AV-HS60C4. At this time, an alarm
message is displayed on the Menu Panel AV-HS60C3.
For the redundant power supply model (AV-HS60C2 /AV-HS60C4), an alarm will be displayed if both <POWER> switches of the power supply 1 and
the power supply 2 have not turned on.
When an alarm has occurred, details of the problem can be checked from the <SYS> button on the top menu
→
[MAINTENANCE]
→
[Alarm] tab.
@
@
NOTE
t
When an alarm has occurred, stop using the unit immediately, and be sure to contact your dealer. Continuous use of the unit even after an alarm has
occurred could damage the unit.
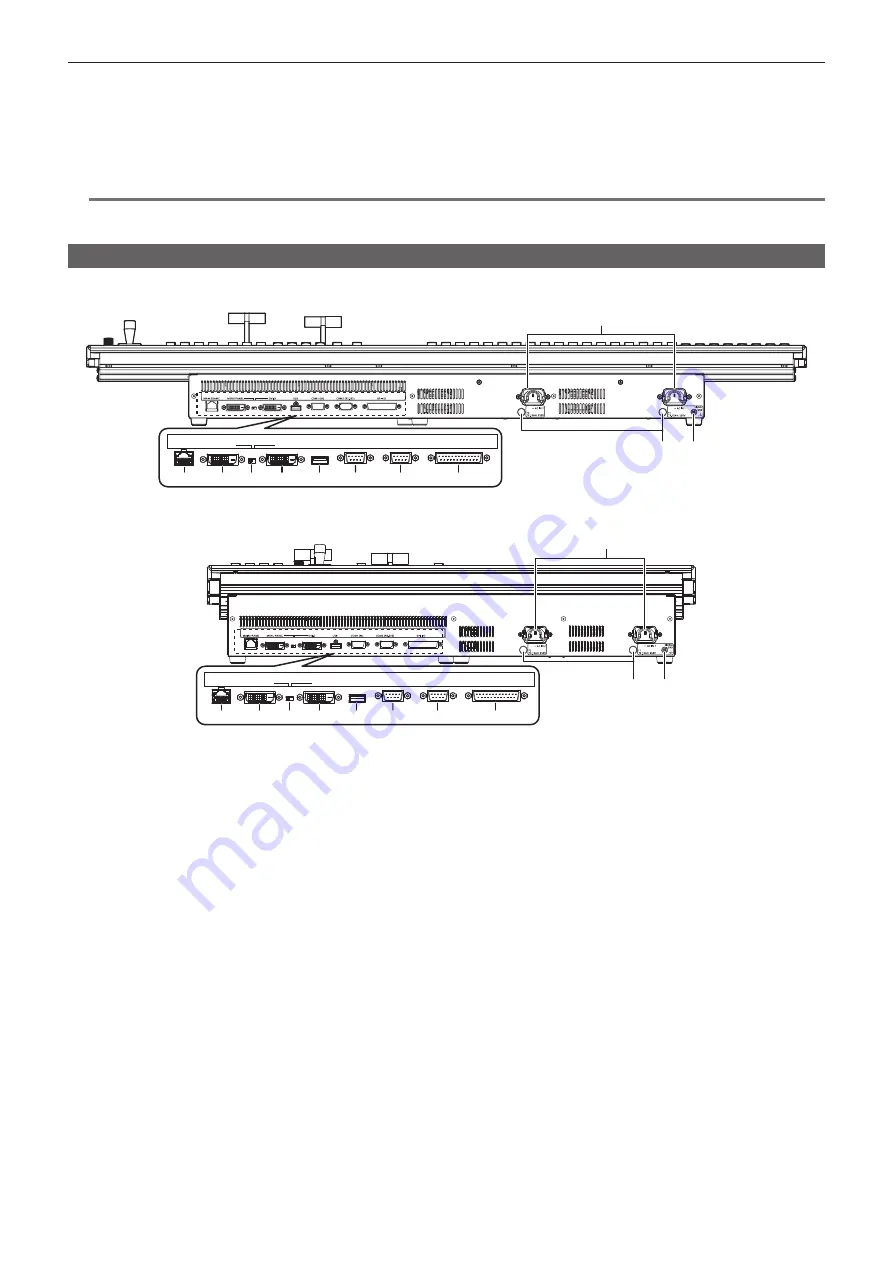
Rear panel
r
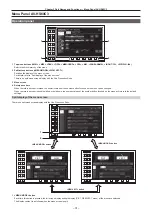
AV-HS60C2
MENU PANEL
MAIN FRAME
GPI I/O
COM1 (M)
COM2 (RS-232)
DVI-D
USB
2
3
5
4
6
7
8
9
1
10 11
r
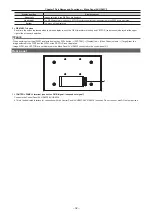
AV-HS60C4
MENU PANEL
MAIN FRAME
GPI I/O
COM1 (M)
COM2 (RS-232)
DVI-D
USB
2
3
5
4
6
7
8
9
1
10 11
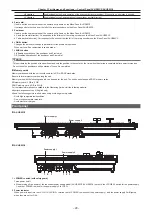
1 <AC IN 1>/<AC IN 2> terminals (signal: AC)
Connects one end of the supplied AC cable to this terminal and the other end to the AC outlet. (AC 100 V to 240 V, 50 Hz/60 Hz)
f
The supplied AC cable has a 3-pin plug with a grounding terminal. Connect to a 3-pin power outlet which is equipped with a grounding terminal.
f
If a 3-point power outlet is not available, be sure to consult your dealer.
2 <MAIN FRAME> terminal (connector: RJ-45/signal: 100Base-TX)
Connect the <LAN1> terminal on each of the units in the Live Production Suite and the <MAIN FRAME> terminal on the control panel using a LAN
cable (CAT5E or better) via a GbE hub.
f
When connected to the <LAN> terminal, no video will be displayed on the Menu Panel AV-HS60C3.
3 <MENU PANEL> terminal (connector: DVI-D/signal: independent signal)
Connects the Menu Panel AV-HS60C3.
f
Cannot be used concurrently with a DVI monitor (computer) connected to the <DVI-D> terminal. Select with the display selector switch.
f
This is the dedicated interface for the Menu Panel AV-HS60C3. Do not connect with DVI output devices.
4 Display selector switch
Switches the terminal to be used to the <MENU PANEL> terminal or <DVI-D> terminal depending on the connected device.
Switch this when the power is off. Output will not be performed properly if switched with the power turned on. Restarting of the unit will be necessary.
Set the power to <OFF>, and then set it back to <ON>.
Only the <MENU PANEL> terminal is enabled on the Live Production Suite series.
5 <DVI-D> terminal (connector: DVI-D/signal:DVI OUT)
Connects the DVI monitor (computer) used for the menu display.
f
Monitor resolution: 1366
×
768 compatible monitor
f
Cannot be used concurrently with the <MENU PANEL> terminal. Select with the display selector switch.
This terminal cannot be used with the Live Production Suite series.
6 <USB> terminal (connector: USB (type A, female)/signal: USB)
Used for the menu operation of the DVI monitor (computer).
f
Cannot be used for the Menu Panel AV-HS60C3.
This terminal cannot be used with the Live Production Suite series.
Содержание Live Production Suite Series
Страница 5: ...Please read this chapter and check the accessories before use Chapter 1 Overview ...
Страница 11: ...This chapter describes installation and connection Chapter 2 Installation and Connection ...
Страница 33: ...This chapter describes basic operations and matters to be performed prior to use Chapter 4 Preparations ...
Страница 50: ...This chapter describes menu operations Chapter 5 Basic Operations ...
Страница 107: ...This chapter describes the input output signal settings Chapter 6 Input Output Signal Settings ...
Страница 112: ... 112 Chapter 6 Input Output Signal Settings Setting MultiView displays f f Set the marker size ...
Страница 113: ...This chapter describes the configuration of operations Chapter 7 Configuring Operations ...
Страница 122: ...This chapter describes how to operate system menus Chapter 8 System Menu ...
Страница 136: ...This chapter describes plug in functions Chapter 9 External Interfaces ...
Страница 138: ...This chapter describes the dimensions and specifications of this product Chapter 10 Specifications ...
Страница 139: ... 139 Chapter 10 Specifications Dimensions Dimensions Dimensions of the Gateway Unit AV LSG10 Unit mm inch ...
Страница 140: ... 140 Chapter 10 Specifications Dimensions Dimensions of the XPT Unit AV LSX10 Unit mm inch ...
Страница 141: ... 141 Chapter 10 Specifications Dimensions Dimensions of the ME Unit AV LSM10 Unit mm inch ...
Страница 142: ... 142 Chapter 10 Specifications Dimensions Dimensions of the System Manager Unit AV LSS10 Unit mm inch ...
Страница 153: ...This chapter describes the setting menu table and terms Chapter 11 Appendix ...
Страница 176: ...Web Site https www panasonic com Panasonic Corporation 2020 ...

