– 12 –
Chapter 2 Installation and Connection — Installation
Installation
CAUTION:
These servicing instructions are for use by qualified service personnel only. To reduce the risk of electric shock, do not perform any servicing other than that
contained in the operating instructions unless you are qualified to do so.
indicates safety information.
Installation of the different units
When installing or connecting the unit, be sure to ask your dealer.
r
Connecting the power supply
f
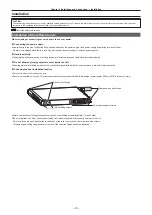
Use the units in the Live Production Suite series with both of the power supply 1 and power supply 2 operating on each of them.
An alarm is displayed when there is no AC power input to the power supply 1 and the power supply 2.
r
Handle carefully.
f
Dropping the unit or subjecting it to strong impact or vibration may cause trouble and/or malfunctioning.
r
Do not allow any foreign objects to enter inside the unit.
f
Allowing water, metal items, scraps of food or other foreign objects inside the unit may cause a fire and/or electric shocks.
r
Choosing the best installation location
f
This unit is a device for indoor use only.
f
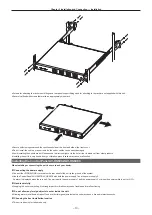
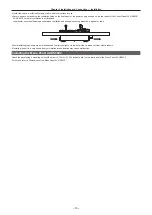
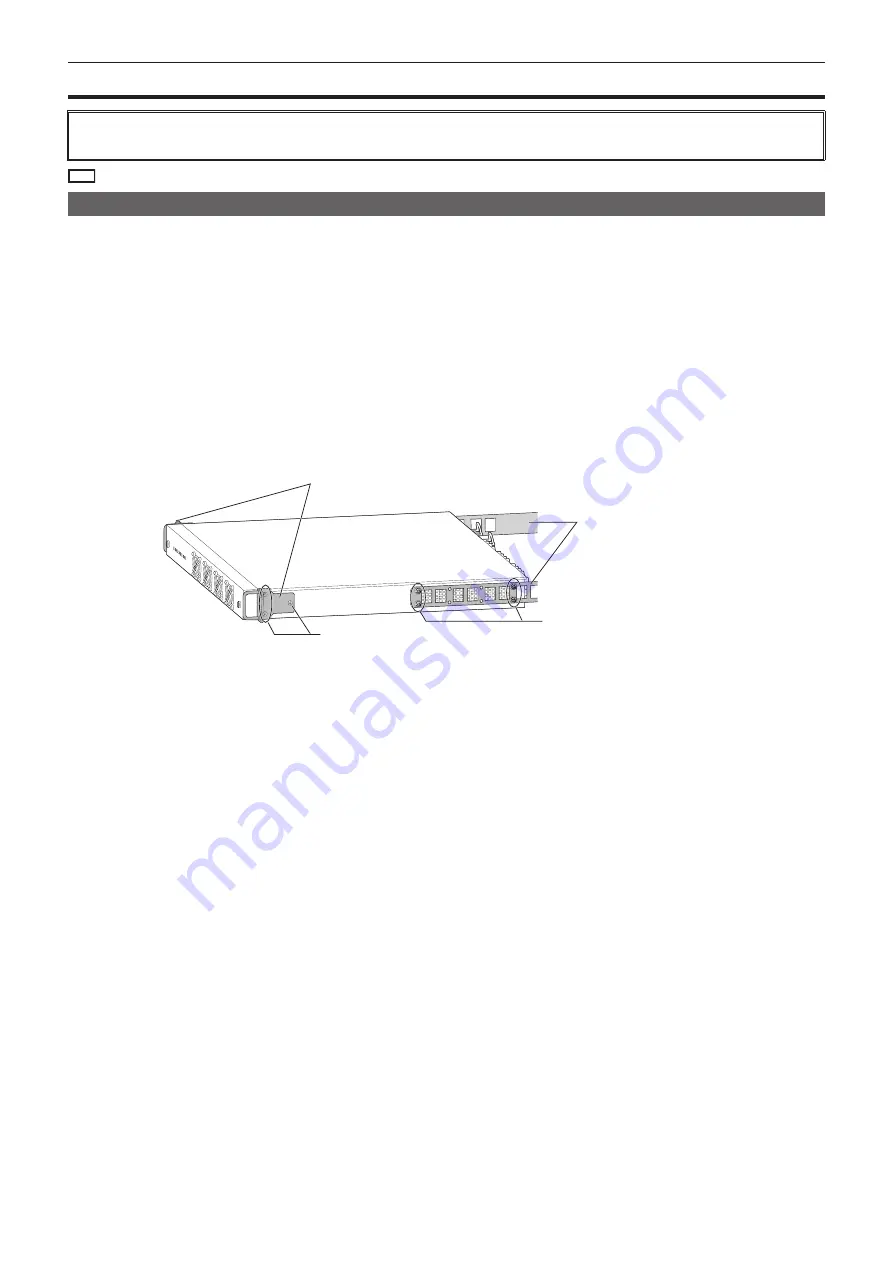
Securely mount the unit on the 19-inch standard rack that complies with the EIA standards (overall depth: 600 mm (23-5/8 inches) or more).
Mount fitting screws
Rack mount fittings
Rear panel support fittings
Rear panel support screws
f
Attach the rack mount fittings (supplied) using the 3 mount fitting screws (supplied) (for each side).
f
Be sure to attach the “Rear panel support fitting” rack mount (supplied) that supports the rear of the unit.
Select 4 places (on each side) suited to the depth of the rack to secure the unit to the rack with screws.
(Prepare support fittings appropriate for the rack if the supplied fittings cannot be attached.)
Содержание Live Production Suite Series
Страница 5: ...Please read this chapter and check the accessories before use Chapter 1 Overview ...
Страница 11: ...This chapter describes installation and connection Chapter 2 Installation and Connection ...
Страница 33: ...This chapter describes basic operations and matters to be performed prior to use Chapter 4 Preparations ...
Страница 50: ...This chapter describes menu operations Chapter 5 Basic Operations ...
Страница 107: ...This chapter describes the input output signal settings Chapter 6 Input Output Signal Settings ...
Страница 112: ... 112 Chapter 6 Input Output Signal Settings Setting MultiView displays f f Set the marker size ...
Страница 113: ...This chapter describes the configuration of operations Chapter 7 Configuring Operations ...
Страница 122: ...This chapter describes how to operate system menus Chapter 8 System Menu ...
Страница 136: ...This chapter describes plug in functions Chapter 9 External Interfaces ...
Страница 138: ...This chapter describes the dimensions and specifications of this product Chapter 10 Specifications ...
Страница 139: ... 139 Chapter 10 Specifications Dimensions Dimensions Dimensions of the Gateway Unit AV LSG10 Unit mm inch ...
Страница 140: ... 140 Chapter 10 Specifications Dimensions Dimensions of the XPT Unit AV LSX10 Unit mm inch ...
Страница 141: ... 141 Chapter 10 Specifications Dimensions Dimensions of the ME Unit AV LSM10 Unit mm inch ...
Страница 142: ... 142 Chapter 10 Specifications Dimensions Dimensions of the System Manager Unit AV LSS10 Unit mm inch ...
Страница 153: ...This chapter describes the setting menu table and terms Chapter 11 Appendix ...
Страница 176: ...Web Site https www panasonic com Panasonic Corporation 2020 ...


