114
3.41 Imprinter (Endorser)
This function prints on the documents to be scanned. There are two types of
imprinter.
Pre Imprinter prints on the front sides of document sheets before they are scanned.
The printed results are also reflected on the scanned images.
Post Imprinter prints on the back sides of document sheets after they are scanned.
The printed results are not reflected on the scanned images.
KV-S7065C does not support Post Imprinter.
KV-SS905C does not support Pre Imprinter.
IMPORTANT NOTE:
•
A Starting Number Automatic Increment function is provided. When this is used,
the starting number is incremented to the number at the start of sc
(number of pages scanned x step number) upon completion of scanning.
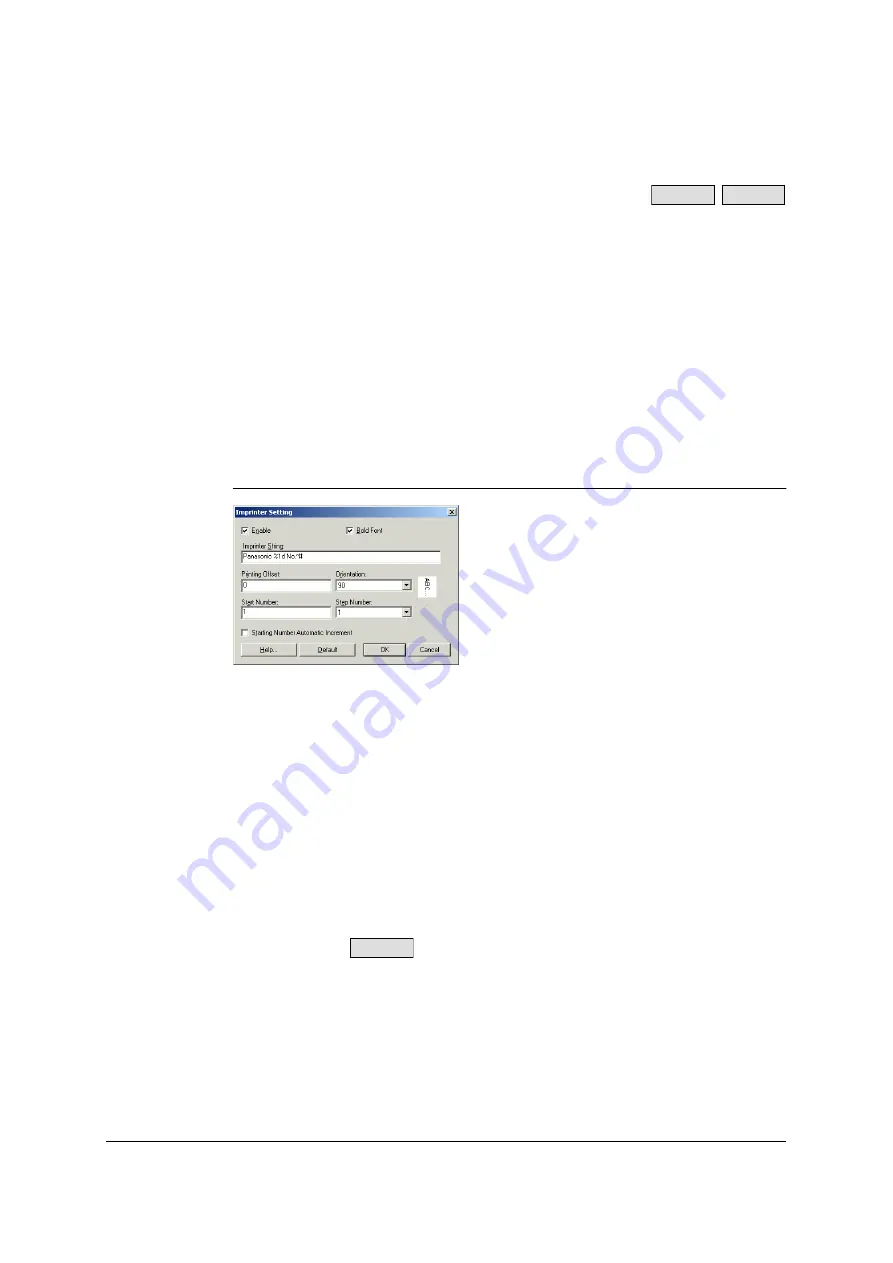
ISIS configuration method
1
In the [Imprinter Setting] dialog box, set the [Enable] check box to on. The
[Imprinter String] field now appears.
2
To print in bold type, set the [Bold Font] check box to on.
3
In the [Imprinter String] field, input the character string to be printed. The
alphanumerics and symbols in the table on the next page can be printed. In
addition, other information such as the date and time can be specified.
Up to 72 characters can be printed.
4
In the [Start Number] field, input the default value of the counter specified by the
imprinter string.
5
In the [Step Number] field, input the step number of the counter specified by the
imprinter string.
6
Input the printing offset in the [Printing Offset] field.
A 10 mm offset is always added to this value.
For the
:
Unit: 2.38 mm per increment (printing orientation: 90°, 270°)
1: 12.38 mm
2: 14.76 mm
Unit: 3.44 mm per increment (printing orientation: 0°, 180°)
1: 13.44 mm
2: 16.88 mm
S7065C
SS905C
S7065C
Содержание KV-SS905C
Страница 12: ...12 ISIS driver screens Example S7065C 1 2 5 4 3 ...
Страница 13: ...13 1 7 10 6 8 9 ...
Страница 16: ...16 TWAIN driver screens Example S7065C 1 3 1 4 1 5 1 1 1 6 1 2 2 3 ...
Страница 17: ...17 1 1 1 10 1 7 1 8 1 9 4 5 ...
Страница 91: ...91 TWAIN configuration method 1 Click the Paper tab of the TWAIN dialog box and set the Margin check box to on ...


