119
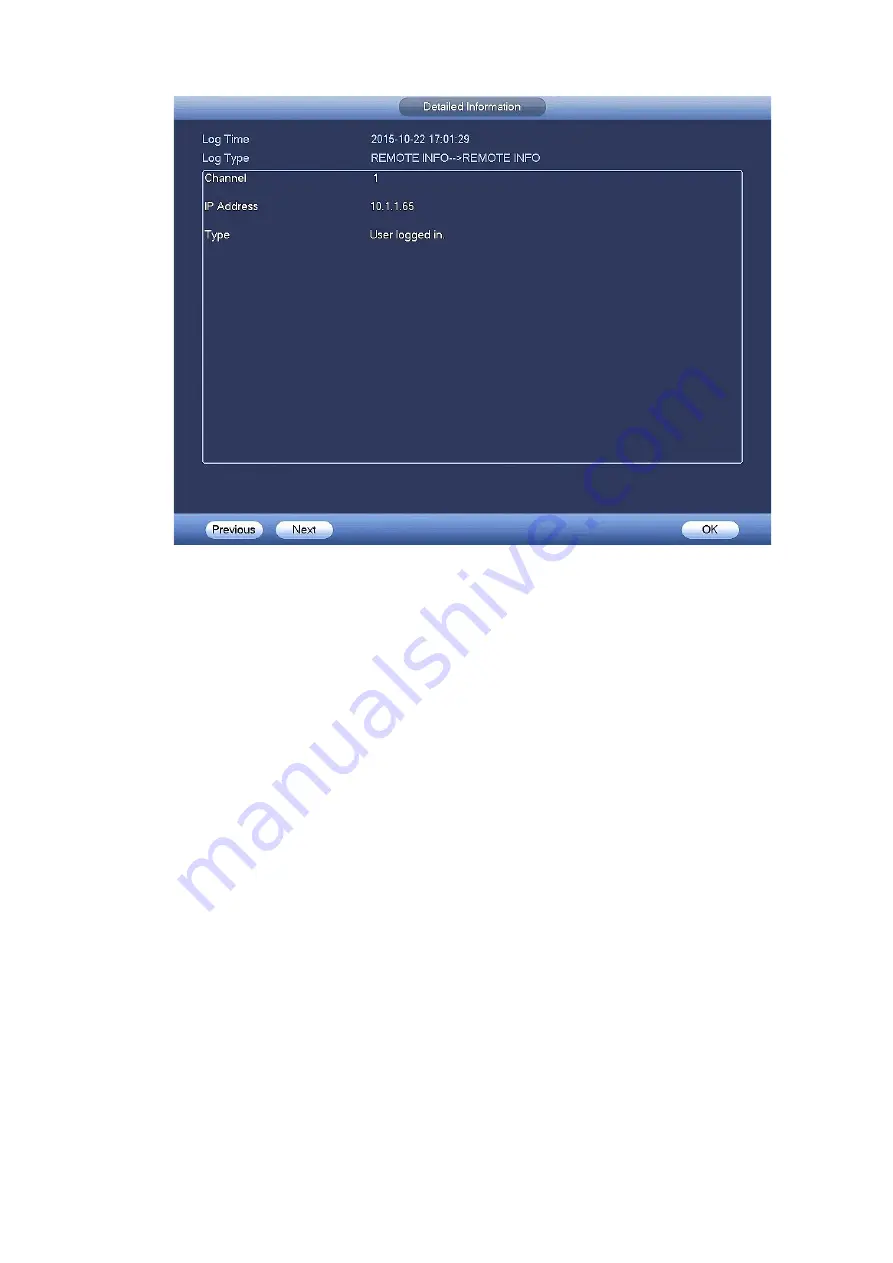
Figure 4-124
4.14.3 Account
Here is for you to implement account management. See Figure 4-125 and Figure 4-126. Here you can:
Add User
Modify User
Add Group
Modify Group
Modify Password.
For account management please note:
For the user account name and the user group, the string max length is 6-byte. The backspace in
front of or at the back of the string is invalid. There can be backspace in the middle. The string
includes the valid character, letter, number, underline, subtraction sign, and dot.
The default user amount is 64 and the default group amount is 20. System account adopts two-level
management: group and user. No limit to group or user amount.
For group or user management, there are two levels: admin and user.
The username and group name can consist of eight bytes. One name can only be used once. There
are one default username: ADMIN. The user have administrator right.
Hidden user “default” is for system interior use only and cannot be deleted. When there is no login
user, hidden user “default” automatically login. You can set some rights such as monitor for this user
so that you can view some channel view without login.
One user should belong to one group. User right cannot exceed group right.
About reusable function: this function allows multiple users use the same account to login.
After all the setups please click save button, system goes back to the previous menu.
Содержание k-nl308k
Страница 1: ...Network Disk Recorder User s Manual Model No K NL304K K NL308K K NL316K Version 1 0 5 ...
Страница 32: ...23 The following figure is based on our K NL316K product Figure 3 2 ...
Страница 50: ...41 Figure 4 25 ...
Страница 67: ...58 Figure 4 52 Figure 4 53 ...
Страница 88: ...79 Figure 4 71 Figure 4 72 ...
Страница 89: ...80 Figure 4 73 Figure 4 74 ...
Страница 94: ...85 Figure 4 78 Figure 4 79 ...
Страница 95: ...86 Figure 4 80 Figure 4 81 ...
Страница 96: ...87 Figure 4 82 Figure 4 83 ...
Страница 99: ...90 Figure 4 86 Figure 4 87 ...
Страница 114: ...105 send rate and receive rate at the top panel Figure 4 105 ...
Страница 116: ...107 Figure 4 107 In Figure 4 107 click one HDD item the S M A R T interface is shown as in Figure 4 108 Figure 4 108 ...
Страница 119: ...110 Figure 4 111 Figure 4 112 ...
Страница 129: ...120 Figure 4 125 Figure 4 126 ...
Страница 142: ...133 Figure 5 11 You can click this icon to display or hide the PTZ control platform 3D Intelligent Positioning Key ...
Страница 164: ...155 Figure 5 38 Figure 5 39 Figure 5 40 ...
Страница 172: ...163 Figure 5 51 Figure 5 52 Figure 5 53 Figure 5 54 ...


