


- 137 -
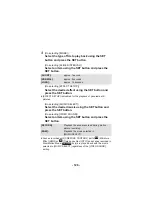
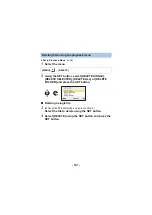
4
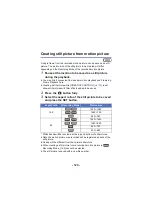
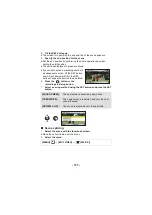
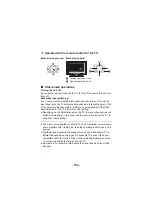
Tilt the SET button up.
≥
The screen for specifying the end position of the scene appears.
5
Specify the end position for the scene.
≥
Set the end position by performing the same operations as when
setting the start position.
≥
The portions displayed in green are saved.
≥
If you wish to splice a preceding section to
a subsequent section, tilt the SET button
down. Each downward tilt of the SET
button changes the section to be deleted.
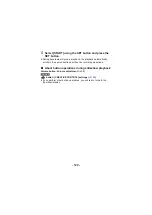
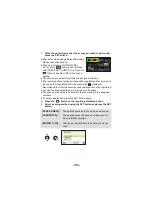
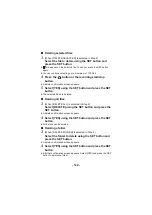
6
Press the
button or the
recording start/stop button.
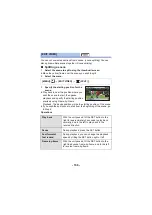
7
Select a saving method using the SET button and press the SET
button.
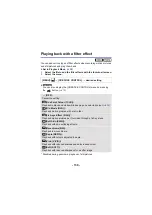
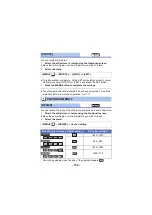
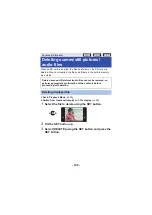
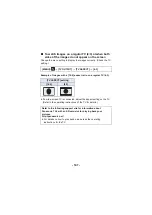
∫
Scene splicing
1
Select the scene with the thumbnail screen.
≥
Move the yellow frame over the scene.
2
Select the menu.
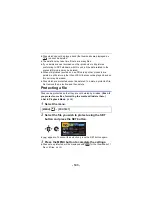
[SAVE AS NEW]:
The split scene is saved as a new scene.
[OVERWRITE]:
The original scene is deleted and only the split
scene is saved.
[REVIEW CLIP]:
The scene is played back in the split state.
[MENU]:
#
[EDIT VIDEO]
#
[
(SPLICE)]
2
Содержание HX-WA3
Страница 239: ...Panasonic Corporation Web site http panasonic net ...