- 90 -
You can apply a variety of effects to the subject you touch.
∫
Setting an Area Mode effect
You can select the following menu items to set an effect to be applied when you touch the subject.
∫
Using Area Mode
≥
Register [AREA] to a USER button. (
)
1
Press the applicable USER button or touch the applicable USER button icon
on the recording screen.
≥
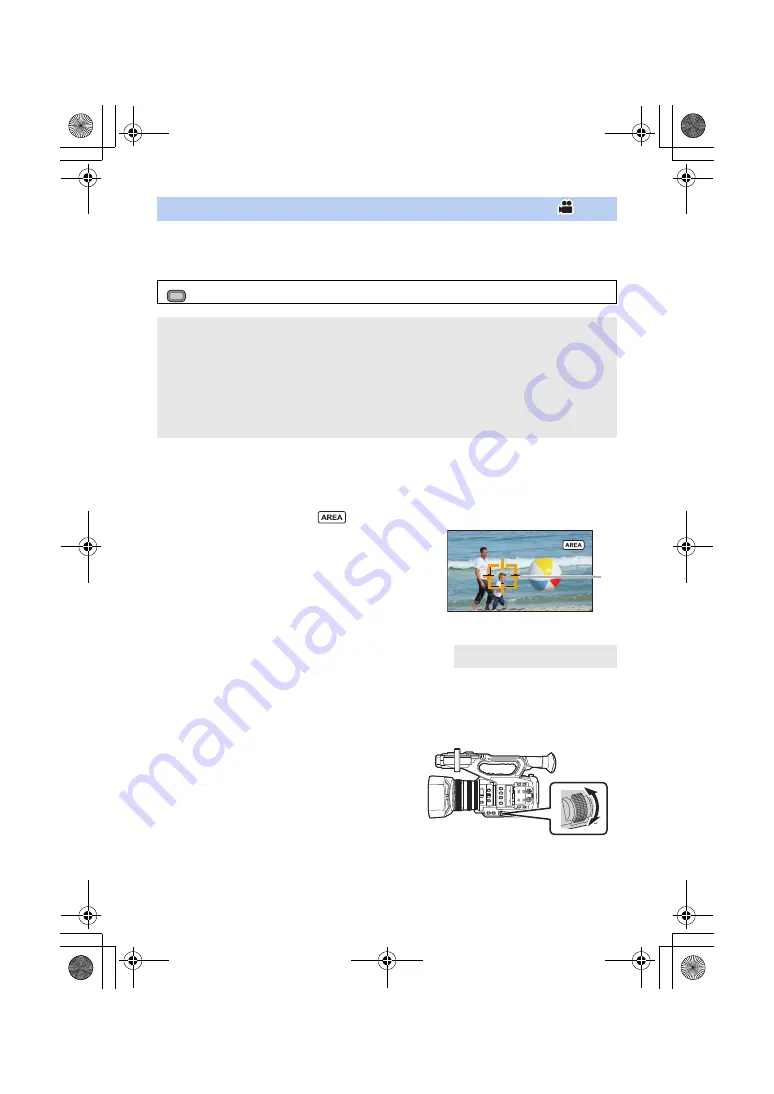
Area Mode will be enabled and
will be displayed.
2
Touch the recording screen.
≥
The area frame will be displayed on the part you have
touched. The effect of the selected menu item will be
applied.
To turn off Area Mode
(With a USER button)
Press the USER button
(With a USER button icon)
1
Touch and hold the recording screen to display operation icons.
2
Touch the USER button icon.
To change the size of the area frame
You can rotate the jog dial to change the size of the
area frame.
≥
The area frame is available in three sizes.
[AREA]
: [SW SETUP]
#
[AREA MODE]
#
desired setting
[INH]:
Does not apply any effects of Area Mode.
[FOCUS]:
Optimizes the focus automatically for the subject you touch.
[IRIS]:
Optimizes the iris automatically for the subject you touch.
[Y GET]:
Displays the luminance level of the subject you touch.
[FOCUS/IRIS]:
Optimizes the focus and iris automatically for the subject you touch.
[FOCUS/Y GET]:
Optimizes the focus automatically for the subject you touch and
displays the luminance level of the subject.
A
Area frame
MENU
HC-X1_GD_DVQP1183ZA_eng.book 90 ページ 2016年11月28日 月曜日 午前11時44分


