background image

© Panasonic Corporation 2016 Unauthorized copy-
ing and distribution is a violation of law.

ORDER NO. DSC1603005CE

B26

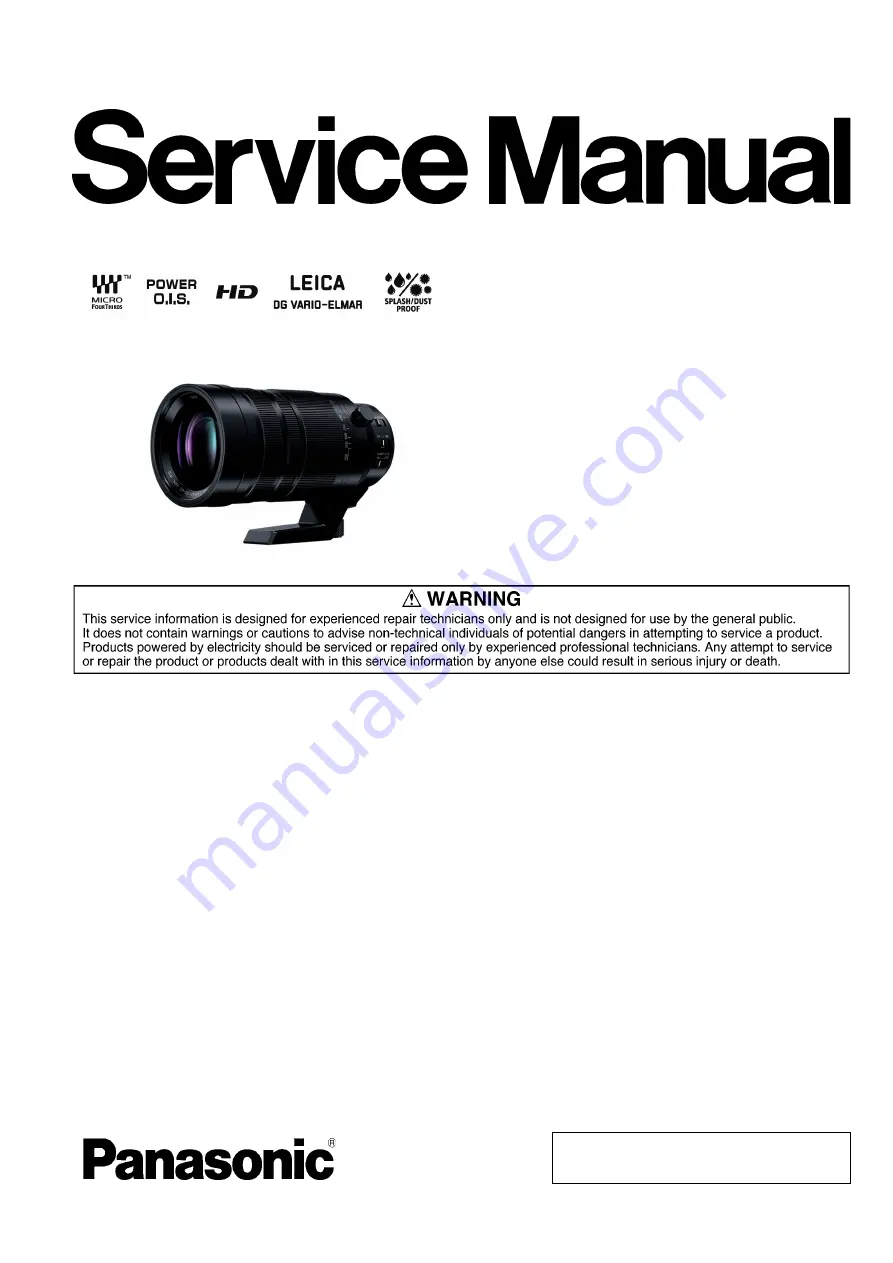
Interchangeable Lens for Digital Camera

Model No.

H-RS100400PP
H-RS100400E
H-RS100400GK

Coulor
(K)..........Black Type

TABLE OF CONTENTS

PAGE

PAGE

1 Safety Precautions

-----------------------------------------------

2

1.1. Information for Your Safety------------------------------ 2
1.2. Cautions for use ------------------------------------------- 3

2 Service Navigation

-----------------------------------------------

4

2.1. Introduction-------------------------------------------------- 4
2.2. Important Notice ------------------------------------------- 4

3 Specifications

-----------------------------------------------------

5

3.1. Specifications (Rated) ------------------------------------ 5
3.2. Accessories ------------------------------------------------- 5

4 Location of Controls and Components

-------------------

6

5 Service Fixture & Tools

-----------------------------------------

7

5.1. Service Fixture and Tools-------------------------------- 7
5.2. Clean Box --------------------------------------------------- 7

6 Disassembly and Assembly Instructions

----------------

8

6.1. Outline-------------------------------------------------------- 8
6.2. Disassembly Flow Chart --------------------------------- 9
6.3. Disassembly procedure ---------------------------------- 9
6.4. Assembly Flow Chart ------------------------------------10
6.5. Assembly procedure -------------------------------------10

7 Maintenance

-------------------------------------------------------

11

7.1. ABOUT THE LENS -------------------------------------- 11

8 Exploded View and Replacement Parts List

-----------

12

Содержание H-RS100400PP

Страница 1: ...Cautions for use 3 2 Service Navigation 4 2 1 Introduction 4 2 2 Important Notice 4 3 Specifications 5 3 1 Specifications Rated 5 3 2 Accessories 5 4 Location of Controls and Components 6 5 Service Fixture Tools 7 5 1 Service Fixture and Tools 7 5 2 Clean Box 7 6 Disassembly and Assembly Instructions 8 6 1 Outline 8 6 2 Disassembly Flow Chart 9 6 3 Disassembly procedure 9 6 4 Assembly Flow Chart 1...

Страница 2: ...2 1 Safety Precautions 1 1 Information for Your Safety ...

Страница 3: ...3 1 2 Cautions for use ...

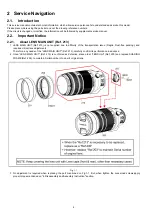
Страница 4: ...N UNIT Ref 213 is not supplied due to difficulty of the transportation issue Fragile Dust free packing and requires critical lens adjustments Therefore any needs of the LENS MAIN UNIT Ref 213 carefully confirm its performance in advance 2 Once LENS MAIN UNIT Ref 213 is confirmed as defective place order LENS Unit Ref 200 and replace SHADING FRAME Ref 203 to maintain Serial number of owner s origin...

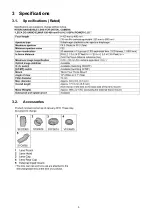
Страница 5: ...5 3 Specifications 3 1 Specifications Rated 3 2 Accessories ...

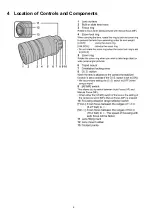
Страница 6: ...6 4 Location of Controls and Components ...

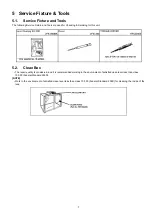
Страница 7: ...rvicing for this unit 5 2 Clean Box The repair quality is considered and it is recommended working in the environment of satisfied clean level less than class 10 000 Federal Standard 209D NOTE Work in the environment of satisfied clean level less than class 10 000 Federal Standard 209D for cleaning the inside of the lens ...

Страница 8: ... of getting the dust dirt on the lens surface keep covering the lens unit with lens caps front rear other than necessary cases 3 Do not touch the surface of the lens glasses with your fingers 4 Blow off the dust on the surface of the lens with a blower brush 5 Use lens cleaning KIT BK VFK1900BK 6 When installing the screws be sure to use the torque driver RFKZ0456 and tighten the screws with speci...

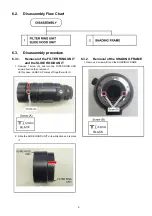
Страница 9: ...NIT and the SLIDE HOOD UNIT 1 Remove 1 screw A and turn the FILTER RING UNIT arrow direction then remove it In this case LENS CAP comes off together with it 2 Slide the SLIDE HOOD UNIT arrow direction and remove it 6 3 2 Removal of the SHADING FRAME 1 Remove 2 screws B and the SHADING FRAME ...

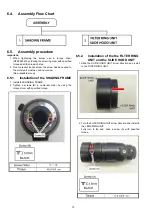
Страница 10: ...ed new screw Non reusable screw 6 5 1 Installation of the SHADING FRAME 1 Install the SHADING FRAME 2 Tighten 2 screws B in numerical order by using the torque driver with specified torque 6 5 2 Installation of the the FILTER RING UNIT and the SLIDE HOOD UNIT 1 Slide the SLIDE HOOD UNIT arrow direction and install to the FILTER RING UNIT 2 Turn the FILTER RING UNIT arrow direction and install to t...

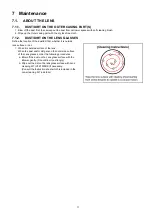
Страница 11: ...tion of the dust dirt first whether it is outside lens surface or not 1 When it is outside surface of the lens When the dust and or dirt gets on the outer side surface of the Lens glasses order the following procedures a Blow off the dust on the Lens glass surface with the Blower gently Do not Blow too strongly b Wipe out the dirt on the lens glass surface with Lens cleaning KIT VFK1900BK if neces...

Страница 12: ...w and Replacement Parts List Please click the radio button for Diagrams II Parts List on the menu bar in XML Service Manual If you want to print please click the icon button for Print on the icon bar and select the item ...

Отзывы: