ENGLISH -
63
Settings
PROJECTOR SETUP menu
z
(
Æ
page 40).
z
(
Æ
page 41).
PROJECTOR ID
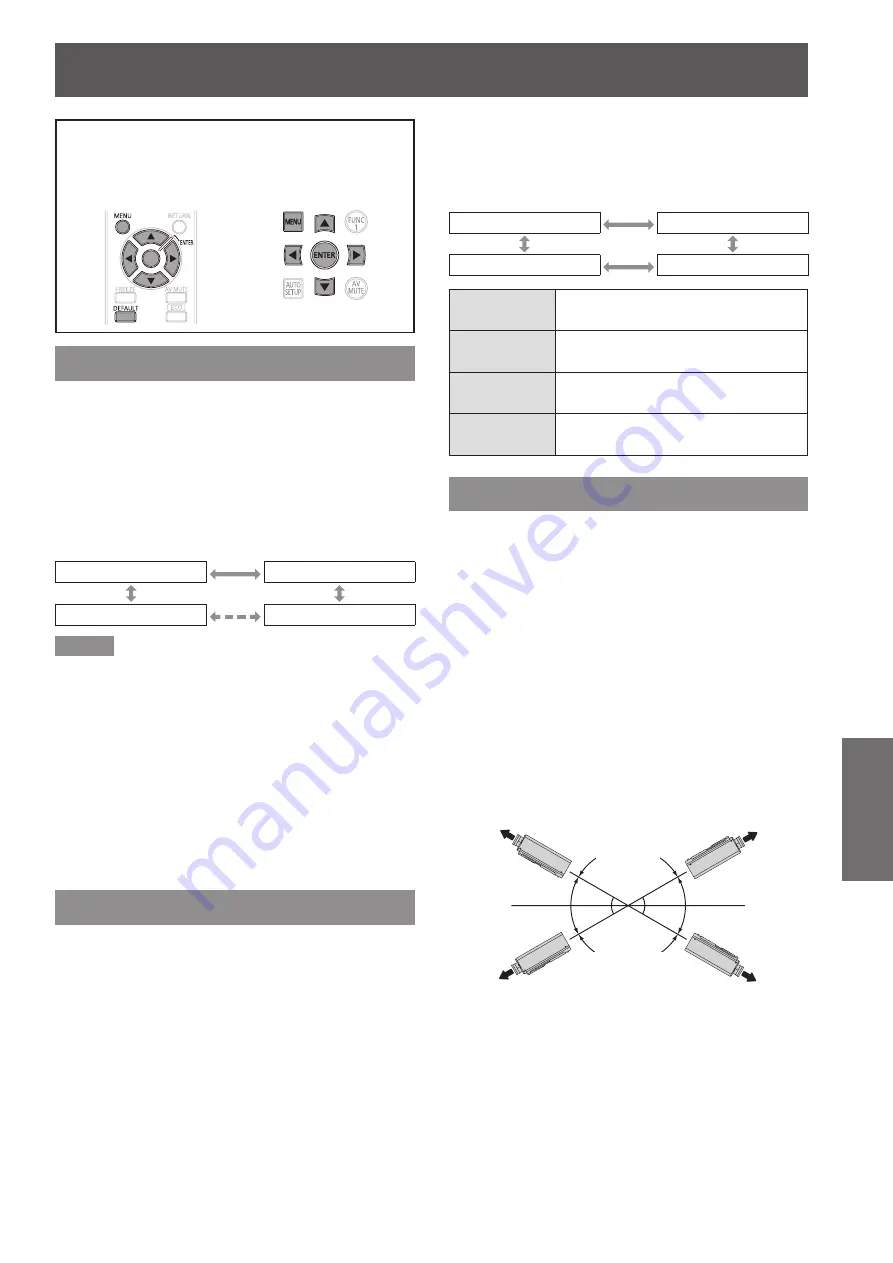
The projector has an ID number setting function that
helps the user to control two or more projectors either
simultaneously or separately with a single remote
control.
Press ▲▼ to select [PROJECTOR ID].
1 )
Press ◄► to switch [PROJECTOR ID].
2 )
The setting will change as follows each time
z
◄► is pressed.
ALL
1
6
2
Note
The ID number can be set to [ALL], or selected from [1]
z
to [6].
If the projectors are given ID numbers, their remote
z
controls must be assigned the same ID numbers,
respectively.
If the ID number of a projector is set to [ALL], it can be
z
controlled by the remote control or the PC with any ID
number.
If multiple projectors are used and some of them
have their IDs set to “ALL”, they cannot be controlled
separately from the projectors with other ID numbers.
For details on remote control ID setting, refer to “Setting
projector ID number to remote control” (
Æ
page 22).
INSTALLATION
A projection scheme can be chosen depending on
the installation of the projector. If the picture is shown
upside down or in reverse, change the projection
scheme.
Select the setting by displaying the on-screen
z
indications using buttons of the remote control or
the control panel on the main unit.
Press ▲▼ to select [INSTALLATION].
1 )
Press ◄► to switch [INSTALLATION].
2 )
The setting will change as follows each time
z
◄► is pressed.
FRONT/FLOOR
FRONT/CEILING
REAR/CEILING
REAR/FLOOR
FRONT/
FLOOR
Setting on a desk/floor and
projecting from front
FRONT/
CEILING
Mounting on the ceiling and
projecting from front
REAR/
FLOOR
Setting on a desk/floor and
projecting from rear
REAR/
CEILING
Mounting on the ceiling and
projecting from rear
COOLING CONDITION
You can control the fan speed for projecting
angle. When the projector is angled, [COOLING
CONDITION] setting must be set correctly. Failure to
observe this may result in malfunctions, or the life of
the lamp or the other components may be shortened.
Press ▲▼ to select [COOLING
1 )
CONDITION].
Press <ENTER> button.
2 )
The [COOLING CONDITION] screen will be
z
displayed.
Press ▲▼ to select cooling condition.
3 )
Press <ENTER> button.
4 )
When the confirmation message is
5 )
displayed, select [OK] or [CANCEL].
CEILING
SETTING
30°
30°
VERTICAL DOWN
SETTING
30°
30°
VERTICAL UP
SETTING
FLOOR
SETTING
Содержание DLP PT-DW530E
Страница 96: ......


