51
Camera
Assigning the Light/Zoom In/Take Photo Functions to an Application Button
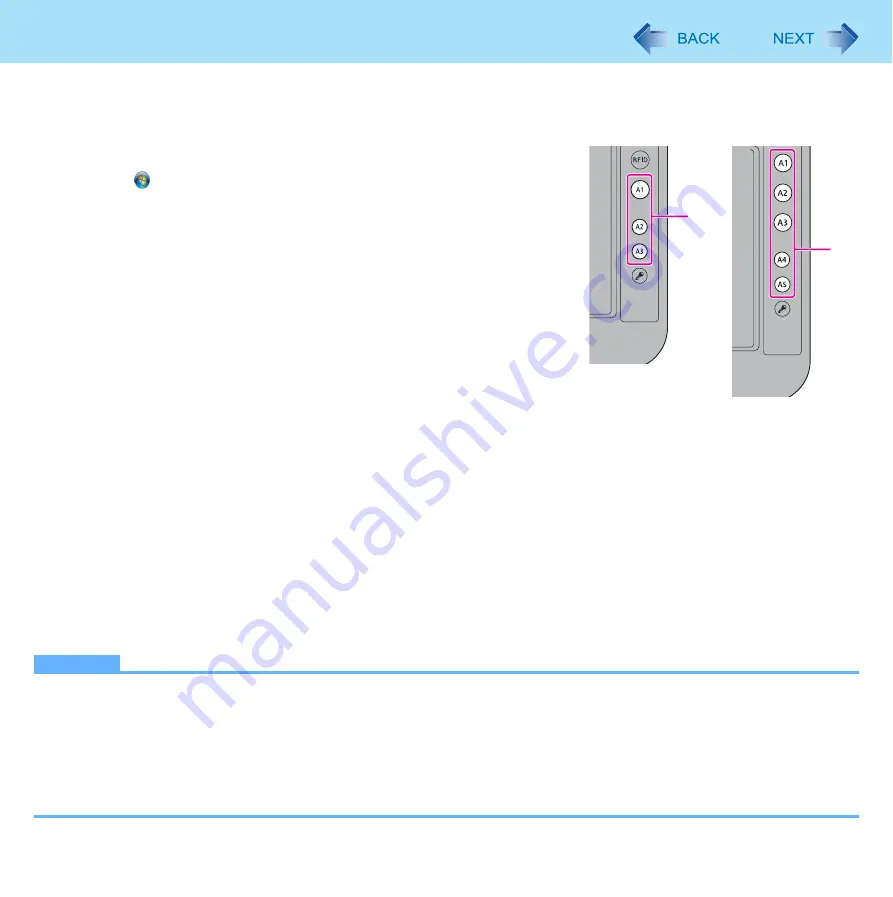
You can assign the Light/Zoom In/Take Photo functions to the application buttons (A).
1
Start up Application Button Setting Utility.
Click
(Start) - [All Programs] - [Panasonic] - [Application Button Setting].
2
For the application button you want to assign the Light/
Zoom In or Take Photo function, select [Launch an
Application] and input the following.
<When assigning the Light function> (
In the [Program location:] box
c:\program files\panasonic\lightsw\lightsw.exe
<When assigning the Zoom In function> (
)
In the [Program location:] box
c:\program files\panasonic\panasonic camera utility\pcam.exe
In the [Program parameter:] box
/zoom_in
<When assigning the Take Photo function> (
)
In the [Program location:] box
c:\program files\panasonic\panasonic camera utility\pcam.exe
In the [Program parameter:] box
/shutter
<When assigning the Name function> (
)
In the [Program location:] box
c:\program files\panasonic\panasonic camera utility\pcam.exe
In the [Program parameter:] box
/shutter_name
3
Click [OK].
NOTE
z
When the Panasonic Camera Utility is not running, and if you press the but-
tons to which these functions are assigned, the Panasonic Camera Utility is activated.
z
If you operate the Utility after assigning the “Take Photo” function, the same operation will be performed as the one
when the check marks both for [Select to save or cancel, after the photo is taken] and [Name the taken photo] are not
added in “Changing the Settings for Taking Pictures” (
).
z
If you operate the Utility after assigning the “Take Photo” function by specifying the file name, the same operation will
be performed as the one when the check mark for [Select to save or cancel, after the photo is taken] is added and
check mark for [Name the taken photo] is not added in “Changing the Settings for Taking Pictures” (
).
A
A
<Healthcare model
without Barcode
Reader>
<Field model>


