– 106 –
Chapter 5 Basic Operations — Video memory
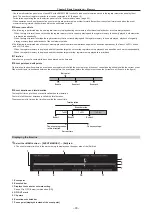
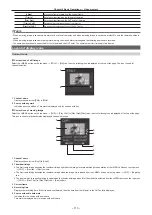
[Sort]
Sorts the file icon view in ascending or descending order by file number*
1
, file name, or date.
[View]
Select the display mode.
[ALL]: Displays all the memory including the unregistered register memory.
[Exist]: Displays only the registered register memory.
[Page]*
1
Switches pages.
[File Type]*
2
Select the extension to display.
For [STILL]: bmp, png, jpg (jpeg), tga, tiff (tif), gif
For [CLIP]: clp
[Cancel]
Closes the screen.
*1 Displayed only on the [Store] screen in the [Register] column.
*2 Displayed only on the [Store] screen in the [SD] column.
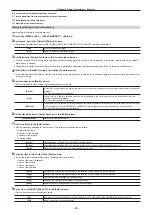
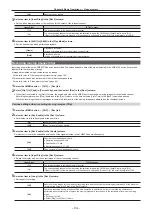
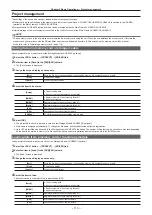
4
Select the icon for the register memory in which the image file will be saved.
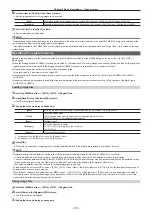
5
Select [OK].
f
The image data of the relevant channel is saved in a free register memory positioned after the selected file.
f
A registered register memory cannot be overwritten. Delete the data on the [Misc] screen before registration.
@
@
NOTE
t
Operations with a local computer connected to the <LAN> terminal of the Main Frame AV-HS60U1/AV-HS60U2 are as follows:
-
If [Store] is selected in the [Local] column, image files are saved in an internal storage of the computer.
- [SD] column operation cannot be performed. Savable image format is png only.
Editing image files
Delete a register memory, or change file names.
1
Select the <MEM> button
→
[STILL], [CLIP]
→
[Register] tab.
2
Select [Misc] in the [Register]/[SD] column.
f
The [Misc] screen is displayed.
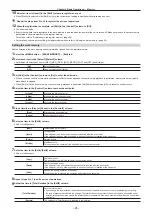
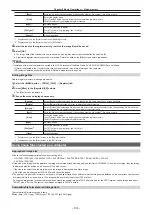
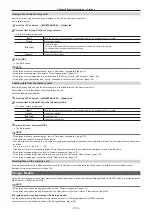
3
Change the screen display as necessary.
[Rename]
Select [Rename] after selecting a file icon to change the file name using the on‑screen keyboard.
[Delete]
Select [Delete] after selecting a file icon to delete the register memory.
[Protect]*
1
Select [Protect] after selecting a file icon to switch on/off of the protection status for the corresponding file. Deleting the
file or changing the file name cannot be performed for the protected file.
[Sort]
Sorts the file icon view in ascending or descending order by file number*
1
, file name, or date.
[View]
Select the display mode.
[ALL]: Displays all the memory including the unregistered register memory.
[Exist]: Displays only the registered register memory.
[Page]*
1
Switches pages.
[File Type]*
2
Select the extension to display.
For [STILL]: bmp, png, jpg (jpeg), tga, tiff (tif), gif
For [CLIP]: clp
[Close]
Closes the screen.
*1 Displayed only on the [Misc] screen in the [Register] column.
*2 Displayed only on the [Misc] screen in the [SD] column.
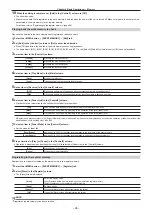
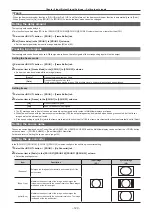
Using image files created on a computer
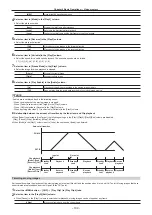
Appropriate image size
f
Check the following appropriate sizes when creating a file.
-
HD/1080i: 1920
×
1080, HD/1080PsF: 1920
×
1080, HD/720p: 1280
×
720, SD/NTSC: 720
×
487, SD/PAL: 720
×
576
-
3G/1080p: 1920
×
1080
f
If the size of an image is not appropriate, the image is centered without resizing and is output from AV-HS6000. If the size is too large, then the image
is displayed with the portion which does not fit the size cut out.
If the size is too small, then the margin around the image is displayed with a black image.
A file of the size which exceeds 1920
×
1080 pixels cannot be loaded.
f
The pixels of images in SD format are not square, so the aspect ratio will be different when the images are displayed on the computer and when they
are imported into the video memory. (The images will be vertically long in the NTSC system.)
To keep the images true to their actual proportions, create the original image in 720
×
540 pixels, and for the NTSC system, use an image reduced to
720
×
487 pixels. For the PAL system, use images enlarged to 720
×
576 pixels.
Compatible file formats for still image data
The compatible file formats are as follows.
Bitmap (bmp), JPEG (jpg), TARGA (tga), TIFF (tif), GIF (gif), PNG (png)
Содержание AV-HS60C1E
Страница 5: ...Please read this chapter and check the accessories before use Chapter 1 Overview ...
Страница 32: ...This chapter describes basic operations and matters to be performed prior to use Chapter 4 Preparations ...
Страница 52: ...This chapter describes menu operations Chapter 5 Basic Operations ...
Страница 118: ...This chapter describes the input output signal settings Chapter 6 Input Output Signal Settings ...
Страница 129: ...This chapter describes how to operate the CONFIG menu displayed when the CONF button is pressed Chapter 7 CONFIG Menu ...
Страница 140: ...This chapter describes how to operate the system menu displayed when the SYS button is pressed Chapter 8 System Menu ...
Страница 162: ...This chapter describes the difference with the Standard mode Chapter 9 3G mode 4K mode ...
Страница 168: ...This chapter describes the terminals and signals of the unit Chapter 10 External Interfaces ...
Страница 173: ...This chapter describes the dimensions and specifications of this product Chapter 11 Specifications ...
Страница 184: ...This chapter describes the setting menu table and terms Chapter 12 Appendix ...
Страница 206: ...Web Site http www panasonic com Panasonic Corporation 2014 ...


