– 96 –
Chapter 5 Basic Operations — Memory
10
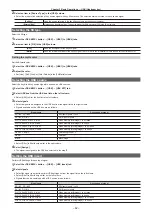
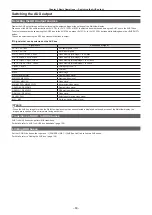
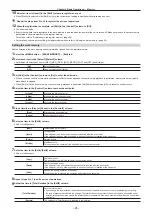
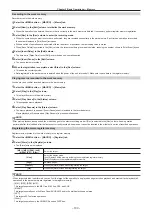
When the editing is complete, set [Edit] in the [Control1] column to [Off].
f
The edit mode ends.
f
Event memory data that is registered in the work memory is deleted when the power of the unit is turned off. Make sure to save the event memory
data stored in the work memory to the register memory.
For details, refer to “Registering to the register memory” (page 96).
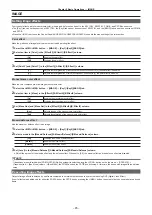
Playing back the work memory to check
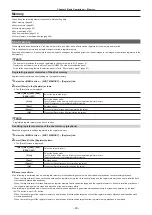
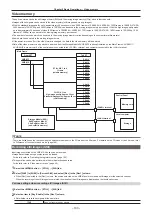
Play back the timeline in the work memory newly registered or edited to check.
1
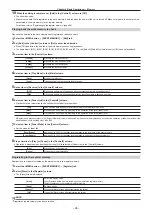
Select the <MEM> button
→
[EVENT MEMORY]
→
[Edit] tab.
2
Set [Edit] in the [Control1] column to [On] to enter the edit mode.
f
When [Off] is selected, the timeline in the work memory cannot be played back.
f
The items where [ME1], [ME2], [DSK], [AUX], [CBGD], [CLIP], and [XPT] in the [Select1]/[Select2] column are set to [ON] can be played back.
3
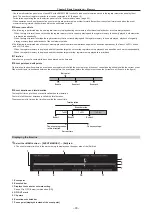
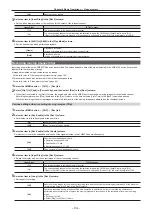
Select an item in the [Control1] column.
[<<Lead]
Moves to the first event point.
[<Step]
Moves to the previous event point.
[>Step]
Moves to the next event point.
[>>Last]
Moves to the last event point.
4
Select an item in [Play Mode] in the [Mark] column.
[Once]
Stops at the last event.
[Loop]
Transitions from the last event to the first event.
5
Set an item in [Reverse] in the [Control2] column.
[OFF]
Playback is performed in the positive direction (event numbers in ascending order).
[ON]
Playback is performed in the negative direction (event numbers in descending order).
6
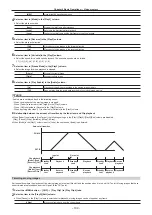
Select an item in [Fader Link] in the [Control2] column.
f
Playback of event memories can be linked with the fader lever operation.
[Off]
Does not play back an event memory according to the fader lever operation.
[ME1]*
Plays back an event memory according to the operation of the [ME1] fader lever.
[ME2]*
Plays back an event memory according to the operation of the [ME2] fader lever.
* ME selected as playback target in the [Select1]/[Select2] column is assumed by the event memory playback, so the button operation or fader operation will be
disabled when set to anything other than [Off].
7
Select an item in [Fader Mode] in the [Control2] column.
f
Set the mode for fader link.
[Total Event]
Assigns 0% to 100% of the fader lever operation to the total time of the event memory.
[Event Paddle]
Assigns 0% to 100% of the fader lever operation to one event in the event memory.
8
Play a timeline in [Play] or [Pause] in the [Control2] column.
f
Operation is disabled when a setting other than [Off] is selected in [Fader Link] in the [Control2] column.
[Play]
Plays back an event memory.
[Pause]
Stops event memory playback.
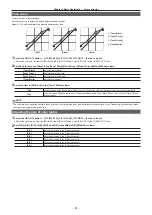
Registering to the register memory
Register the event memory created on the work memory in the register memory.
1
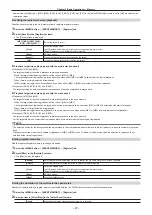
Select the <MEM> button
→
[EVENT MEMORY]
→
[Register] tab.
2
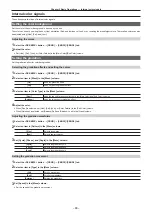
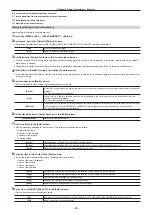
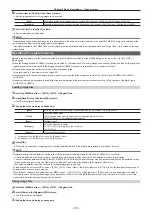
Select [Store] in the [Register] column.
f
The [Store] screen is displayed.
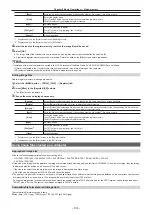
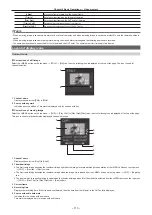
[View]
Select the display mode.
[ALL]: Displays all the memory including the unregistered register memory.
[Exist]: Displays only the registered register memory.
[Page]
Switches pages.
[Cancel]
Closes the [Store] screen without registering the target.
[OK]
Closes the [Store] screen after registering the target.
@
@
NOTE
t
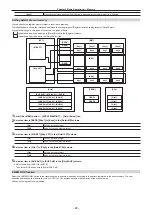
A registered register memory can be overwritten.
Содержание AV-HS60C1E
Страница 5: ...Please read this chapter and check the accessories before use Chapter 1 Overview ...
Страница 32: ...This chapter describes basic operations and matters to be performed prior to use Chapter 4 Preparations ...
Страница 52: ...This chapter describes menu operations Chapter 5 Basic Operations ...
Страница 118: ...This chapter describes the input output signal settings Chapter 6 Input Output Signal Settings ...
Страница 129: ...This chapter describes how to operate the CONFIG menu displayed when the CONF button is pressed Chapter 7 CONFIG Menu ...
Страница 140: ...This chapter describes how to operate the system menu displayed when the SYS button is pressed Chapter 8 System Menu ...
Страница 162: ...This chapter describes the difference with the Standard mode Chapter 9 3G mode 4K mode ...
Страница 168: ...This chapter describes the terminals and signals of the unit Chapter 10 External Interfaces ...
Страница 173: ...This chapter describes the dimensions and specifications of this product Chapter 11 Specifications ...
Страница 184: ...This chapter describes the setting menu table and terms Chapter 12 Appendix ...
Страница 206: ...Web Site http www panasonic com Panasonic Corporation 2014 ...

