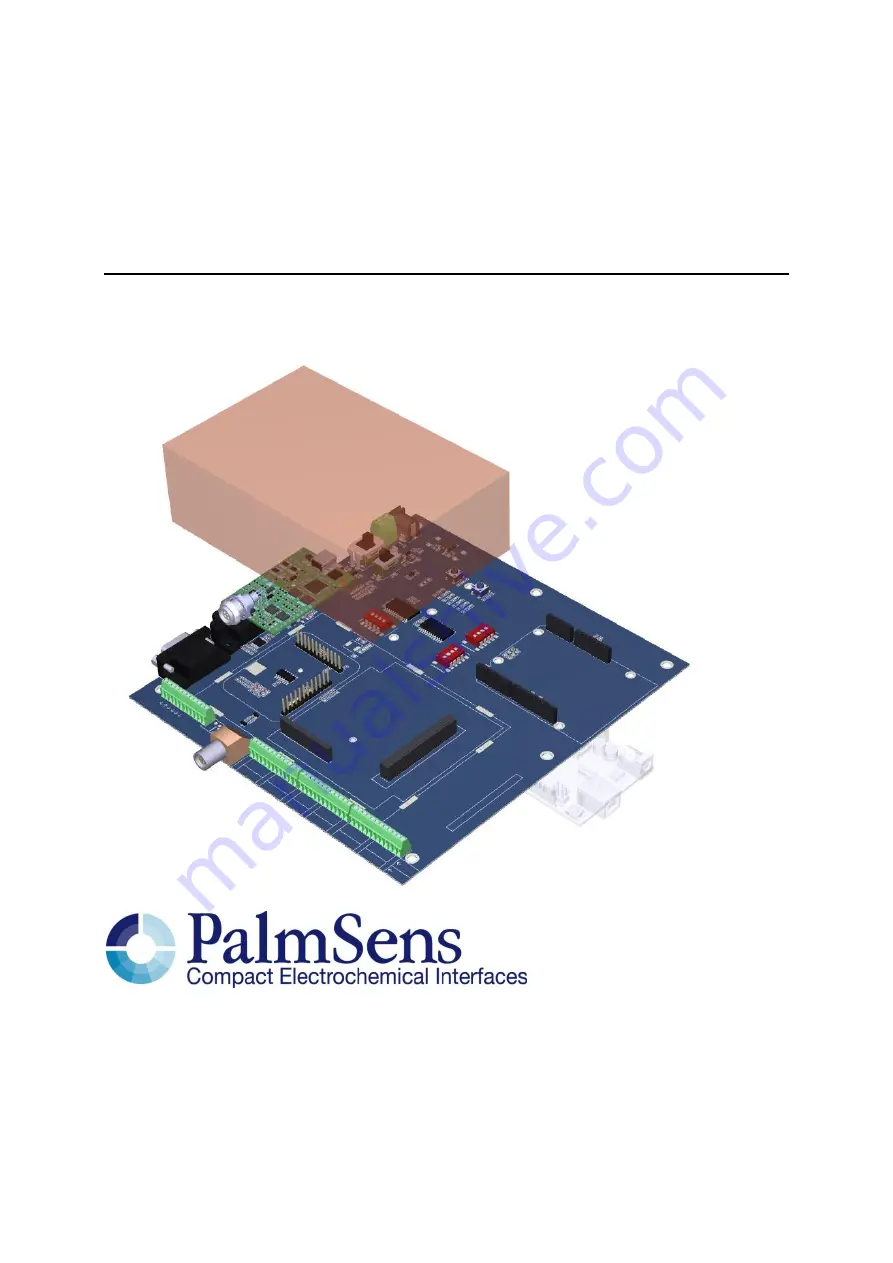
Getting started with the EmStat Development Board
Development board for EmStat module: OEM Interface for electrochemical sensors
Last revision: October 24, 2017 © 2016 PalmSens BV www.palmsens.com
Страница 1: ...Getting started with the EmStat Development Board Development board for EmStat module OEM Interface for electrochemical sensors Last revision October 24 2017 2016 PalmSens BV www palmsens com...
Страница 2: ...may be superseded by updates It is your responsibility to ensure that your application meets with your specifications PALMSENS BV MAKES NO REPRESENTATIONS OR WARRANTIES OF ANY KIND WHETHER EXPRESS OR...
Страница 3: ...ple for Arduino 8 4 3 1 Controlling the Arduino via terminal 9 5 Power supply options 11 6 Communication options 11 PalmSens AUX pinout 12 RS232 communications 12 Serial communication at TTL level 12...
Страница 4: ...d in the dev board All digital IO s have over voltage reverse voltage over current and ESD protection Analog IO s are buffered on board for impedance isolation over voltage and reverse voltage protect...
Страница 5: ...uino Integration The EmStat development board is designed specifically for compatibility with an Arduino Zero Uno or Intel Edison1 Various jumper setting available for selecting different UART lines E...
Страница 6: ...STrace on the development board Make sure PSTrace is installed on your PC before following these steps 1 Mount the EmStat pin headers to the header on the development board as shown above 5 Open PSTra...
Страница 7: ...n the measurement 9 The result will probably look similar to this 10 Repeat the measurement but with a scan rate of 0 05 V s Note that the noise level is lower due to the fact that the current samplin...
Страница 8: ...g readings during idle mode for EmStat devices PSMethod h Contains routines for setting up a measurement like Cyclic Voltammetry Chronoamperometry Square Wave Voltammetry etc and its corresponding par...
Страница 9: ...ent settings Arduino IDE download from www arduino cc Preparing the EmStat dev board for use with Arduino Follow the steps below to prepare the EmStat development board for use with the Arduino ZERO 1...
Страница 10: ...Tools Board Boards Manager For any other Arduino make sure to select the right board and continue with the next step Then select and install the Arduino SAMD Boards 32 bits ARM Cortex M0 8 Install th...
Страница 11: ...duino EmStatSDKExample 10 Upload the example to the Arduino 4 3 1 Controlling the Arduino via terminal In the menu Tools Port you can select which port to use for the terminal You can use the terminal...
Страница 12: ...owing commands can be used with the Arduino example s Toggles the printing of all sent messages to the EmStat r Toggles the printing of all received messages from the EmStat v Prints the version of th...
Страница 13: ...xternal power supply The development board has over current and reverse voltage protection and a regulated 5V supply for the EmStat to ensure correct operation 6 Communication options The dev board al...
Страница 14: ...ground pin 15 DAC analog output range 0 4 095 V shield DGND digital ground All digital I O at 5V RS232 communications Any standard RS232 cable or dongle can be used with the DB9 port Only the Rx and T...
Страница 15: ...red connector is working electrode 5 Metal housing AGND Pinout of SPE connector CON11 CON4 pinout Pin Function 1 AGND analog ground 2 DAC analog output range 0 4 095 V 3 ADC analog input range 0 4 095...
Страница 16: ...nout Pin Function 1 DGND 2 5V output max 30 mA when powered from USB 3 Tx uart at 5V 4 Rx uart at 5V 5 EmStat reset active high 6 DGND 7 Digital output d3 8 Digital output d2 9 Digital output d1 10 Di...
Страница 17: ...or a MUX8 or MUX16 multiplexer are shown at the edge of the board The multiplexer can be tested and controlled in PSTrace Make sure to enable the presence multiplexer in the menu Tools General setting...
Страница 18: ...due to corroded banana plugs or clips can be the cause of noisy or other kinds of bad readings Power supply or the PC connected to the development board may induce noise Sensitive measurements can be...
Страница 19: ...ess of the baudrate supported by the firmware See section Updating EmStat firmware on page 17 in this document on how to update the firmware using a serial connection 11 Updating EmStat firmware The f...
Страница 20: ...mStat Connect the power supply Run program Update firmware Select the corresponding COM port and press Connect Load firmware file ESx where x is the EmStat type and the firmware version Make sure the...
Страница 21: ...1 mV 0 2 with max 2 mV offset error 1 nA to 10 mA 8 ranges 20 mA typical and 15 mA minimum 4 000 V 8 V 0 125 mV 0 3 with max 3 mV offset error 1 nA to 100 mA 9 ranges 100 mA typical EmStat 3 and 3 cu...
Страница 22: ...n and Parse button again to check if the settings are written correctly especially the invert DTR setting If this setting cannot be changed please contact us Your FT_PROG version might have a bug 9 Re...
Страница 23: ...October 2017 PalmSens BV 21 Getting started with the EmStat Development Board NOTES...