1
Deployments with multiple WA Series APs
Multi-AP deployments are now easier than ever with BakPak. With BakPak
Lite built into the WA Series APs, BakPak now supports the configuration of
most wireless settings—SSIDs, passwords, channel selection, Tx power levels,
and more—enabling complete cloud configuration of the wireless network,
remotely or onsite, from the web interface and mobile app. Complete BakPak
cloud configuration also enables controller-less multi-AP deployments,
eliminating additional hardware costs and reducing deployment time.
Tip:
Example screens in this guide use the WA-2200 only as an example.
The deployment process is the same with WA-4200 Series APs.
The goal of this deployment guide is to provide step-by-step instructions on
setting up your WA Series wireless network with BakPak. For information
about designing the wireless network, see the
Wireless Design Guide
at
pkdge.co/wirelessdesign
.
Setting up your first WA Series AP
You need to log in to the first AP and configure it before enrolling it with
BakPak.
Tip:
You can also learn this process from the Smart Skill
WA-2200 Initial
Configuration
(
pkdge.co/wa2200-config
).
To set up your first WA Series AP:
1
Connect the access point to your PoE switch with an Ethernet cable.
2
Log in to your router to find the IP address assigned to the access point
under the DHCP Client Table, then enter into a web browser (or click) that
IP address to open the access point interface. The Log In page opens.
Tip:
If you do not have a router in your network that distributes IP
addresses, you can try to access the access point through its default IP
address of
192.168.1.21
.
3
In the
Username
box, type
admin
. In the
Password
box, type
password
,
then click
Sign in
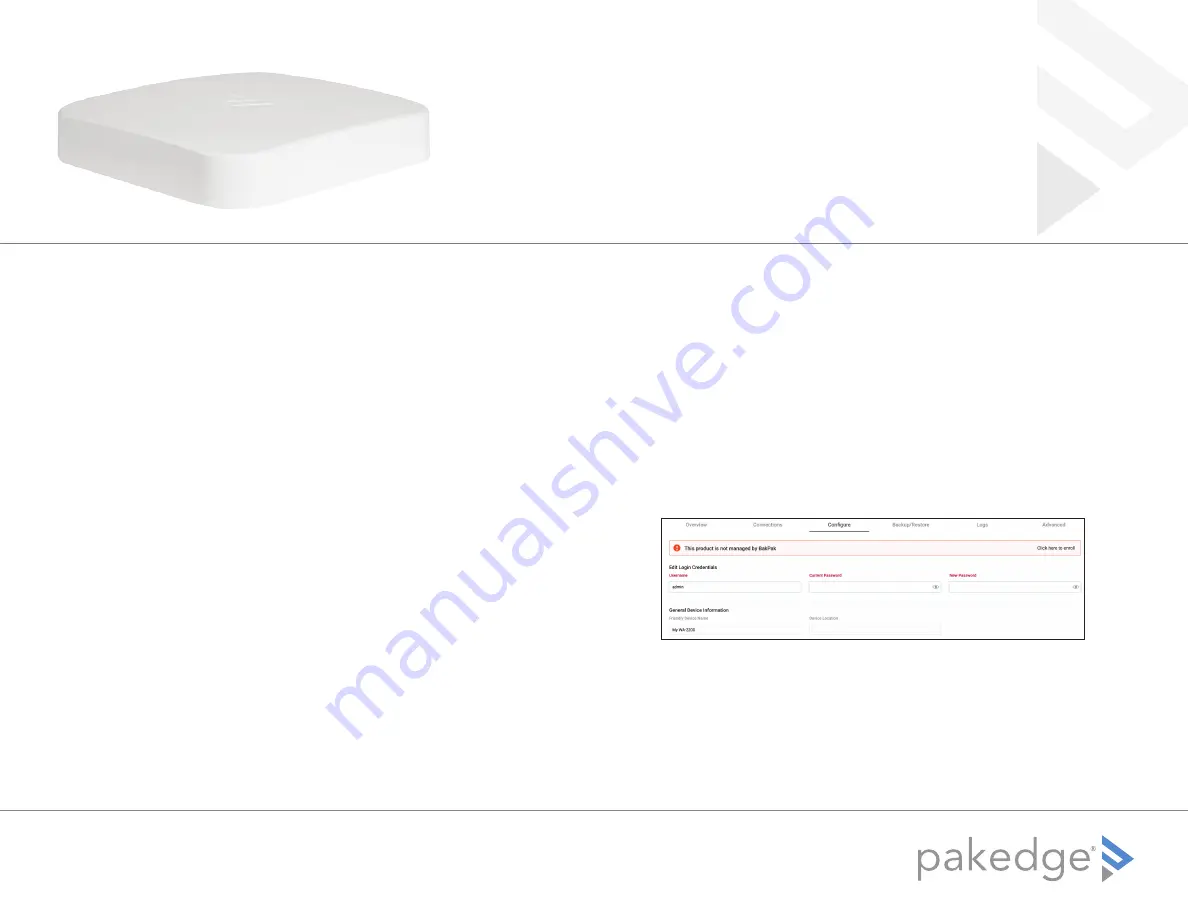
. The first time you sign in, the
Configure
page opens.
4
Enter and verify a new password (required) before continuing.
5
On the
Configure
page, configure these basic settings:
• Time Zone
• SSID
• Guest SSID
6
Click
Apply
to complete the setup.
WA Series Multi-Access Point
Deployment Guide


