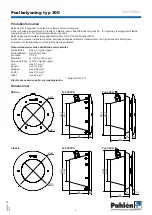


10
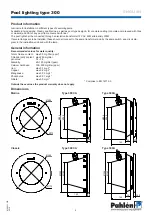
300–800 mm
Art.no.
Rev.no.
Scale
Designed by:
Approved by:
Revised by: Date
Drawn by: Date
Drawing number
Assembly drawing no.
Surface treatment
part of ISO 2768-1
The tolerance class in accordance with this
E
Box 728, SE-194 27 Upplands Väsby, Sweden
Phone +46 8 59411050, Fax +46 8 59086880
1:3
12252
ASA 2009-07-07
monterad
Nisch 300A BTGpool
M11054 0
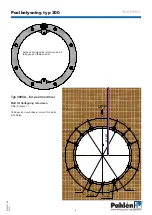
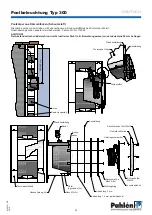
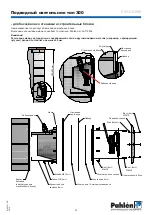
Pool lighting type 300
ENGLISH
MA50-1
1 GB
2018
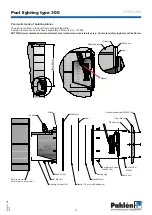
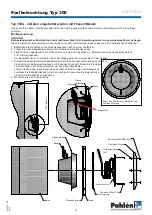
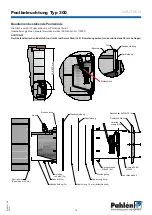
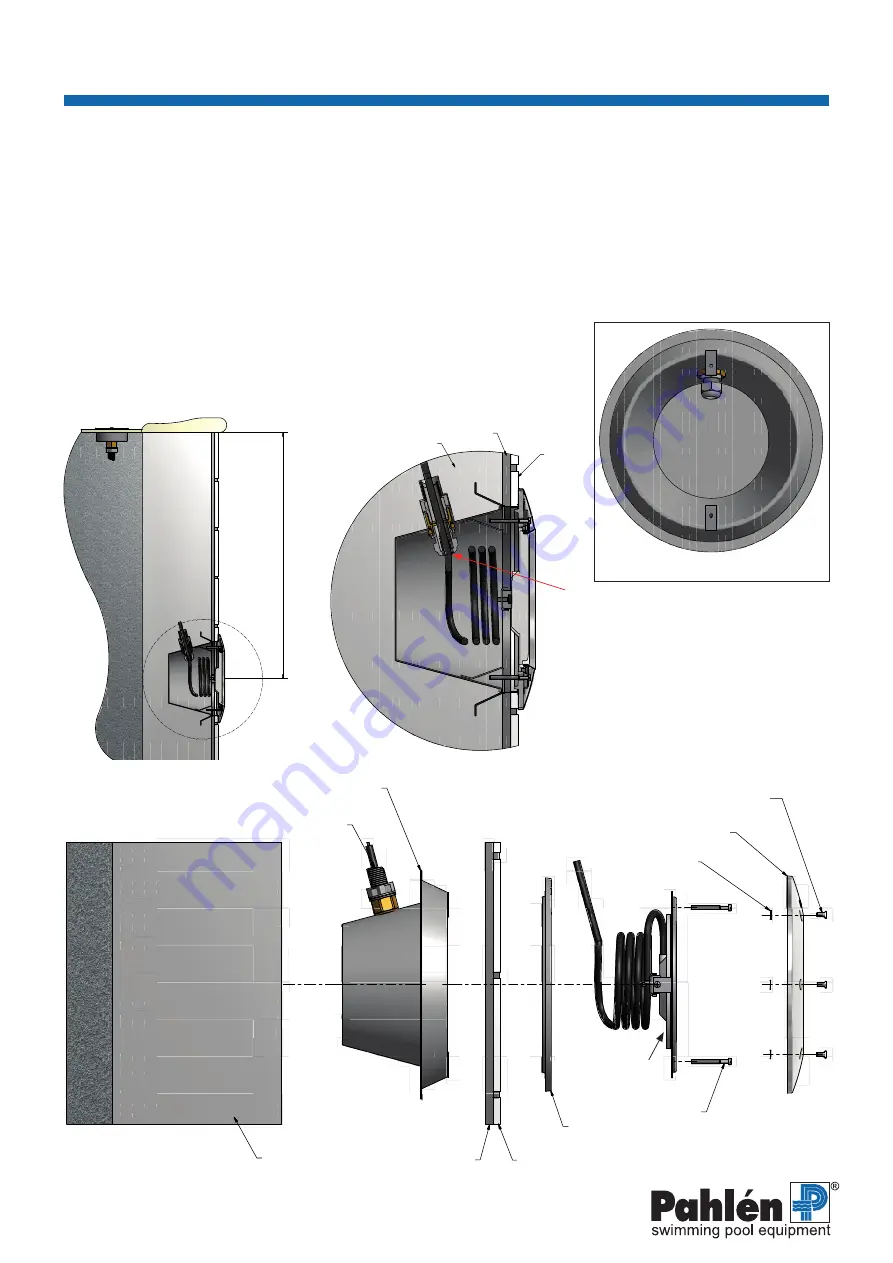
Tile
Tile fix
Concrete
Spacer
Tile
Niche
Conduit
Sealing ring
Front Marine
Washer (6x)
Countersunk screw
M5x10 (6x)
Tile fix
Screw M5x50 (2x)
Lamp unit
Concrete
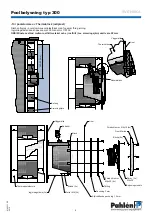
Picture 1. The niche placed right.
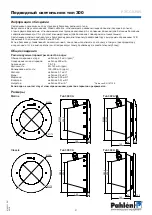
Type 300A - for casting in concrete pools with tile/mosaic covering
Consult your concrete/waterproofing supplier for any waterproofing and application method.
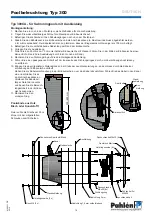
Mounting instructions:
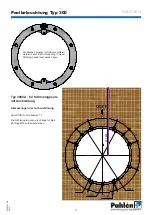
NOTE! Minimum distance between stainless steel material and non-stainless (e.g. Concrete-reinforcing bars) will be 50 mm.
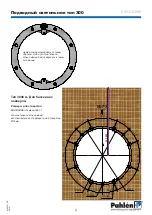
The front edge of the niche shall be in line with the concrete wall (see A in sketch below).
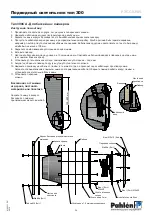
1. Attach and secure the niche to the pool frame with the cable outlet pointing upwards.
2. Apply some water-resistant grease in the threads of the niche.
3. Thread the cable conduit in the niche and in the junction box. The thread shall be sealed with e.g. thread tape.
The cable conduit shall be placed so that the bend radius is not below 100 mm.
4. Place the supplied spacer on the cable of the lamp where it runs through the cable gland of the niche.
Tighten the cable gland in the niche to seal the cable.
Insert the cable in the conduit and connect to the junction box.
Wrap excess cable behind the lamp and assemble the lighting unit in the niche.
5. Mount the front ring.


